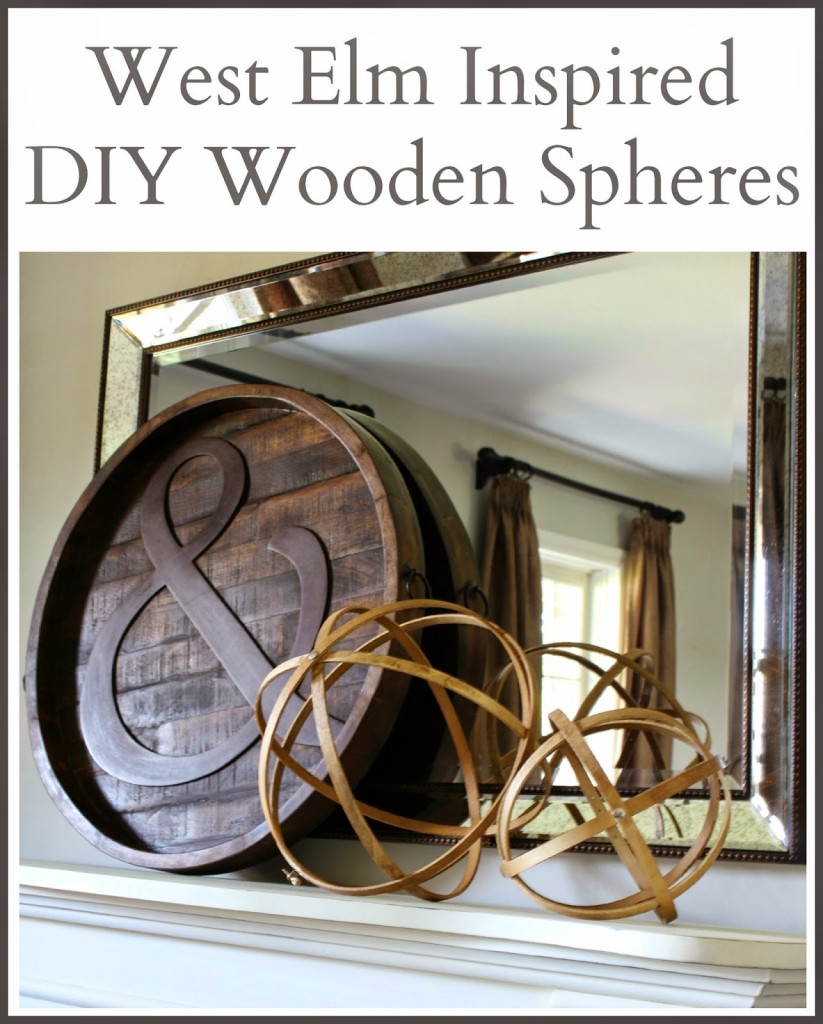
Last week I shared my mantel with you. You may have noticed these wooden spheres. This is a little project we are working on for Josh and Sarah’s wedding. The wedding ceremony and reception are being held in what was once a cigar factory that has been turned into a gorgeous event venue. We are going to be using these wooden spheres throughout the space to bring a bit of industrial to the otherwise romantic Fall decor for the day.
These spheres are pretty popular right now. This is a photo of the veneer spheres sold at West Elm.
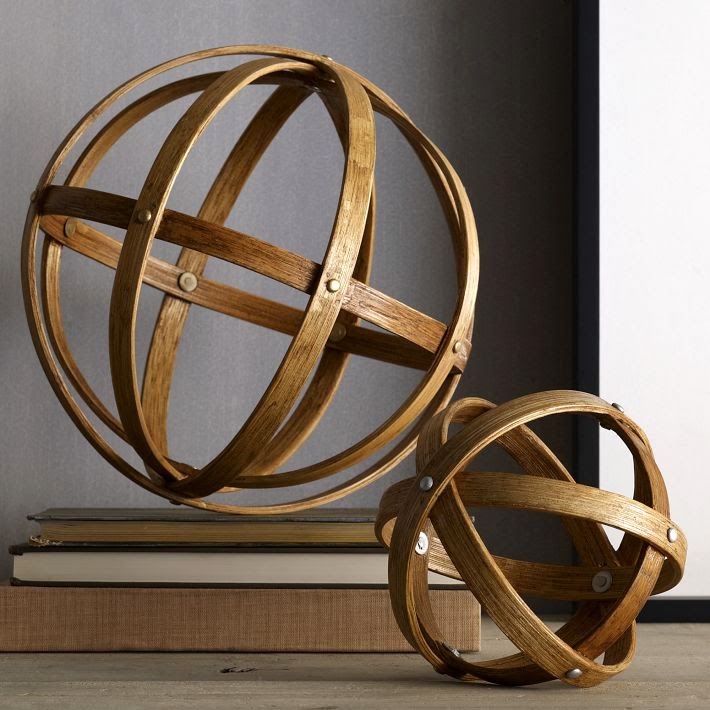
I saw the smaller one recently at the Pottery Barn Outlet for $12.99 – I’m not sure what the price is normally. If you were only buying one – $12.99 is a pretty good price. But we want to use a lot of these – for table displays and even to hang. So, I set to work to find a way to get the look for less. With very little effort, I found several tutorials for making wood spheres from inexpensive wood embroidery hoops.
Here’s what you will need to make some yourself.
2 wood embroidery hoops that are the same size.
Glue Gun
Thumb Tacks
Wood Stain – I used Thompson’s Waterseal Exterior Wood Stain in Traditional Brown.
I found it much quicker and easier to use the kind in the spray can.
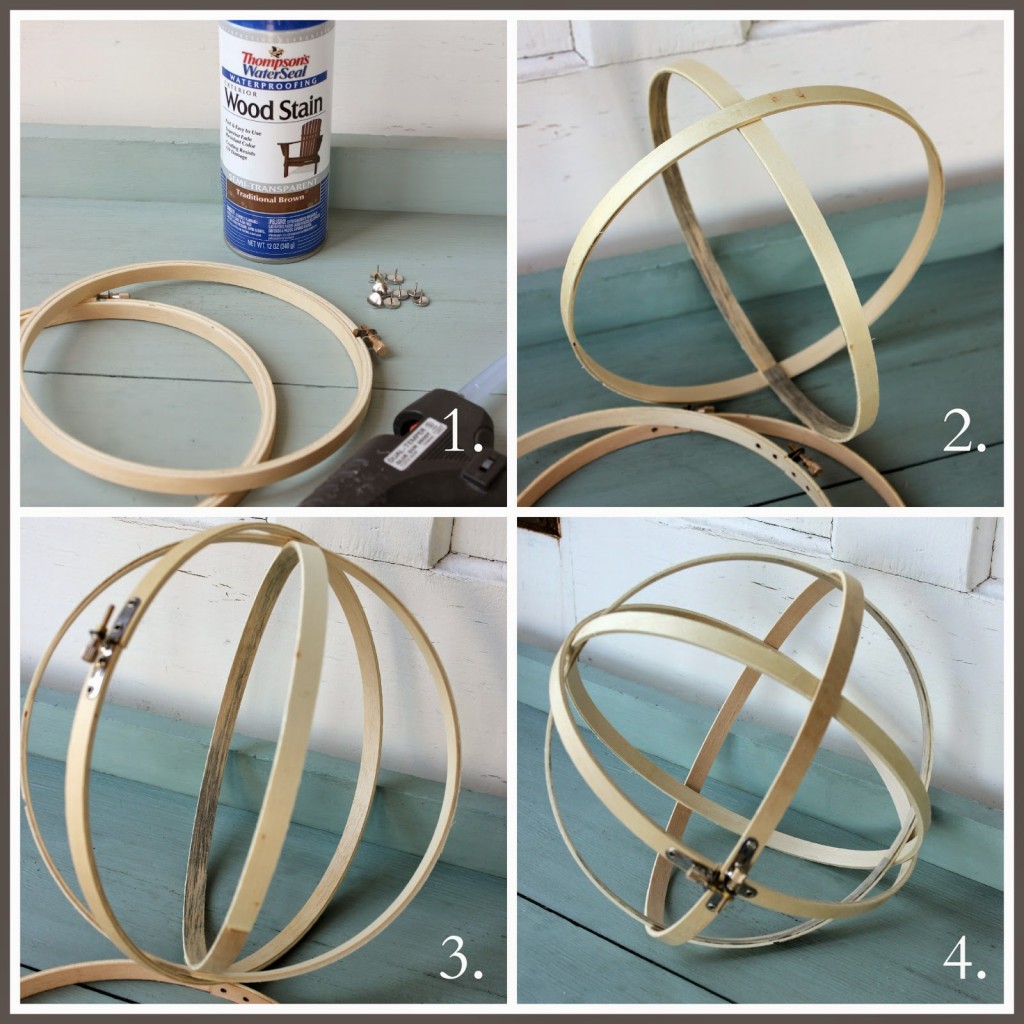
- Photo 1. Your supplies needed.
- Photo 2. Separate the embroidery hoops into four pieces. Take the two inner hoops (the ones without the screws) and put one around the other as shown.
- Photo 3. Take another hoop (one with the screw) and add it to the others – space them out evenly. Try to place the screw section in the middle of your sphere ball.
- Photo 4. With all three connected hoops standing up and down (like in photo #3), bring the remaining hoop with the screw down and around the others (like a belt around your waist). Overlap the screw from this one hoop placed horizontally with the one you placed vertically in the previous step.
- Once all your hoops are placed where you want them, add a touch of glue to a few intersecting spots to keep the sphere secure.
- Tie a piece of twine to your finished sphere and take outside. Hang the sphere from a tree limb or clothes line and spray with wood stain. Let dry for a few minutes and then use a cloth to wipe off any excess. (Tip: wear some inexpensive clear vinyl gloves to keep the stain off your hands! You can get these by the box at Home Depot or Lowes).
- Add thumb tacks to the intersecting areas.

Once you get the process down – they are really easy to make! And – they cost a whole lot less than the original West Elm inspiration!
Tomorrow, I’ll be back to announce the winner of the Mary & Martha Praise Tray and Mugs!
Shay
Wednesday 17th of September 2014
These are great! Thanks for sharing the tutorial.More importantly...WHERE did you get that ampersand/barrel lid?? I kind of neeeed one!! ;)
Miss Kitty
Wednesday 3rd of September 2014
Hi Doreen! Congrats for being featured over a Savvy Southern Style!!! These are really great accent pieces. When is your son getting married? They are lucky to have you help with the decorations! These are great! Thanks for sharing how you made them.
Newton Custom Interiors
Tuesday 2nd of September 2014
Fabulous! So simple and easy, but a great look!
Fairhope Supply Co.
Tuesday 26th of August 2014
I think this is so clever and the spheres are a classic, clean look. It always amazes me how trends come and go. Who would have thought we would have loved wood spheres? I just finished making moss spheres!!!
Debra@Common Ground
Tuesday 26th of August 2014
what a great idea, LOVE these!!