Today I’m here to share a Trash to Treasure story. Once upon a time, I was at an auction on a rainy spring day. It was pouring rain and the auction was outside. But, there was something I wanted, so I stood there with the other crazy people with their umbrellas – shivering! I wasn’t really paying attention, because the item I wanted wasn’t up for bid yet. I snapped back to reality when I heard the auctioneer say “$1”! Something selling for $1 tends to grab my attention! I looked up and I was standing right beside this beauty, I raised my number and it was mine – all mine!
*Thanks to Maison Blanche for sponsoring this post. This post contains some affiliate links for your convenience. See my full disclosure policy HERE.
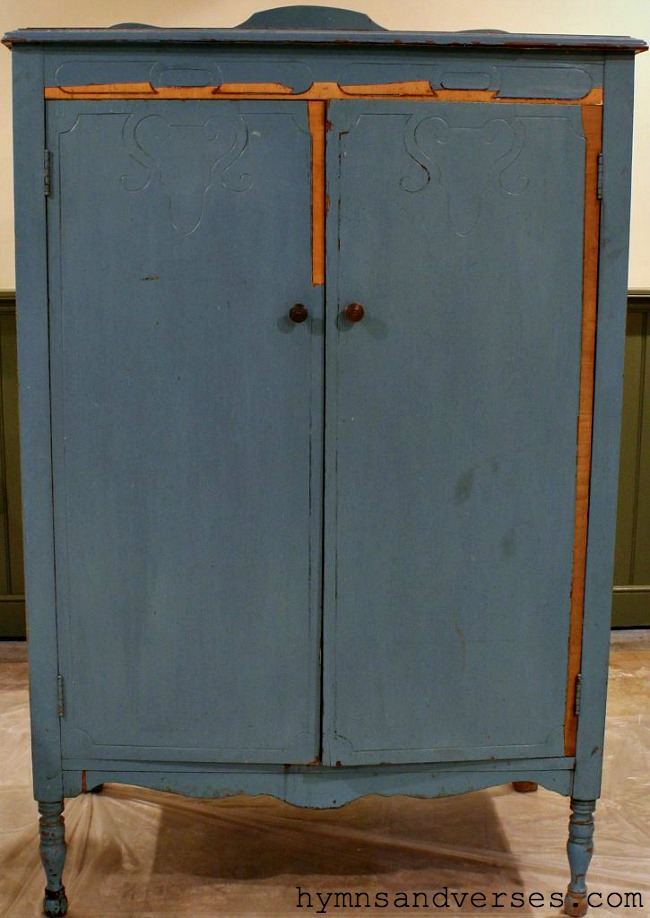

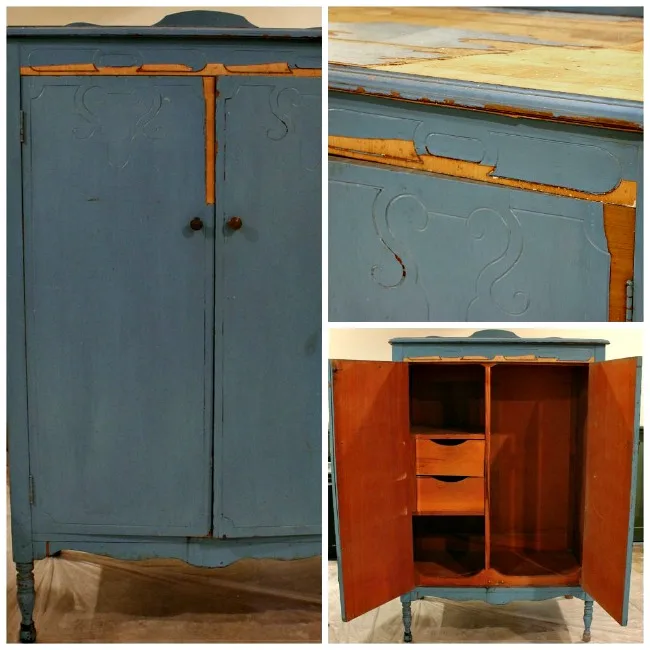
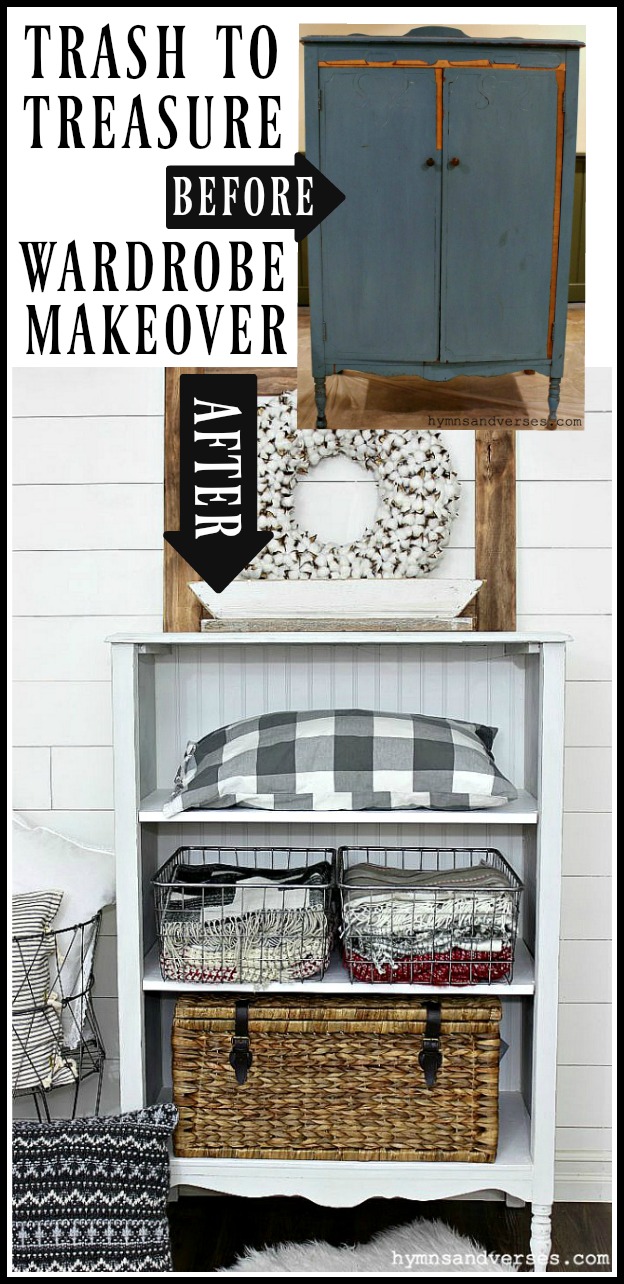
To say the wardrobe was in bad shape is an understatement! It was obviously sitting outside in the rain for some time and the veneer was literally peeling off. It was dirty and had this orange colored wood inside – ick!!!
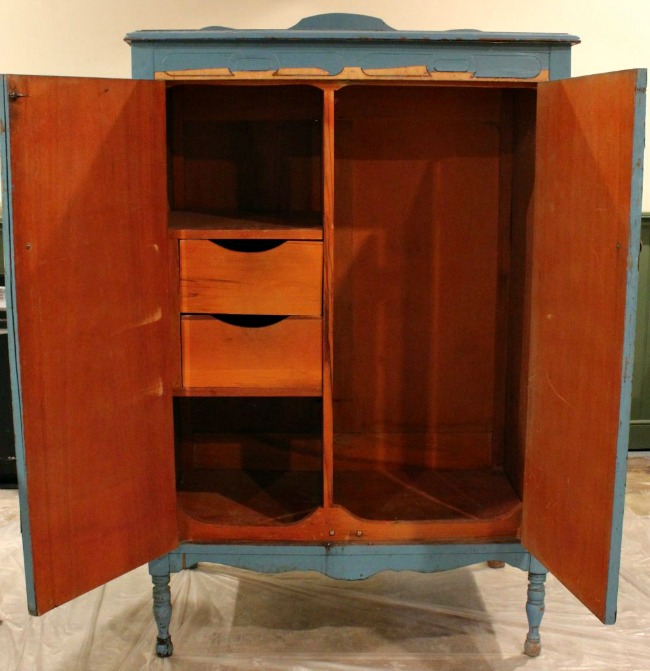

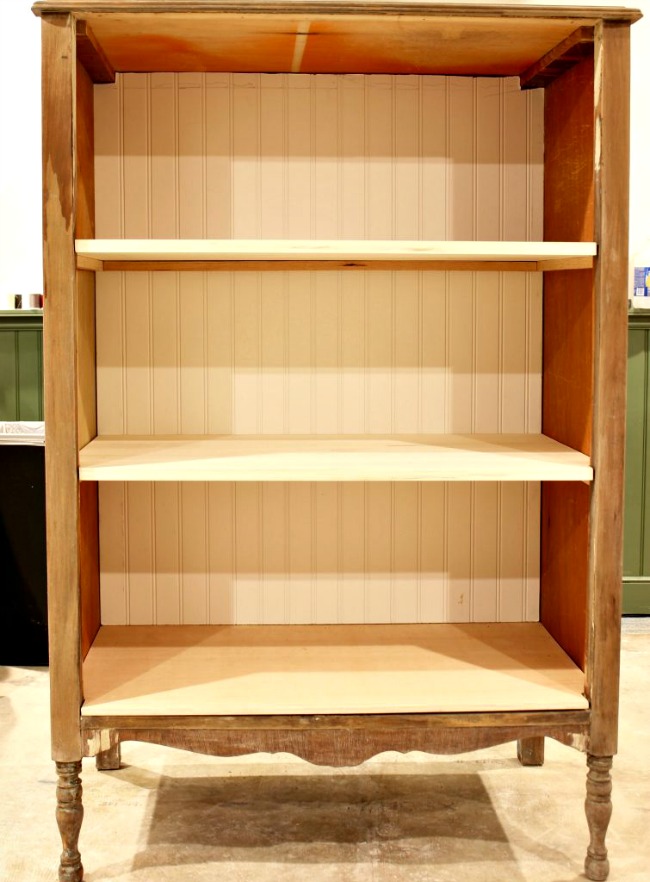
Mark wanted me to throw it away, but I had big dreams for this poor wardrobe that nobody wanted. I envisioned it with open shelving to hold extra quilts, blankets, pillows, etc. And, it’s the perfect size for our upstairs hallway – near the bedrooms and bath.

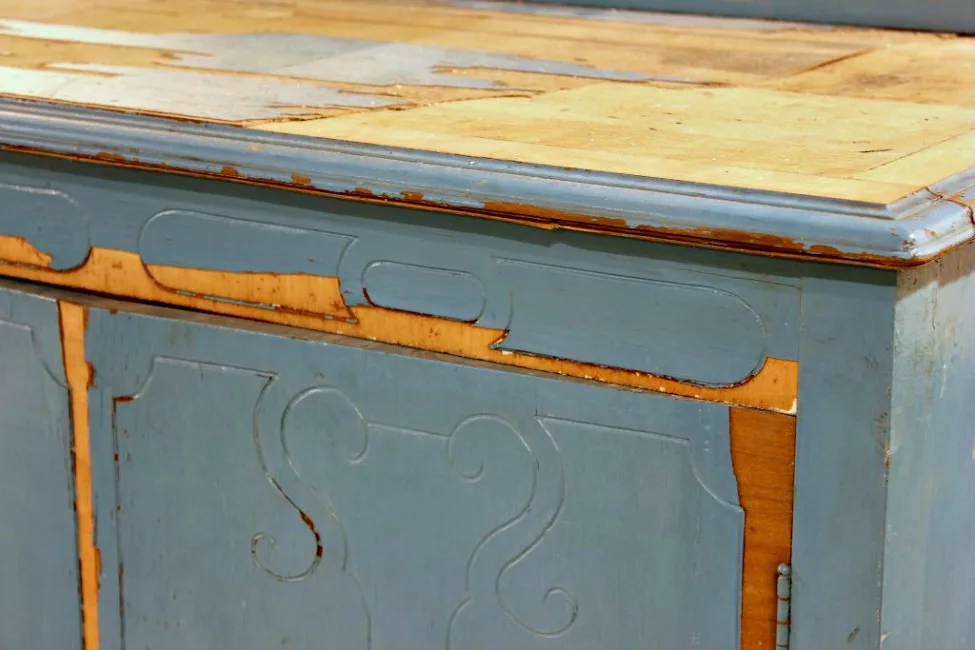
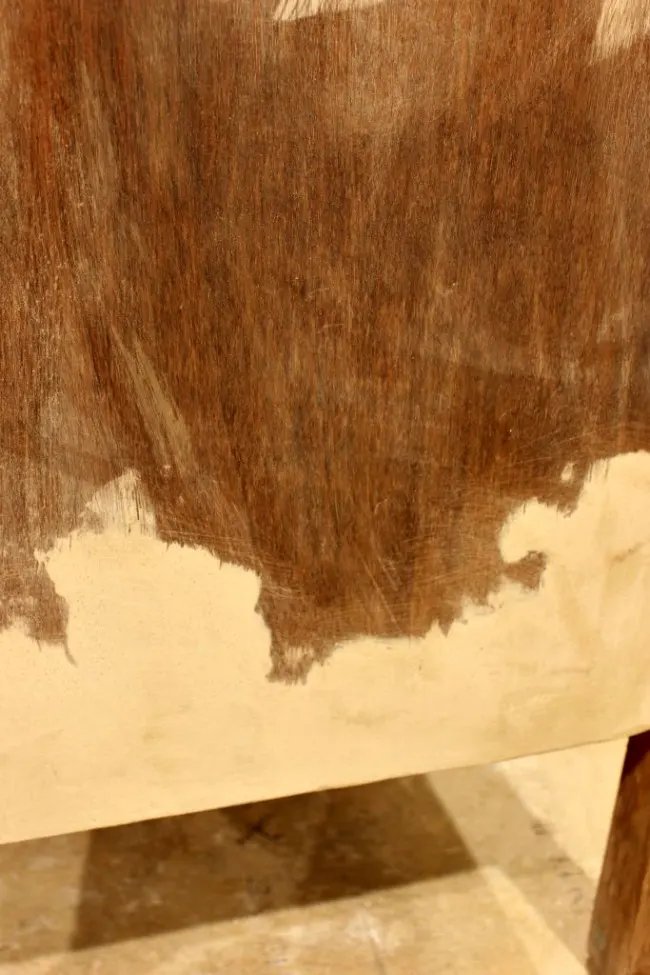
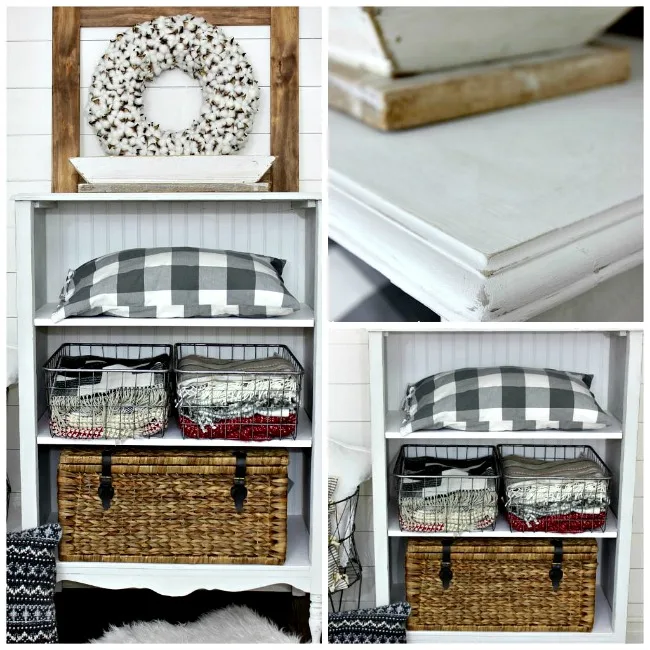
Here’s a look at the top and the veneer. I pried the loose veneer off the top and under the edges. Because there was so much damage, I decided to strip off the paint as well. I probably didn’t need to do this step, but stripping old paint is easier than it used to be. I use Citristrip Stripping Gel. It can be used inside with no dangerous fumes and really does a good job. After most of the paint was removed, I used steel wool pads with mineral spirits to clean away the remaining paint residue. To repair the areas with missing or chipped veneer, I used Bondo Wood Filler. Once it was dry, I sanded the areas with the goal of a somewhat smooth surface.

Mark removed the doors and the inside (orange wood) wardrobe storage. He replaced the very bottom piece of wood, because it was so damaged from the rain. The back was also in pretty bad shape, so Mark replaced it with a piece of beadboard panelling, cut to size. Then he made two shelves for the inside.

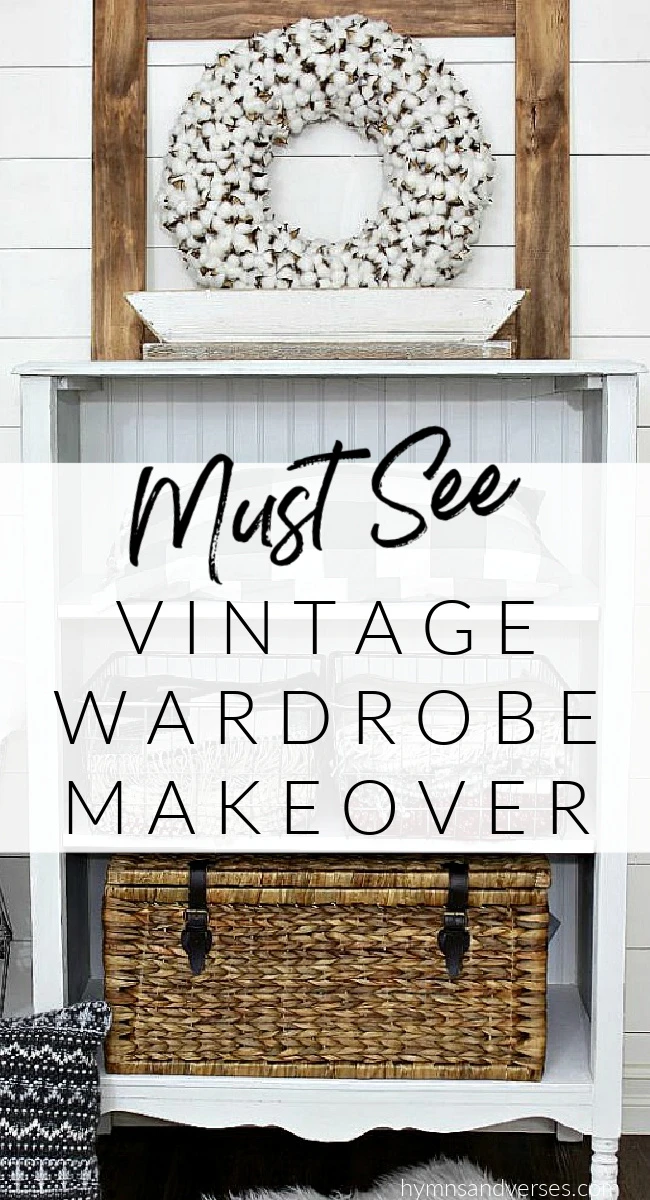
Now for the fun part! Time to really change the look of this piece with fresh paint! Because this wardrobe was in really rough shape, I decided that Maison Blanche La Chaux, French Lime Paint, would be a great option. La Chaux is thicker than regular chalk paint and gives an “Old World” look without a lot of extra work. The color I chose to use is called “Coquille”, which means shell “oyster” in French. I’d call it a white with a slight gray tint.
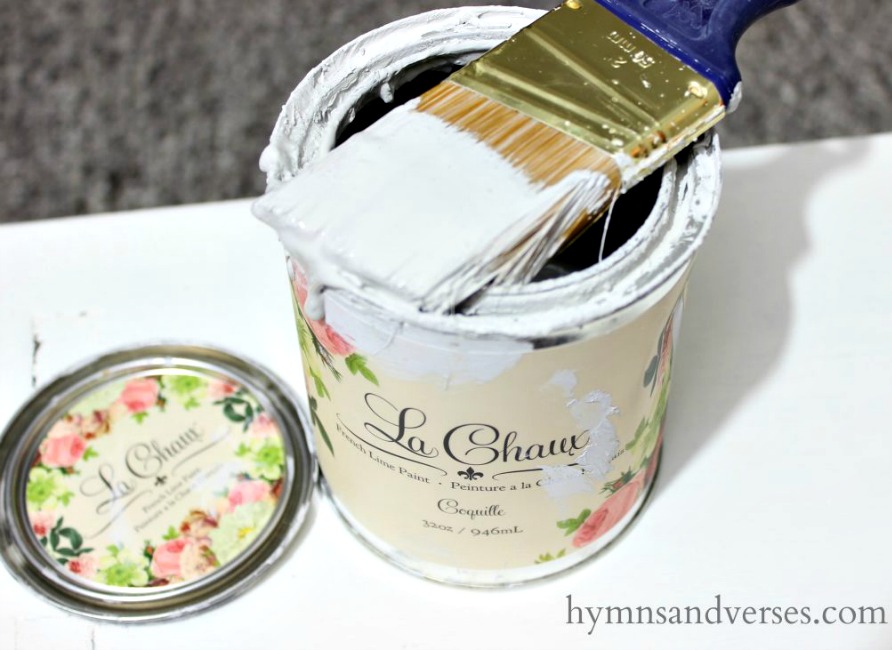
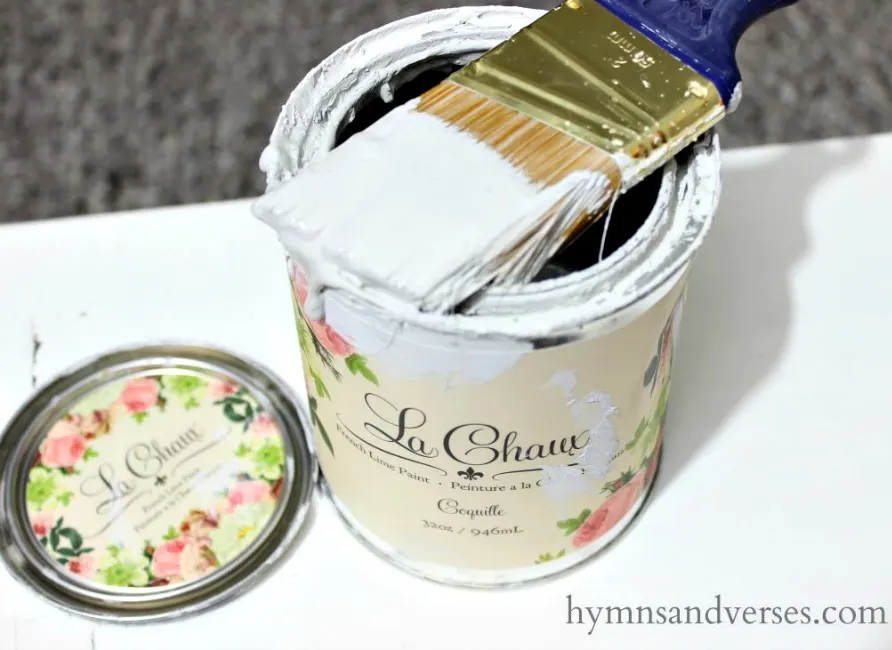
I’m pretty picky about how I paint, except when I paint with La Chaux! You really don’t have to paint in straight lines – in fact, I use a cross hatch pattern when I use this paint. I love the overlapping texture it gives. I used about two coats for this piece. Because of the thicker consistency of La Chaux, you do need to allow for some extra drying time and the color does lighten some as it dries.

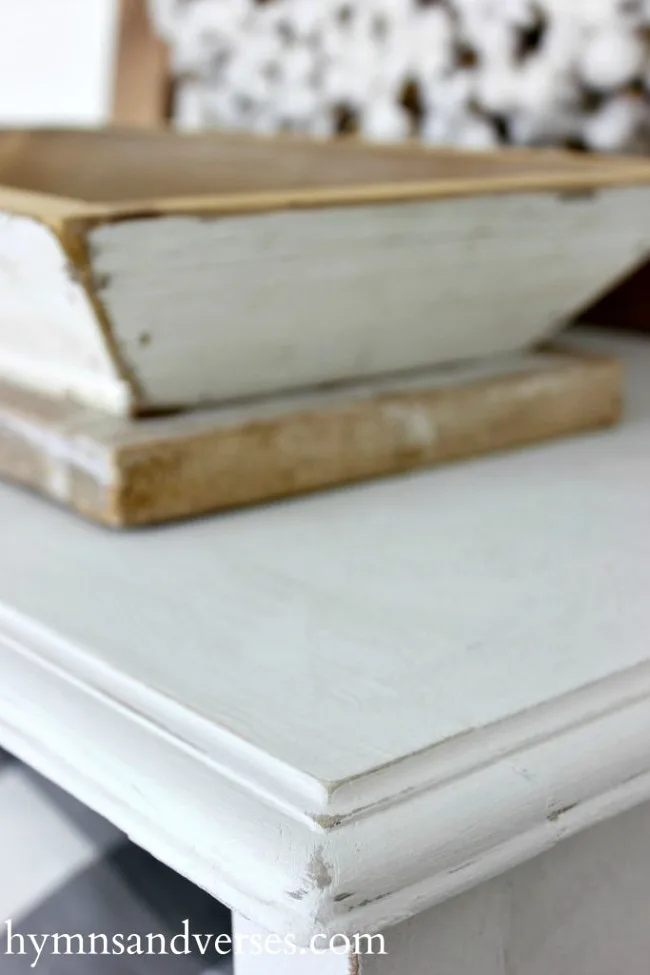
After it was completely dry, I lightly sanded the entire piece. You can see there are slight color variations that magically appear and give the finished piece that charming, “Old World” look. I didn’t paint the white beadboard, because I liked the bright white contrast. I also used some bright white paint I had on hand to paint the shelves.
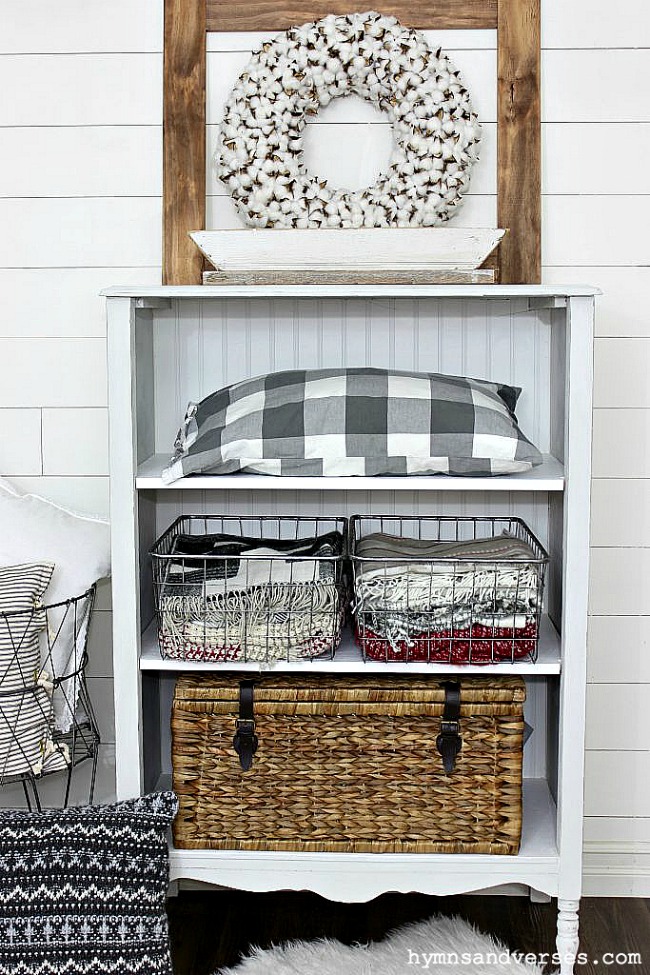

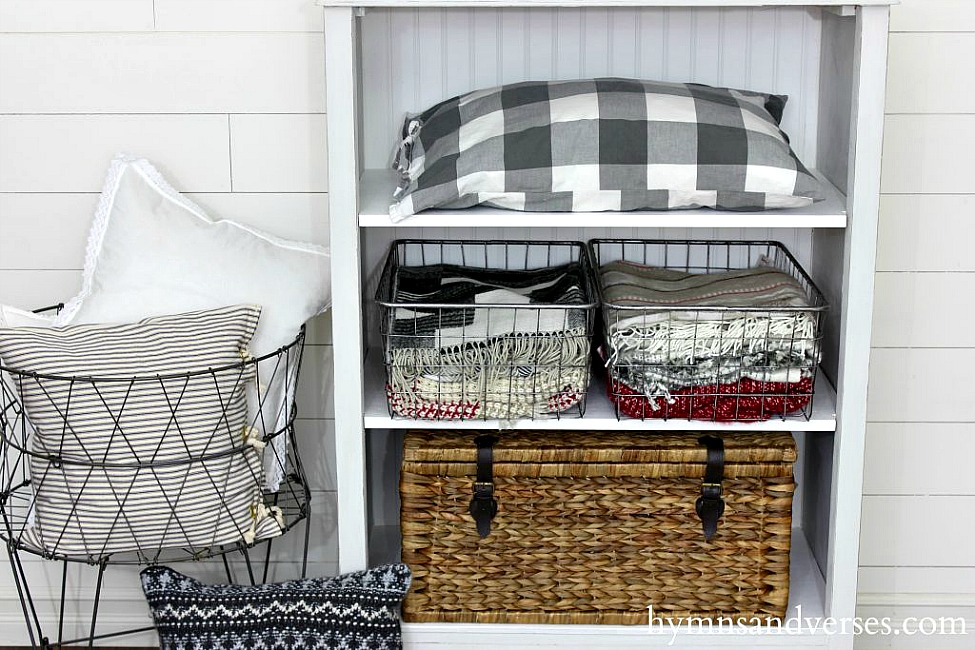
Because my upstairs hallway is hard to photograph, I staged the finished piece in the living room. I picked up two wire baskets and the large, basket with the lid at HomeGoods. The shelves are tall and deep and will be great extra storage for pillows, blankets, throws, and quilts. The vintage style laundry cart is from my bedroom. I use it to hold the extra bed pillows at night.

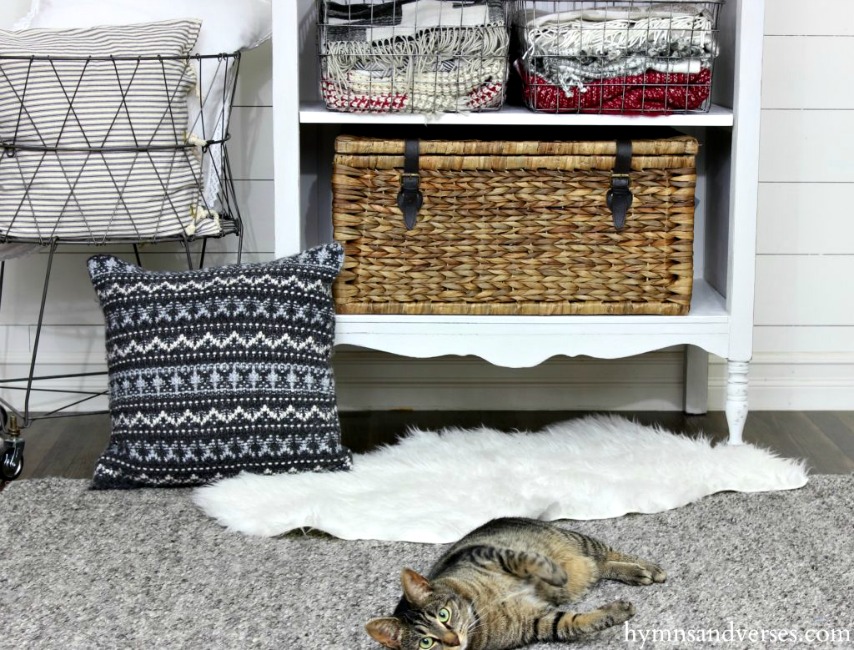
This will free up room in my over-stuffed linen closet! Of course, as I was taking pics, Sadie came into the frame to strike a pose!

These pics really say it all!
BEFORE

AFTER

So, my Trash to Treasure story has a happy ending! I now have the extra storage I’ve been wanting upstairs, and I saved this vintage wardrobe from the trash heap!
 #hymnsandverses
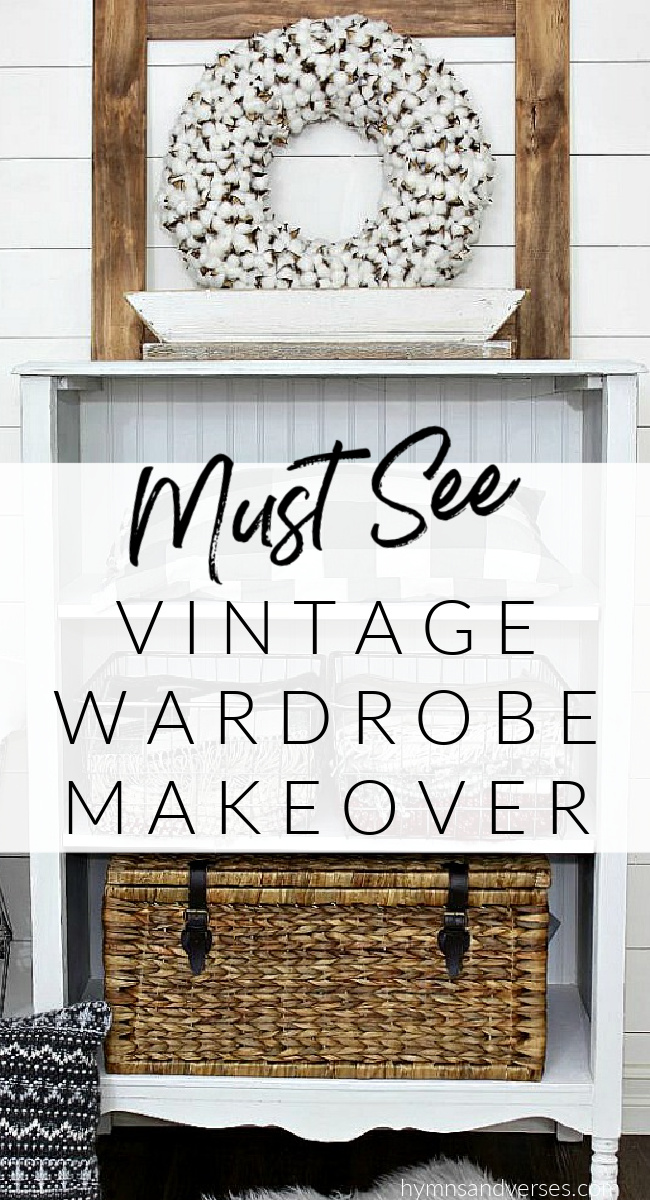
Kay
Saturday 24th of July 2021
What a great creative vision! It is beautiful! I love the doors, could you save them and create something with them? My cat is also Sadie, and she is very spoiled with love and yours is probably spoiled too!
Terri Schmidt
Friday 23rd of July 2021
Time well spent!!!
SUSAN
Friday 23rd of July 2021
Best dollar ever spent!!! Good job 👍
How to Refinish a Dresser - A Complete Tutorial - Hymns and Verses
Tuesday 29th of October 2019
[…] Trash to Treasure $1 Wardrobe Makeover […]
Cottage Style Dresser Makeover - Hymns and Verses
Tuesday 5th of February 2019
[…] love to hear what you think! Here are a few more furniture makeovers that you might like: Trash to Treasure – $1 Wardrobe Makeover Victrola Cabinet Gets a New Look Pin3ShareTweet3 […]