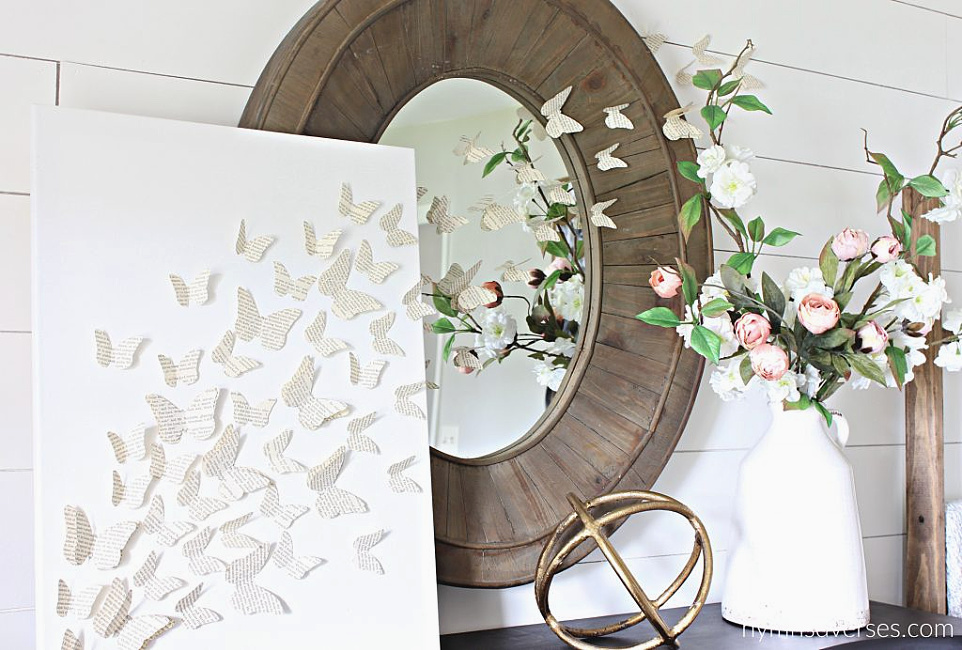
I’ve started to notice some butterflies in my flower beds and it gave me the idea to create some DIY butterfly artwork for my mantel. This Butterfly Cut Out paper craft is so easy, it just takes a little time and is easy to do while you are multitasking doing another task.
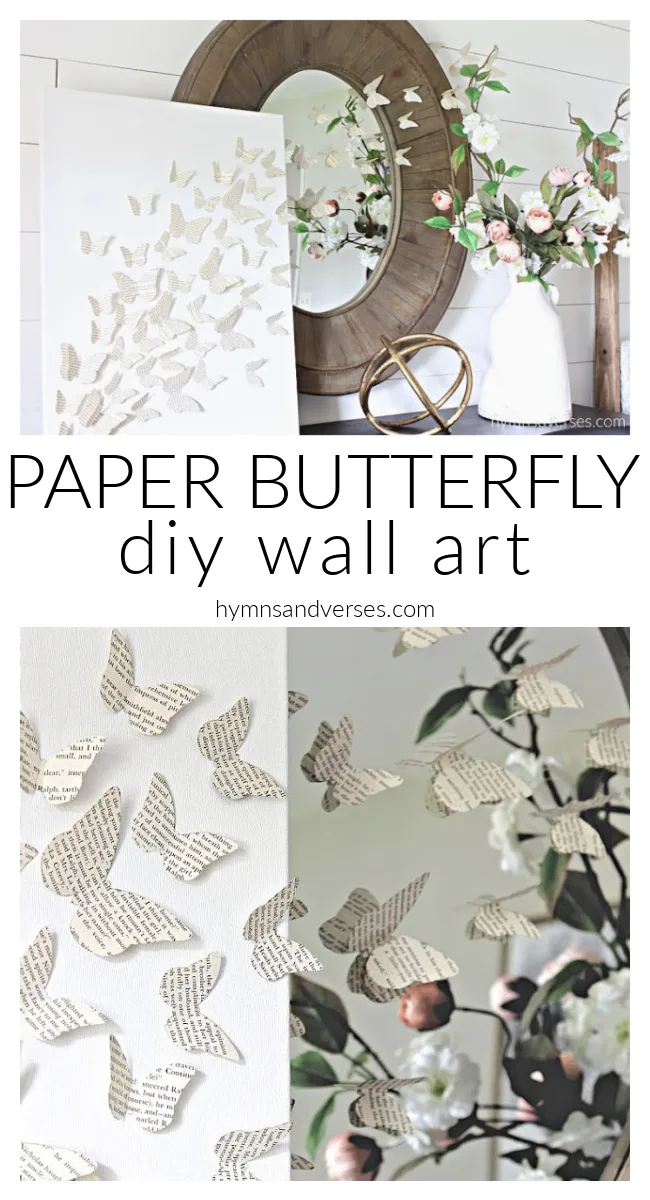
This is one of the easiest, fastest crafts you’ll do that will result in a beautiful piece of artwork for you to display in your home.


Why Make This Butterfly Cut Out Project?
- It’s easy enough for older kids and adults to do
- It’s a fun way to repurpose an old book
- It’s a great creative outlet and can be easily customized
- It’s affordable to make
- It’s a great way to make something special for your home or to give to friends and family as a housewarming gift
This post contains some affiliate links. Please see my full disclosure HERE.
Here’s what you will need to make this fluttering, 3D butterfly art
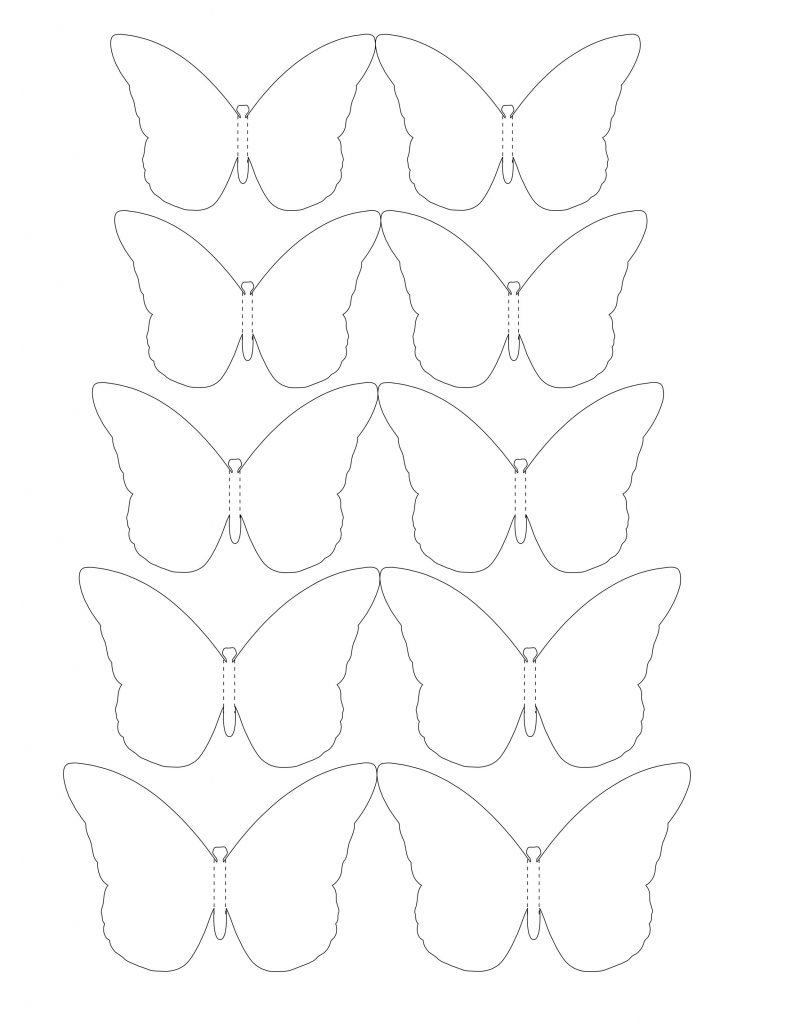
Butterfly Template (below)
How to Make Butterfly Art with A Butterfly Template Cut Out
Download the free butterfly template at the end of this post and print it on cardstock on your home printer.
Cut out one of each size of the butterflies on the template.
Trace around the cardstock butterfly shape with a pencil onto the pages of an old book.
Fold the paper butterfly wings where you would see the printed dashed lines on the template. This gives the butterfly cutouts dimension.

Now for the fun part! Attach the butterflies to the artist canvas using glue dots. Roll the glue dot with your finger to remove it from the backing paper, so the dot ends up in more of a narrow straight line – perfect for attaching to the narrow body of the paper butterfly.
Layer some larger butterflies with smaller butterflies to create more dimension. I didn’t do this with all of the butterflies because I thought it gave more visual interest with just some of them being layered, but you use your best judgment when placing the butterfly cut outs.
You may need to adjust the butterfly’s wings after you’ve placed them on the canvas.
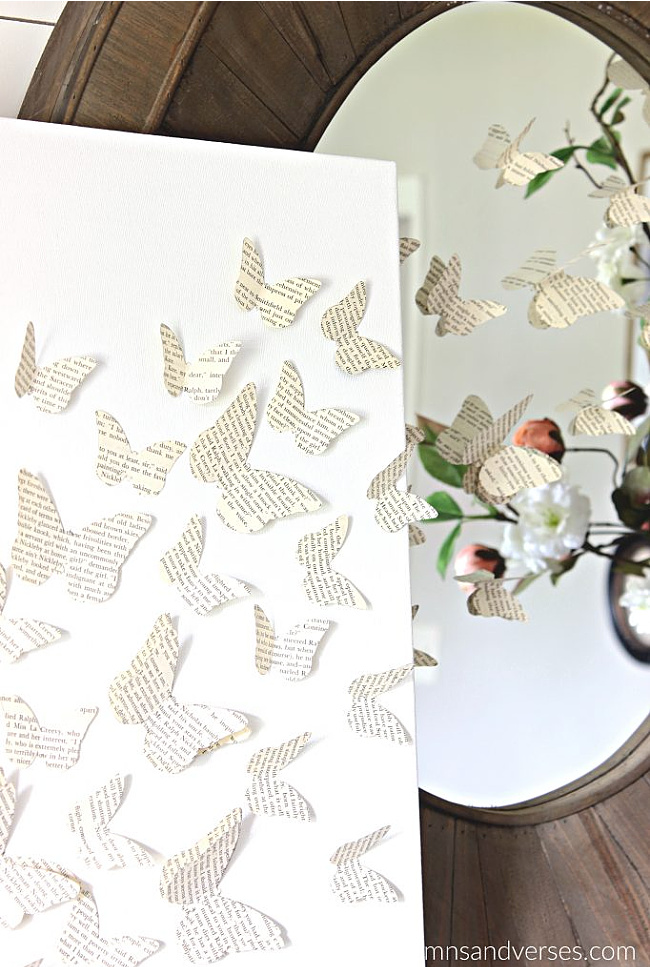
Attach the paper butterflies from the lower left hand corner of the canvas to the upper right side of the canvas. Vary the direction slightly as you place the butterflies on the canvas, so they aren’t flying in a straight line.
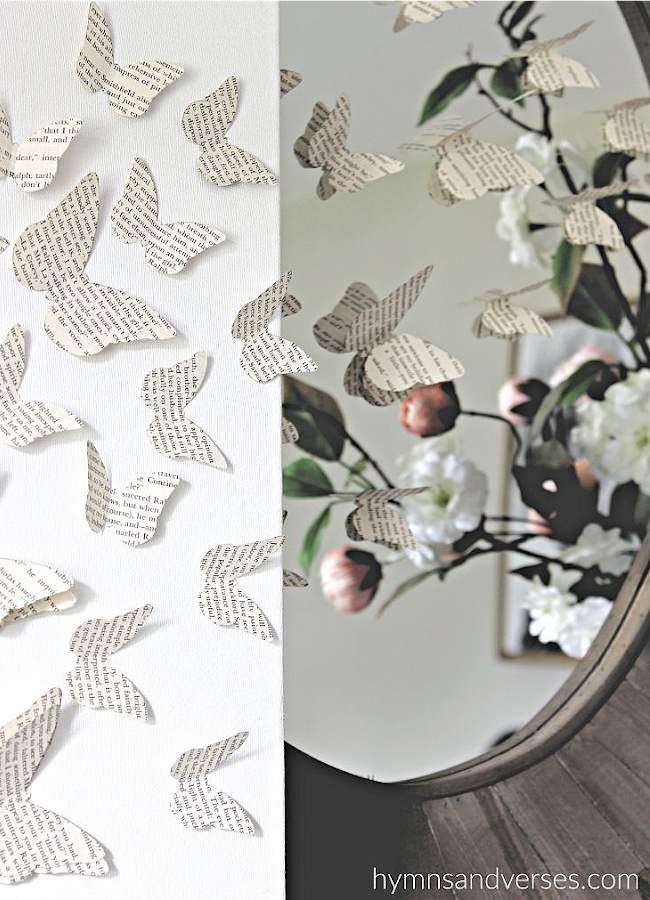
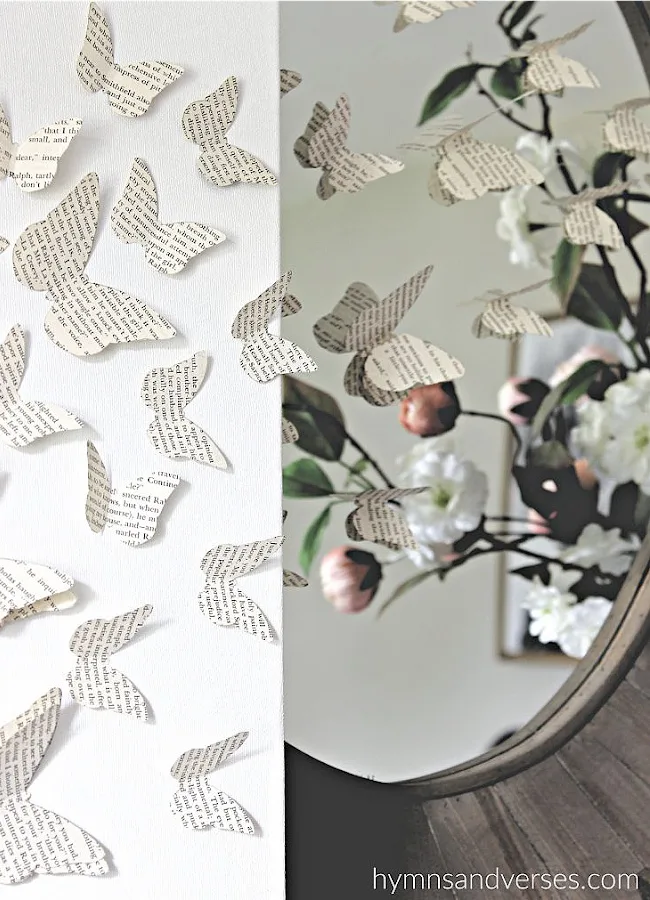
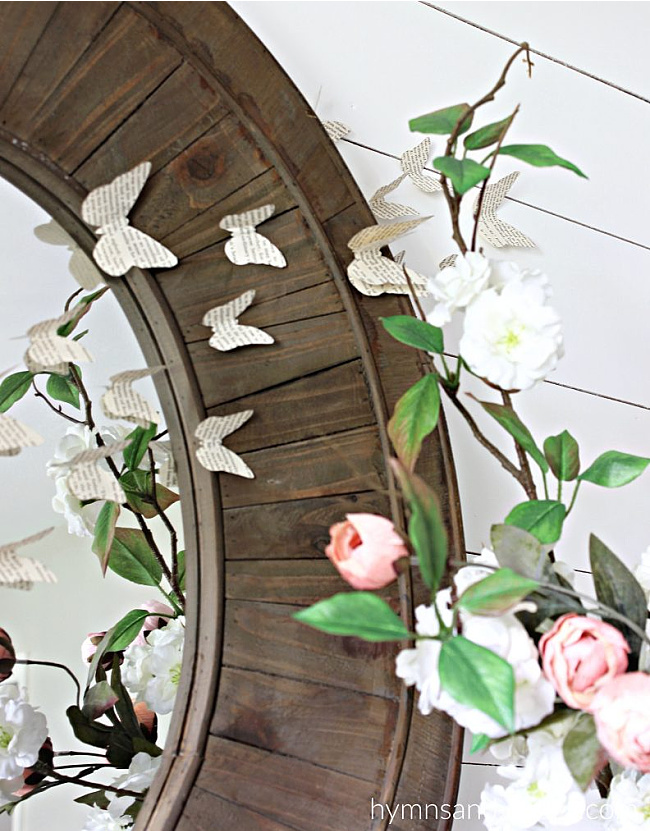
I continued adding butterflies going off the canvas and onto the mirror layered behind the canvas, across the mirror, and then onto the wall.
Then, I gradually reduced the amount of butterflies from left to right. See photos below.

This paper craft project is fun and so affordable.
It’s not hard to do, but does take some time since you need to trace and cut out a lot of paper butterflies.
If you have a Silhouette or Cricut cutting machine, you could use it to do the time consuming cutting work for you!
I do have a Silhouette, but I did end up hand cutting the butterflies by hand. Crazy, I know!
You could also use colored paper and it would look fantastic using the same color, but varying shades, and going from dark to light to create an ombre effect.
Cutting the different size butterflies is a great way for kids to work on fine motor skills as they help you with this butterfly craft. This free butterfly craft would be great for elementary school kids when you need the next craft project to keep them busy or need some quiet time.
You don’t need many craft supplies and in fact, what you do need, you probably already have on hand, minus the free butterfly printables I’ve provided for you below.
If you do not want to use an old book as the pages for your butterfly cut outs, you can use craft paper, construction paper, or any other kind of paper that you wish to make butterflies from.

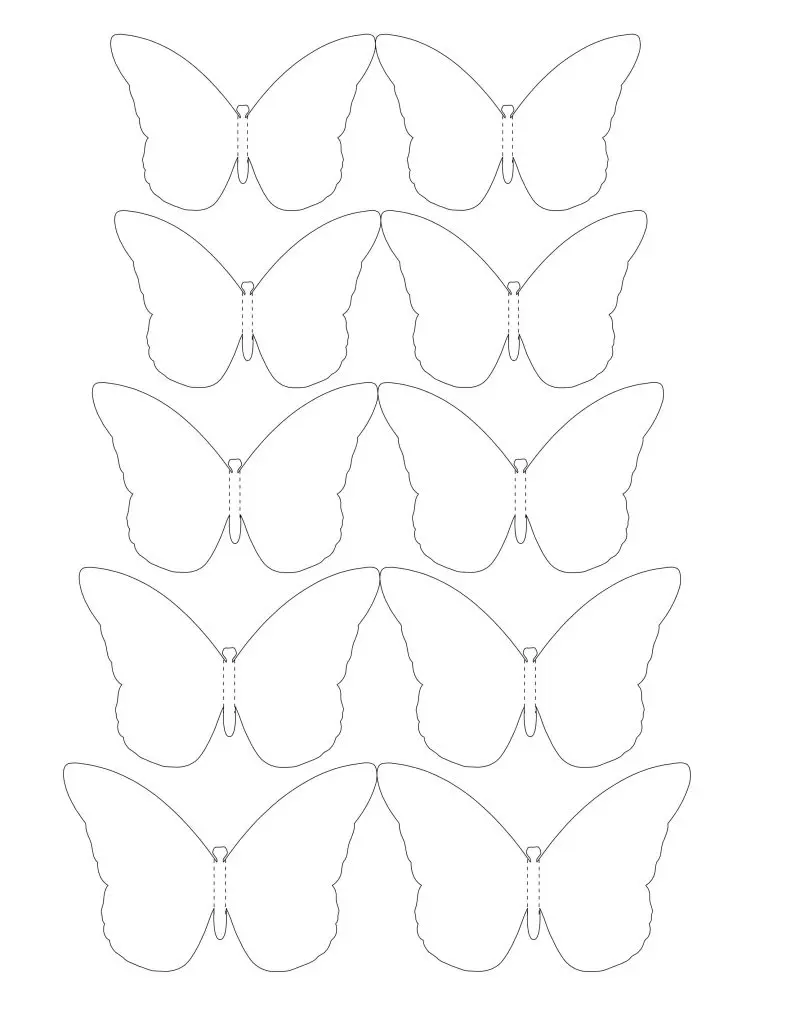
butterfly template
Just click and drag the image to your desktop and print it on your home printer.
I hope you enjoyed this little DIY art project for summer! Let me know how you decorated your canvas in the comments below.
Did you use glitter, colorful markers, or paint? Did you create stripes and dots? I’d love to hear what color combinations you used for ombre effect too! While you don’t have to decorate or dazzle up the canvas that you’re working on, it’s a fun way to add little extra flair to your fun, butterfly craft projects.
I hope you enjoyed this little DIY art project for summer! Please take a minute to share it with your friends on Pinterest, Facebook, or Instagram!

Here are a few more paper craft DIY projects to try!
DIY Pinwheel Tutorial and Template
Sheet Music Poinsettia Flowers
sondra d spencer
Friday 9th of July 2021
I love this! Thank you so much!
Heather
Friday 22nd of March 2019
New subscriber! I found you through your concrete counter top post but am loving everything else I see as well:) This is such a beautiful idea:)
Doreen Cagno
Friday 22nd of March 2019
You just made my day, Heather!!! So glad to have you here!!!
ROSE LEFEBVRE
Wednesday 30th of May 2018
I have seen this idea before and not had the template. Thanks! Plan to try it!
Mallory
Wednesday 30th of May 2018
Turned out beautiful!!!
Deiga
Wednesday 30th of May 2018
Beautiful! I need to try this.