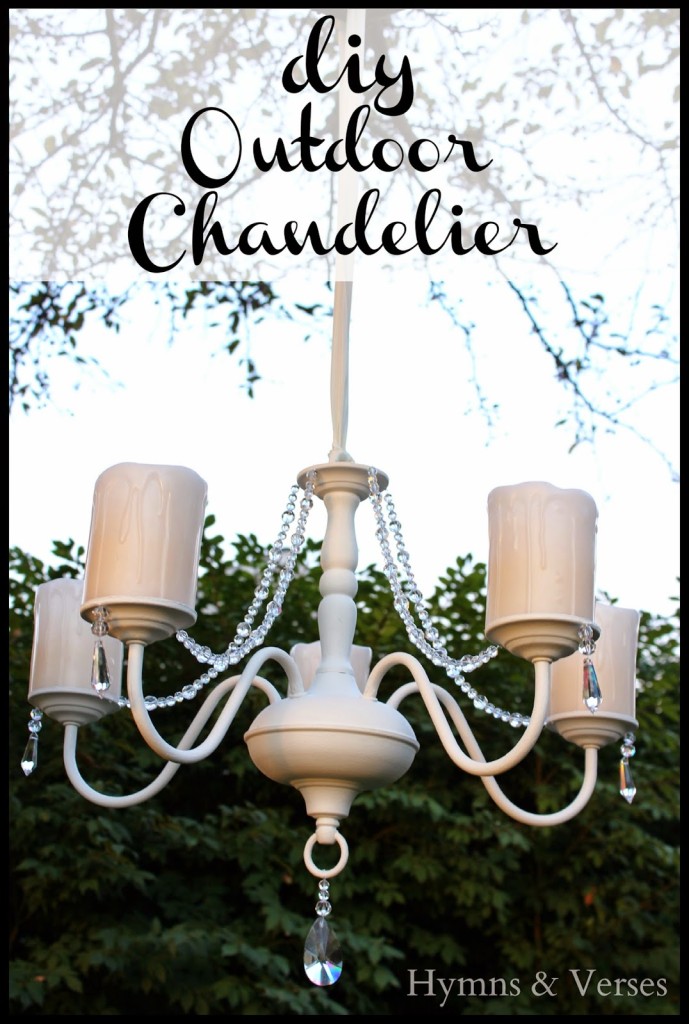
If you are a regular reader here, you probably know my son is getting married this coming October! Can you tell, I’m just a little excited! One of the things I’ve looked forward to since the engagement almost a year ago, has been planning a bridal shower for Sarah! I love to plan a party! I’ve helped my friends plan baby showers and bridal showers and now it’s my turn to plan for MY son’s bride! I’m full of lots of ideas and have to try really hard not to go over the top – is a chandelier dripping with crystals too much? I showed this photo to the hubs and he said – tooooo much!!! I agree, but I do like the idea of an outdoor chandelier – it’s just so romantic!

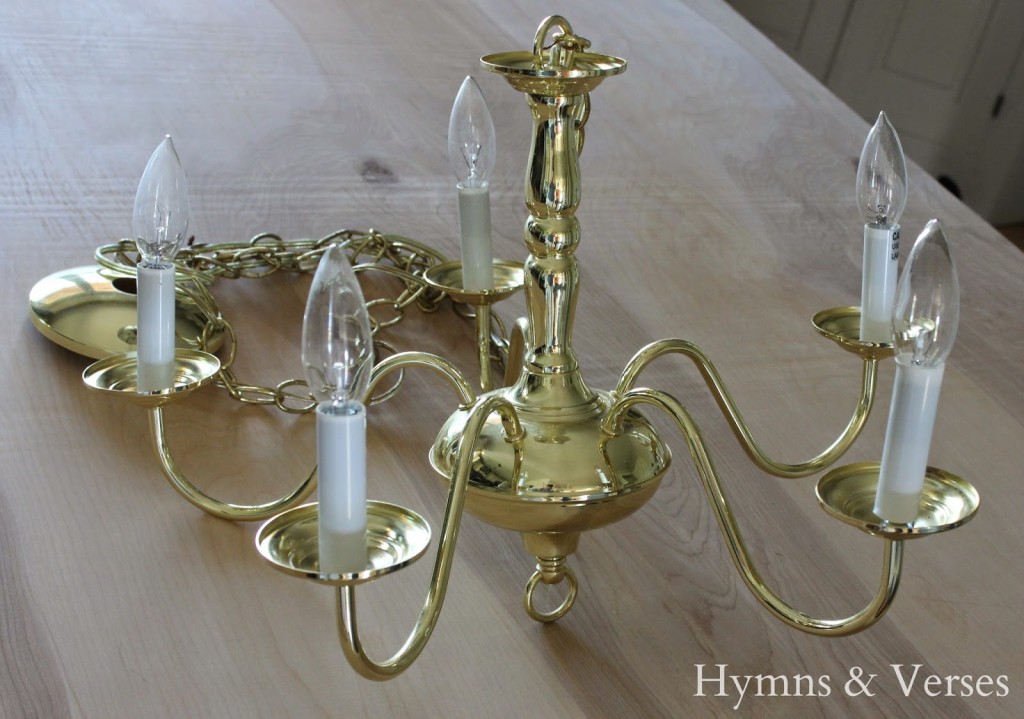
When I saw this gem at the local thrift shop and they were having half off on all lighting, I snatched it right up for a whopping $5! I knew with a little paint, some battery operated candles, and some sparkle that it would be perfect as an outdoor chandy for Sarah’s shower and future outdoor parties.
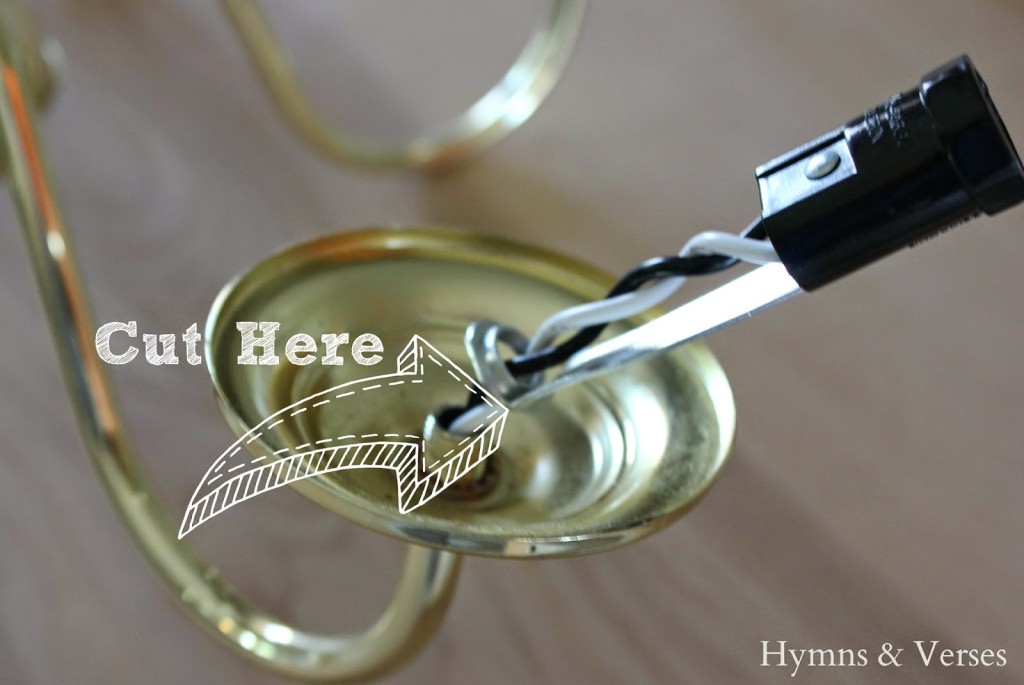
The first thing I did was remove the wiring from the chandelier and Mark snipped off the metal piece that held the plastic candle cover. I also had him cut off the heavy chain, since I wanted to hang the chandelier from a ribbon.
The next step was to paint over the bright and shiny brass! I wanted to use a chalk-based paint because it would adhere best to the brassy finish, but I wasn’t sure about the durability, since this would primarily be used outdoors and would need to hold up to the elements. So, I was super excited when I heard that Maison Blanche had introduced a new outdoor line of their vintage paint! This paint has all the same great qualities of the Maison Blanche vintage paint, but is formulated with UV filters to help the paint color stay truer for a longer period of time. The paint is also permeable, which allows it to breathe and expand.
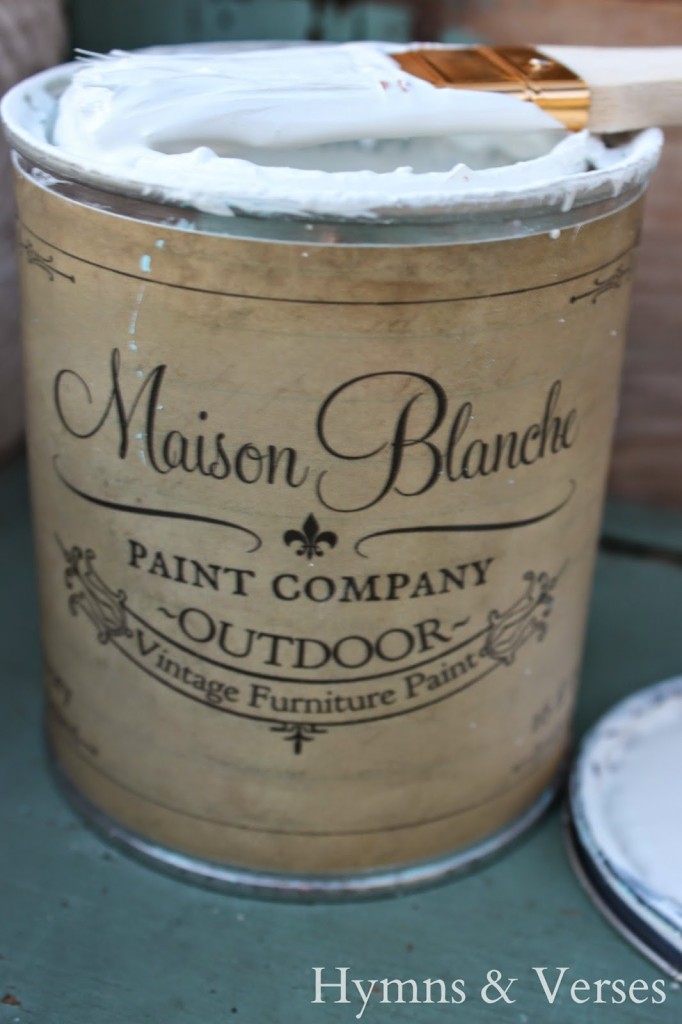
I decided to keep the color simple and used the outdoor paint in ivory, so the chandelier will go without just about any color or theme. The outdoor paint seemed to be a little thicker than the regular Maison Blanche Vintage Style Paint, but had the same amazing adherence. I used a one inch chip brush and applied two thin coats. It’s best not to go heavy with the paint, especially when you paint something shiny and smooth like this. I had a few places where I did get a little more paint and it looked a bit gloppy, so I used a very fine grit sandpaper and sanded those areas down. Also, it’s important to let the paint completely dry before applying another coat. Once my paint was dry, I applied two coats of Maison Blanche Matte Varnish for added protection.
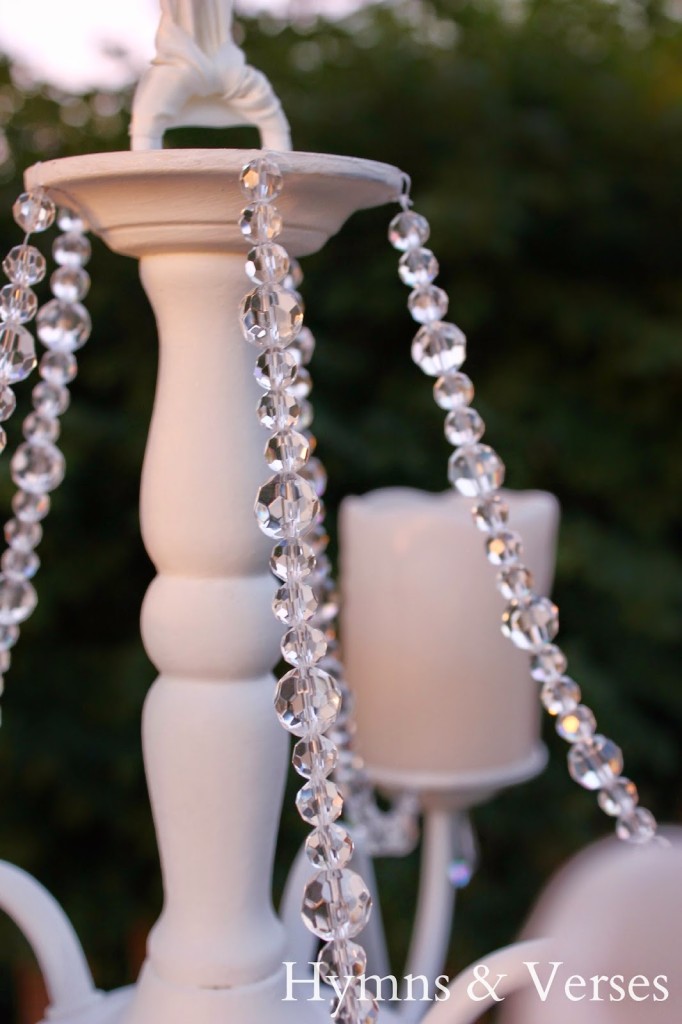
Now for the sparkle. I picked up some clear cut beads in two different sizes from Michaels at 40% off and then at AC Moore I found crystals to hang from each candleholder and the bottom ring. I used simple fishing line to string the beads and attach them to the lamp by tying the line through the holes that Mark drilled. I also purchased 3 yards of ivory ribbon and looped it through the top ring for hanging.

I found the flameless candles at HomeGoods. They were 3 to a pack for $9.99 HomeGoods is THE place to buy these battery operated candles. At all of the craft stores, they ran $7.99 per candle! Even with a coupon, you can’t beat the HomeGoods price! I was so excited when I brought them home and they fit the candleholders perfectly!
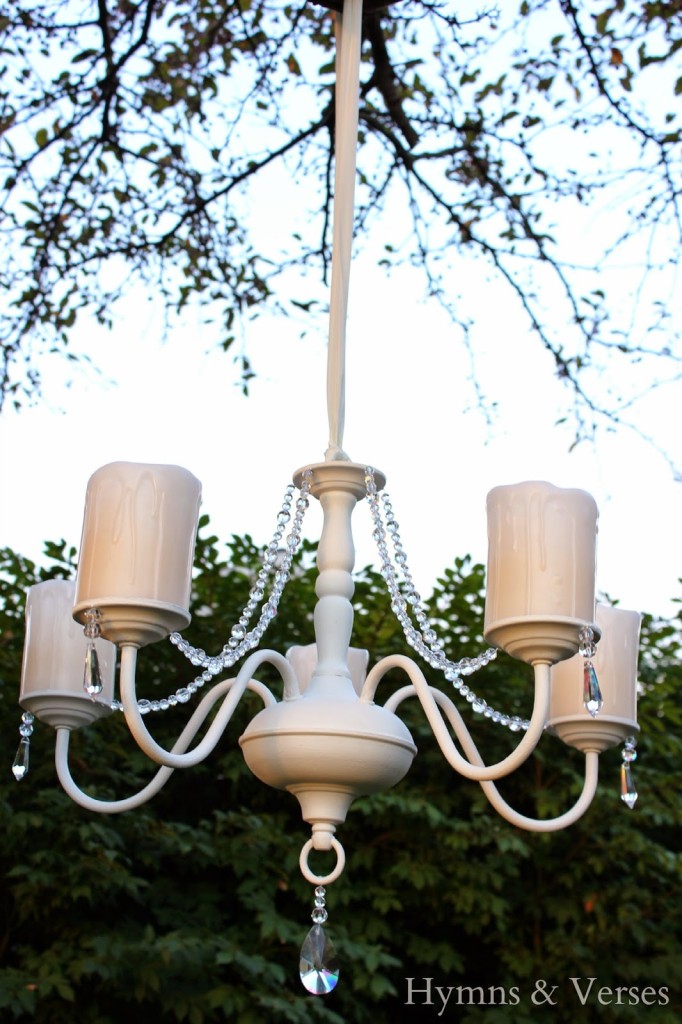
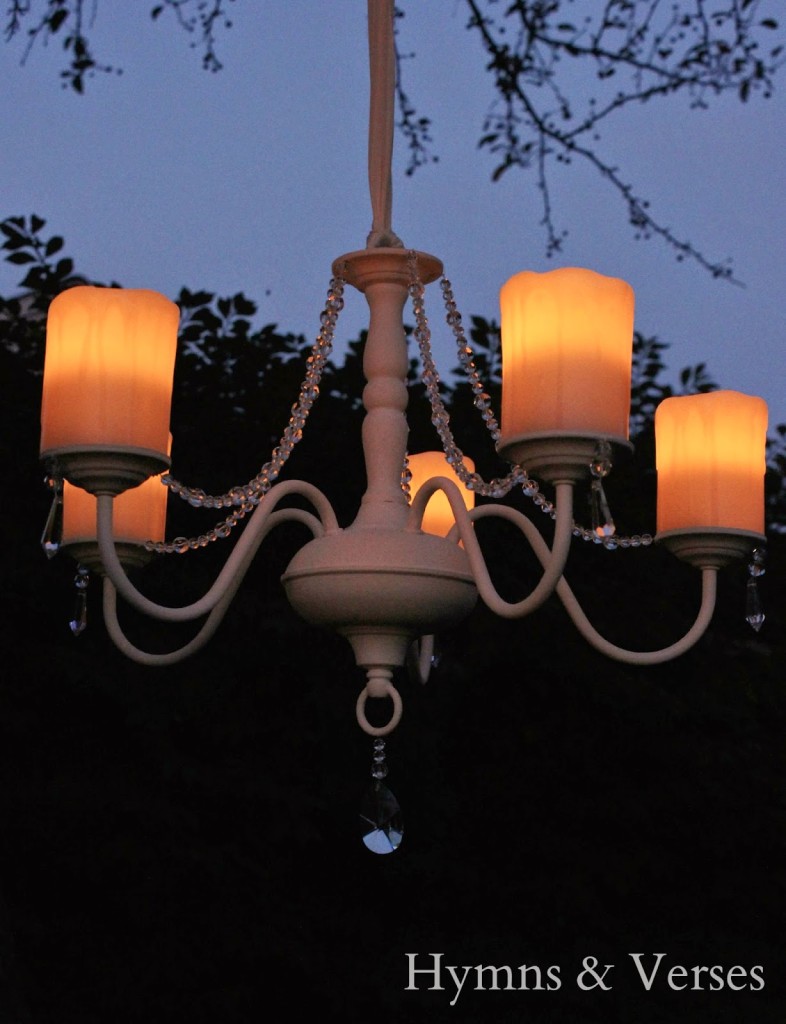
It’s definitely a simpler version of my inspiration, but it’s still a bit of glam for an outdoor bridal shower! And for the true test, how does it look hanging from the tree branch at night?
For more information about Maison Blanche Vintage Paint, visit their website HERE. Another really helpful tool for the Maison Blanche paint line is their Youtube channel, where you will find informative videos for their different products. Here’s the video for the outdoor paint.
Today I’m joining with my “partners in paint” to show you projects using Maison Blanche Vintage Outdoor Paint! Below are links to each blogger’s post – you won’t want to miss a single one!

This is a sponsored post. That means I have been compensated with product and/or payment to review and share my opinion with you. I will always give you my honest opinion and won’t share anything with you that I wouldn’t use in my own home.
Karin Chudy
Friday 29th of August 2014
oh my gosh! You are a genius! I just love it!Amazing makeover!Hugs,Karin
marty (A Stroll Thru Life)
Friday 29th of August 2014
Now how fun is this. I love it. Such a clever idea.
Gigi Harlan
Friday 29th of August 2014
I love your chandelier! What a great look! You have inspired me to start looking for chandeliers to redo, love it!
reFresh reStyle
Friday 29th of August 2014
I love it! It turned out great :)Debbie
Bliss
Friday 29th of August 2014
I have a son who had a fall wedding, and I loved everything about it, especially my daughter in law. But the chandelier I have almost identical to yours became a Halloween decoration and is black and creepy now.