Happy Monday! I’m here today with something new inspired by a song that always comes to mind this time of year – My Favorite Things from The Sound of Music! Last year I made a large sign for my mantel with the lyrics from this song. You know that I love signs that are inspired by song and hymn lyrics, but I’ve been struggling with a few things. Making hand painted signs to sell takes me away from my blog and these large signs are pretty expensive for the average person. This is one reason why I closed my Etsy shop earlier last year.
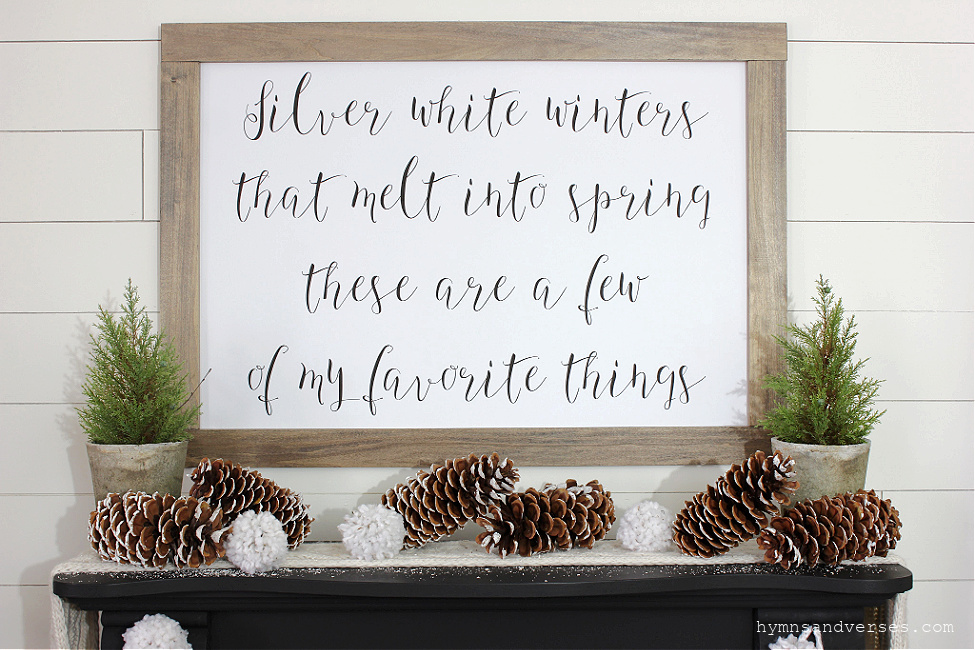
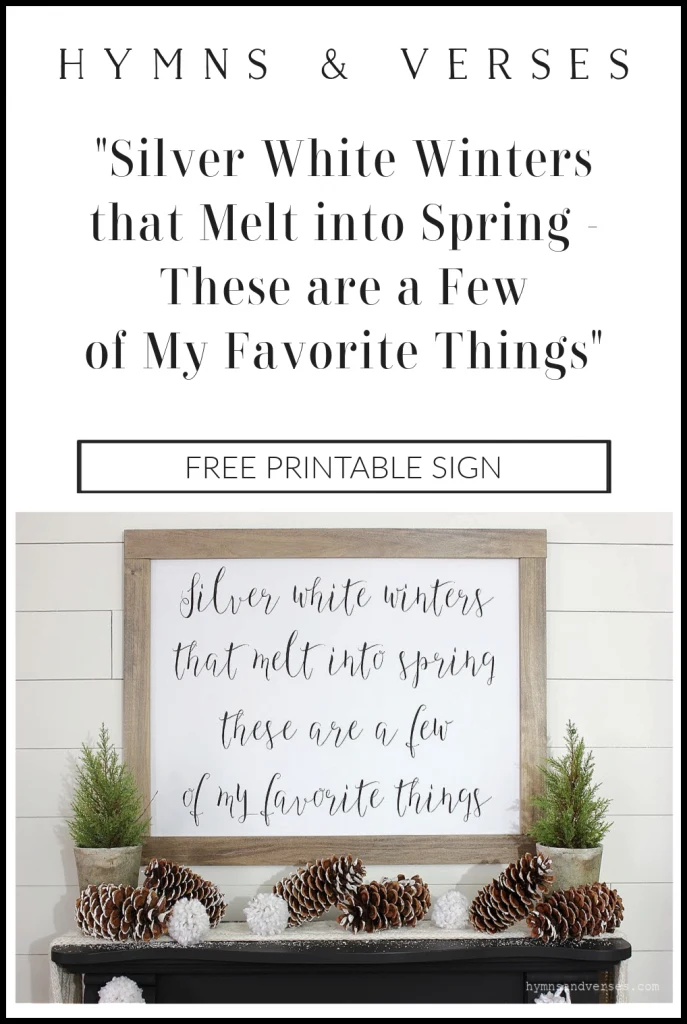
My Favorite Things Printable Sign
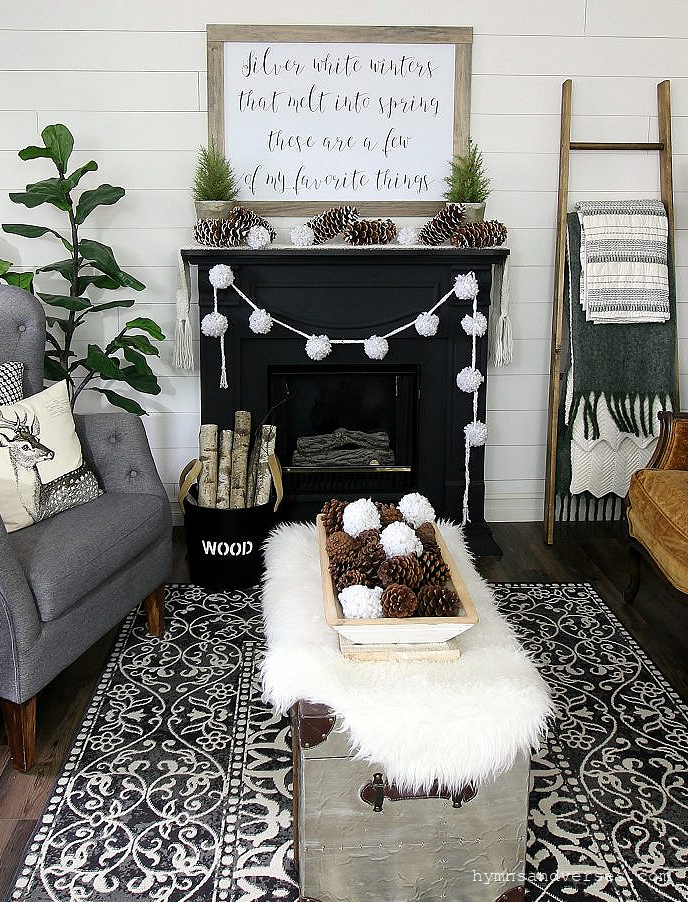
After lots of thought, here’s what I came up with. I will design large scale printable signs. The printable signs can be downloaded, printed as an engineering print or poste, and framed. You can find some of these printable signs in my Free Printable Library. Here is the finished My Favorite Things printable sign above my mantel.

add foam core to the printable sign
Once you have the engineering or poster print, you should attach it to foam core board for stability. I got a large piece of foam core board while I was at the office supply store that was large enough to attach the print. I used a general purpose spray adhesive on the foam core board and then carefully applied the engineering print paper. Work from left to right when applying the print to the foam core board and make sure you smooth out any air bubbles. Once the print is adhered to the foam core board, you can trim the foam core board if needed.

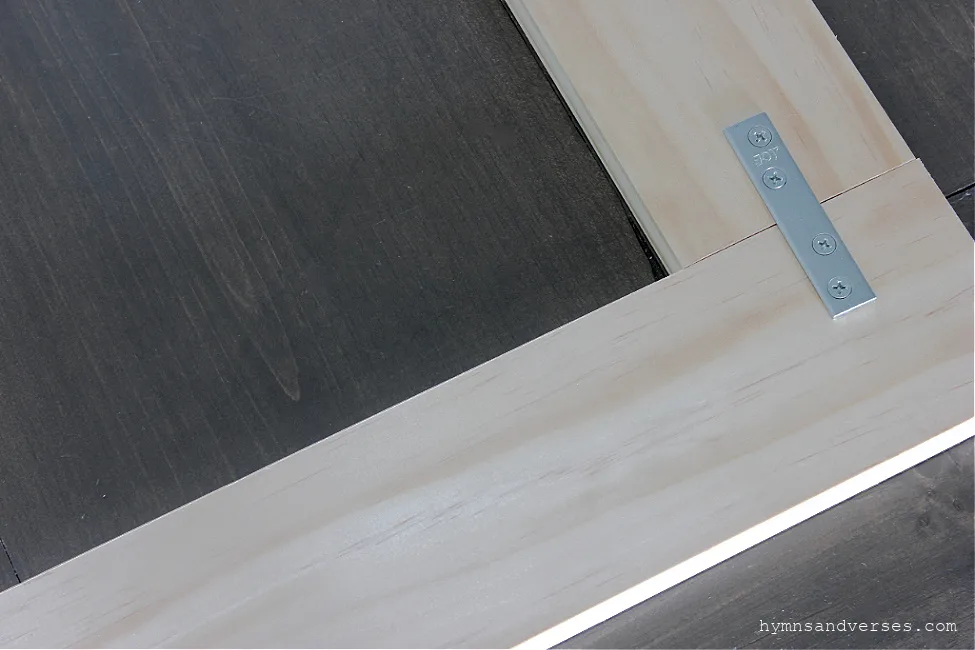
framing the printable sign
The print is formatted as a 24 x 36″, which is a standard size for frames if you want to just purchase a frame for the print. But, it’s so easy to make your own frame and that’s what I did. You just need 1 x 4″ wood and a little piece of hardware called a mending brace to join the wood pieces together. You only need a screwdriver to attach the mending braces to the four corners. I was able to make the frame myself – yes, no help needed from the hubs!!! Then, attach a sawtooth hanger to the top of the frame and it’s ready to hang! I just used thumb tacks to attach the foam core board to the frame back.
If you do decide to purchase a frame and it has glass, I would suggest removing the glass. To do this, just take the glass out of the frame, place your print in the frame and put the glass in the frame behind the print. This will keep it safe in case you want to use the glass later for another print. Then add whatever backing board that comes with the frame.
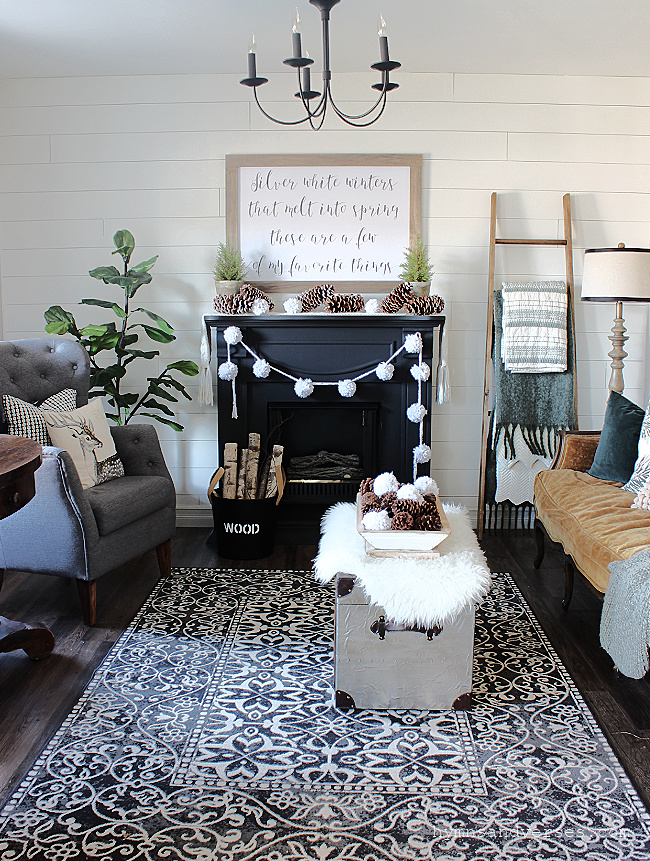
winter mantel details
To complete the wintery look on the mantel, I used my pom pom garland that I made years ago! On the mantel top, I used a cable knit scarf as a runner, some large sugar pine cones, and a few more pom poms.


Can you believe these mini cypress trees are faux! I got them at a local specialty shop a few years ago after Christmas when they were on deep discount! This is the perfect time of year to search those kinds of shops for discounted faux greenery. I know most big box stores cleared out their Christmas decor on January 1. But, a lot of small shops still have some Christmas/winter decor that they want to clear out to make room for spring.

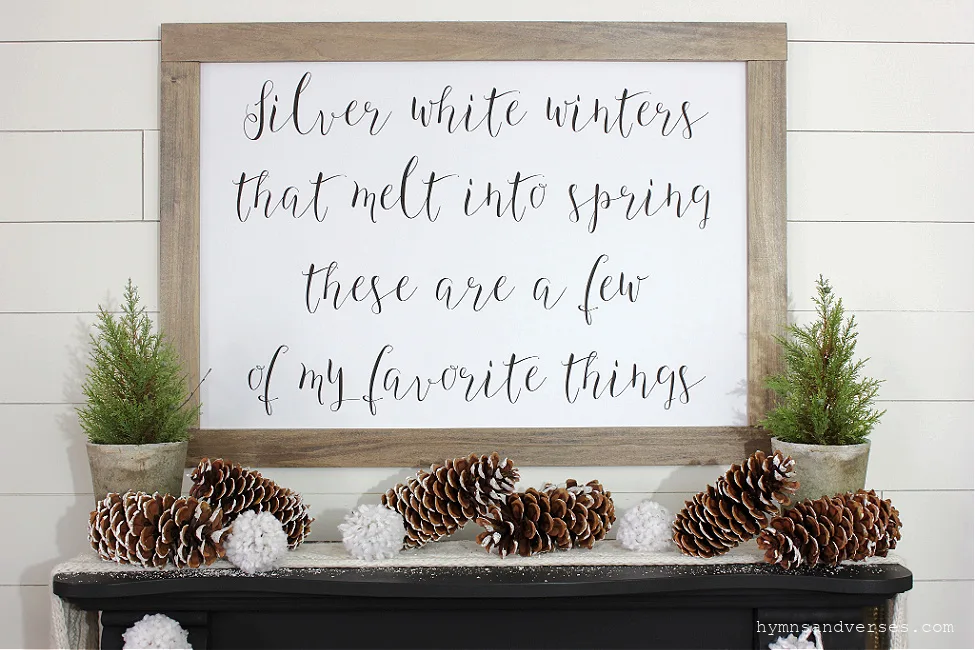
You will find the My Favorite Things printable sign in my FREE PRINTABLE LIBRARY under the ‘WINTER HEADING’. And, don’t forget to PIN the image below!

How to Make a Pom Pom Garland - Hymns and Verses
Tuesday 5th of February 2019
[…] Cut a piece of yarn about 8 inches long and set aside. In your left hand, drape the end of your yarn (attached to the skein) over three or four of your fingers (the more fingers, the larger the size pom pom). I usually use four fingers. Hold the end of your yarn with your thumb. Now wrap your yarn around those four fingers fifty times – not too tight. Cut your yarn so that you can hold the end with your thumb. Now take the 8 inch piece of yarn that you cut earlier and push I end down through your two middle fingers (closest to your hand). I use the end of my scissors to get it started. Once you can reach it on the palm side of your hand, pull the end through. Now, take that end and bring it up and through the same two middle fingers near your fingertips. Tie both ends together. Remove the tied yarn from your hands and tie once more to make a knot. Do NOT cut the ends of the yarn that you used to make the knot. You will need this to hold onto your pom pom in the next step. Now, using your scissors, cut through the loops made on both sides. You will end up with a rough looking pom pom like this. Now, here’s my favorite part – give your pom pom a haircut! Cut off the ends and shape your pom pom into a nice, round ball! I usually end up cutting off between 1/2 to 3/4 inch all the way around. It really depends on what size and how well formed you want your pom pom. Make as many pom poms as you need for your garland. I used two kinds of yarn and alternated the colors in my pom pom garland. Cut another piece of yarn the length you need for where your garland will go. Now, just tie your pom pom to this piece and trim the yarn ends that you have been using to hold your pom pom so they blend in with the rest of the pom pom. Space the pom poms equally along your length of garland. For the ends, trim the garland yarn piece to blend in with the rest of the end pom pom. That’s it – you have a pom pom garland – a simple and fun project, perfect for a cold winter evening that you can do while you watch TV! I hope you have a wonderful weekend – now go get some yarn and make a pom pom! I’ve used pom pom garlands in my decor a lot through the years. You can see some of those spaces in these posts. My Favorite Things Printable Sign […]
Best of 2018 at Hymns and Verses - Hymns and Verses
Monday 31st of December 2018
[…] 1. My Favorite Things Printable Sign and DIY Frame. If you’ve followed me for a while, you know that I always think about the song, “My Favorite Things” from The Sound of Music this time of year! Especially the phrase, Silver White Winters that Melt into Spring! I created a printable that can be enlarged as an engineering print and showed you how to make a DIY frame for it in this post! […]
Heather Ottena
Tuesday 20th of February 2018
Totally off topic (I love your sign), but can I get more info on that Gray chair?! I've been scouring the internet for one's just like this but have been unsuccessful!!!
Doreen Cagno
Tuesday 20th of February 2018
Hi, Heather!
Here's a post I wrote about my gray chairs- https://hymnsandverses.com/2017/09/gray-tufted-chairs.html
Nan, Odessa, DE
Wednesday 31st of January 2018
Thanks for sharing! I am printing the saying in chalk on my door with chalk paint, Thank you, again!
Share any sale you see on these greens or topiaries.
Kathleen
Tuesday 30th of January 2018
What a wonderful idea ~ one that will enable me to have more of your awesome pieces! I love your work, but I often find the cost of the piece (plus shipping, of course) prohibitive ... Thanks for blessing your followers with this gift, Doreen!
Doreen Cagno
Tuesday 30th of January 2018
I'm so glad you like this idea, Kathleen!