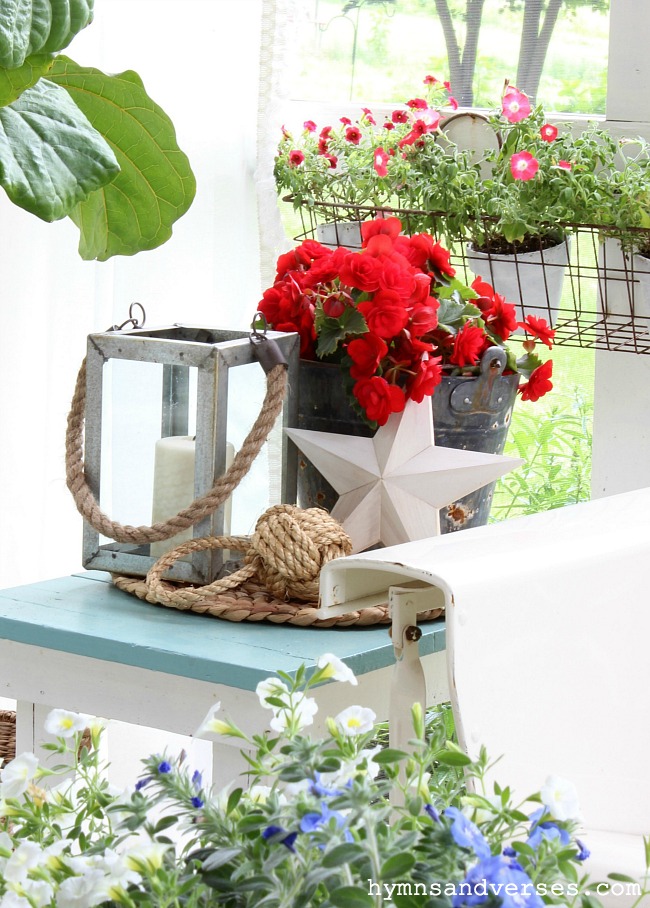
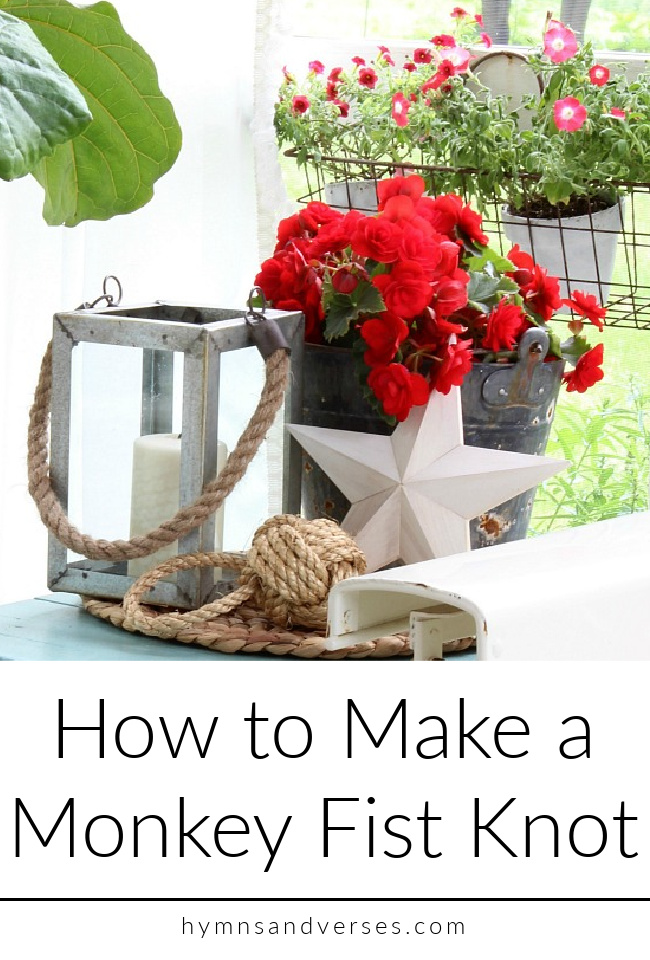
I know we’ve all seen the high end versions of the nautical knotted rope doorstop, or monkey fist knot; but I decided to try my hand at making my own. Surprisingly, it was pretty easy! And, if I can do it, so can you! Here’s my step-by-step tutorial for how to make a monkey fist knot!
Not only are these monkey fist knots incredibly simple to make and take just a few minutes, but they’re very versatile. They have a ton of different uses that we will cover later in this post.
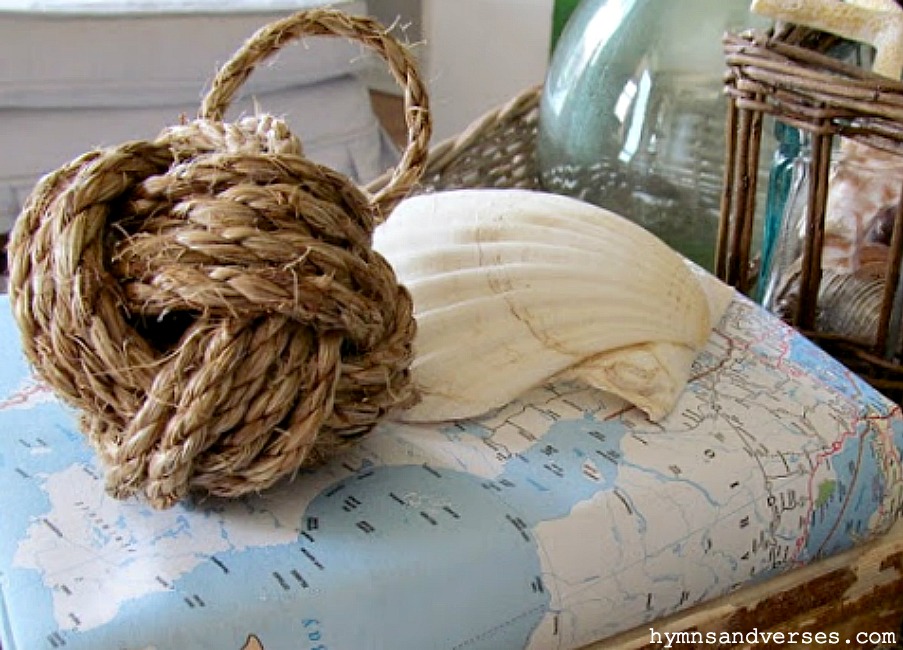
But, if you just like the look of them, like I do, they really do complete the coastal look you may be going for in your home that you just can not quite complete.
But, by taking a few minutes to make your own homemade monkey knot, you’ll finish fo that look in no time and finally complete your house decor project you’ve been longing to complete.
What is a Monkey fist knot?
A monkey fist knot is a type of knot traditionally used to make a heaving line, which was thrown from ship to ship or from ship to shore. It has the shape of a small round ball and is typically made with three or more strands of rope, knotted together in a way that anchors the core and creates a heavier, denser object.
This makes it easier for the knot to be thrown long distances. The knot can also be used as an ornamental knot, often used as door stops or keychains.
It requires some skill to create and takes practice to master it.
What are other names for a monkey fist knot?
The monkey fist knot is also known as the sailor’s knot, anchor knot, monkey’s paw, and ball-knot. It is a type of macrame knot that has been used by sailors for centuries to heave lines between different boats or ship and shore.
The knot is also popular among outdoorsmen as it can be used to create a strong anchor point in rope or cordage when climbing or rappelling. Because of its decorative qualities, it is often used in arts and crafts projects such as making doorstops or keychains.
Materials
For this project, you only need 1 thing:

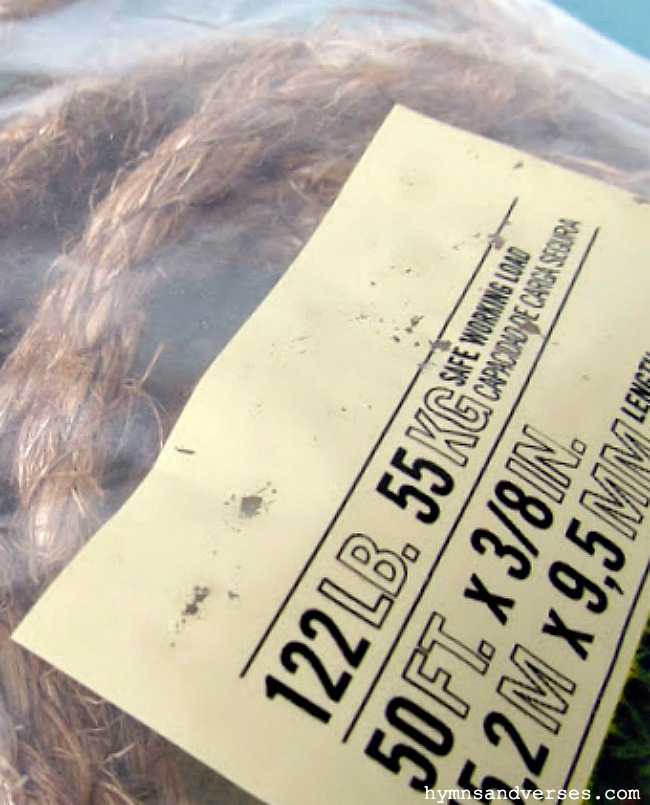
To make a knot the size of mine, you will need about 3 1/2 yards of jute rope.
You can also make this out of two different color pieces of rope to make a beautifully colored small monkey fist.

How to Make a Monkey Fist
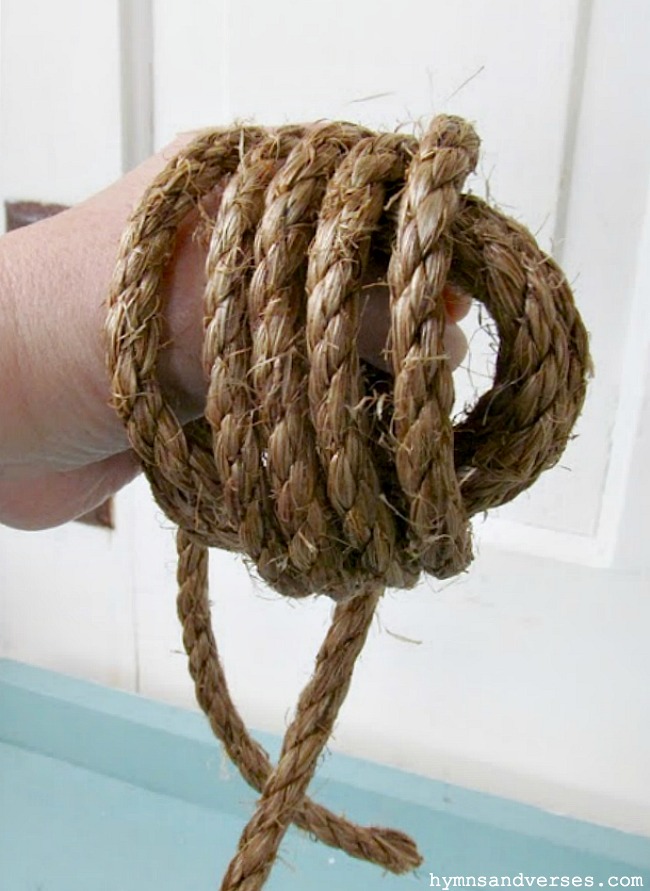
Step 1. Wrap the rope around your hand five times as shown below. I’m right-handed, so I used my left hand. If you are left-handed, wrap the rope around your right hand. Leave about a six inch tail at the beginning before starting to wrap. This is the first monkey fist.

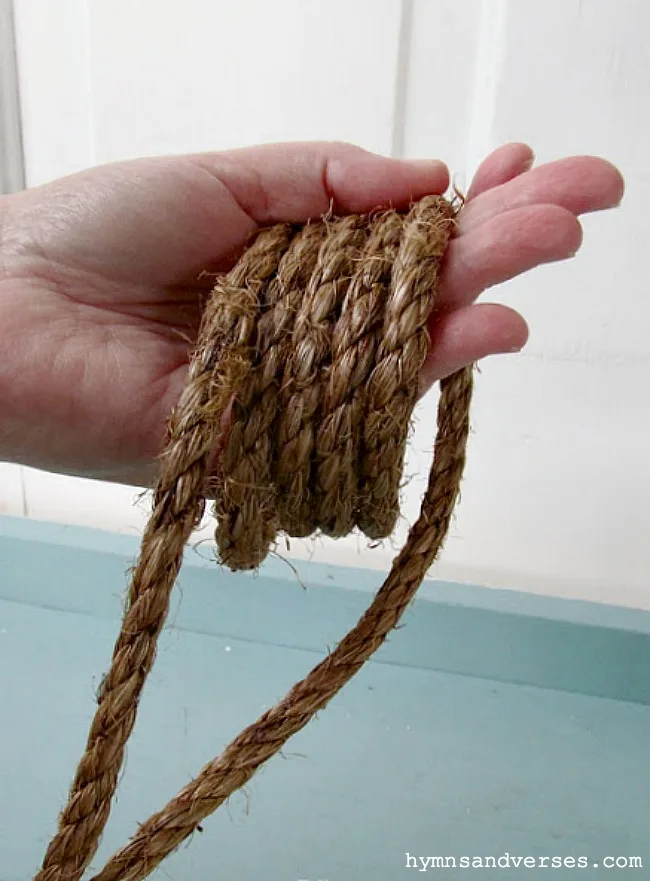
Step 2. Next, hold the rope in your hand so the five wrapped rows are now horizontal instead of vertical (shown below). Basically repeating the previous step in the other direction.

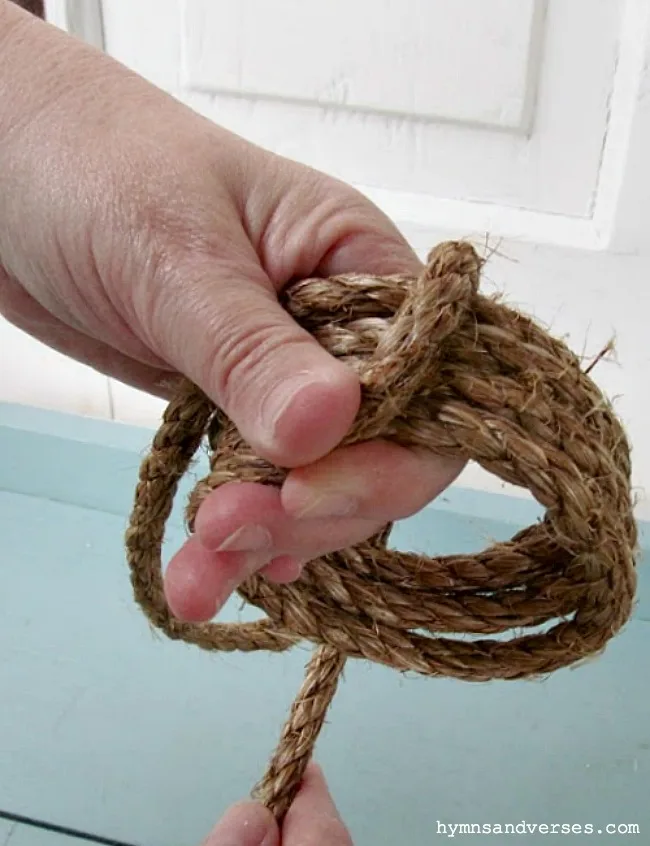
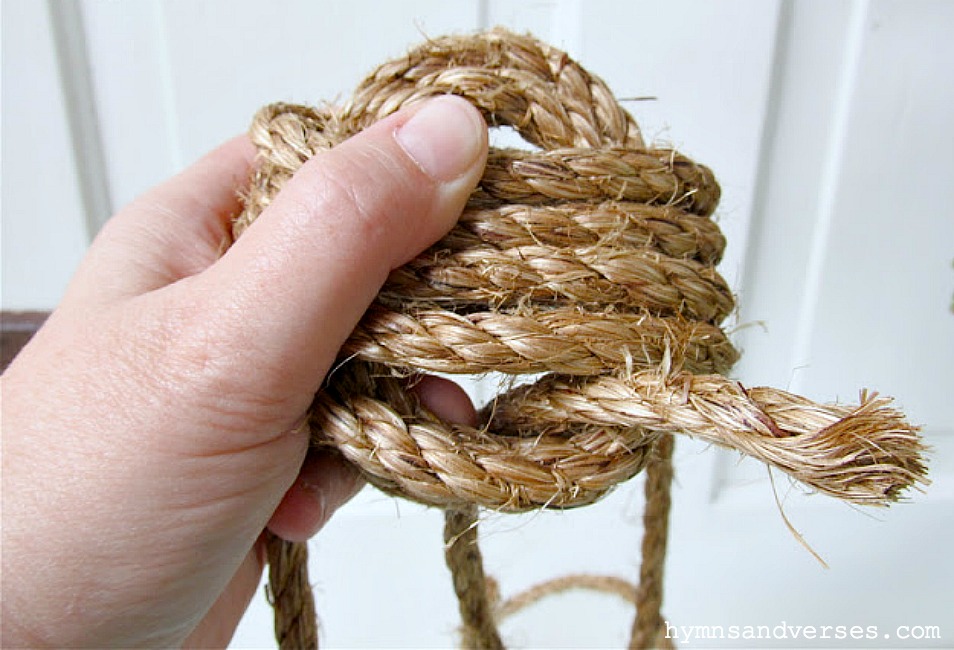
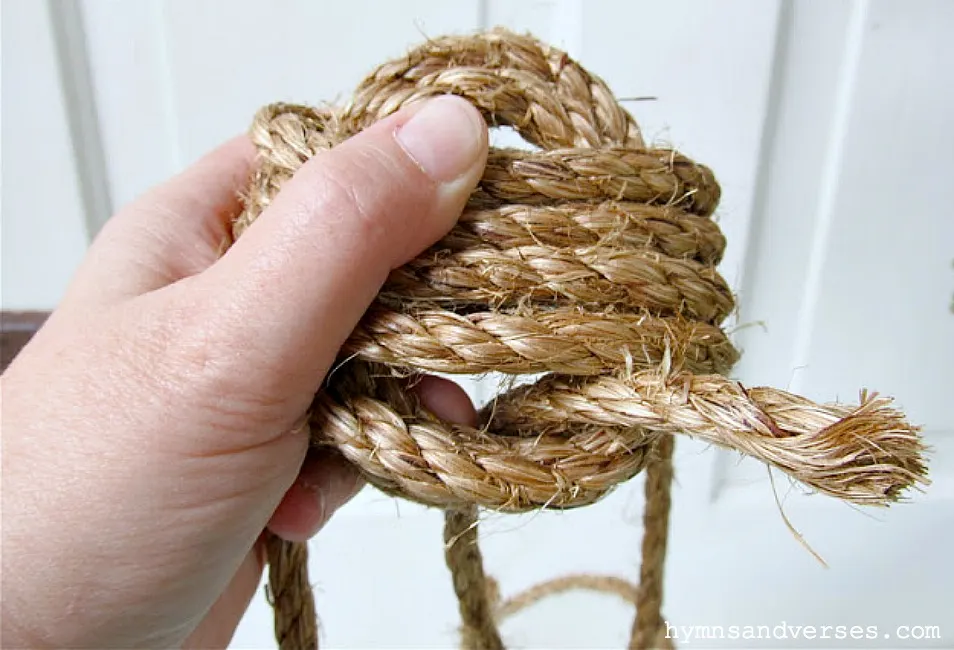
Step 3. The next step is to wrap the rope vertically around those five horizontal rows (around the first set of loops).
Step 4. Hold the rope so these last five rows are horizontal instead of vertical. Bring the end of the rope through the inside opening between the horizontal and vertical wraps (the center of the knot or monkey’s fist).
Tip: If the end of the line is starting to fray, you can quickly burn the frayed ends so the end cords are easier to work with. This doesn’t take long to do and can save you a lot of time if your strands keep fraying and are difficult to work with. Using a lighter is the easiest way to accomplish this.
Step 5. Now take the rope over and through the top opening to the back.
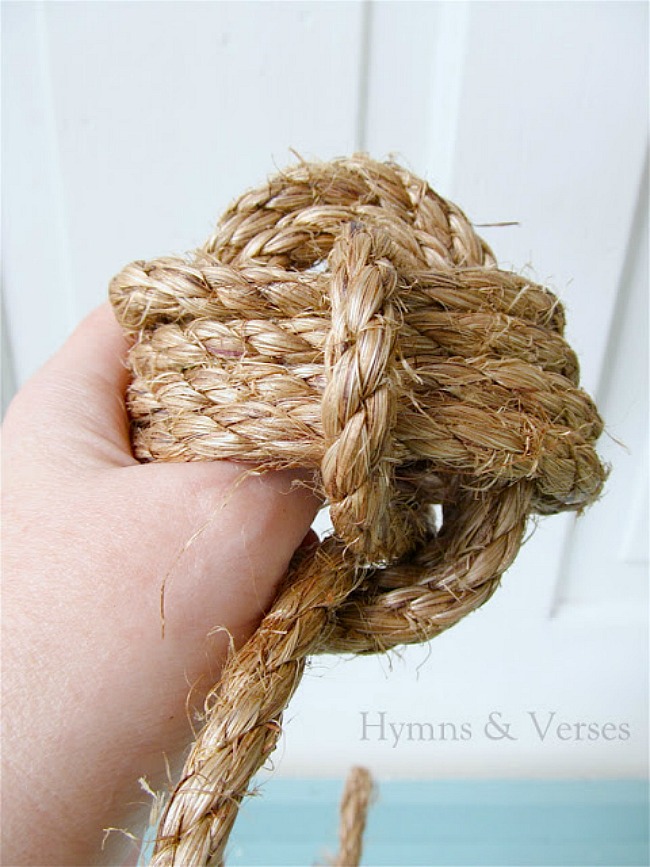
Step 6. In the back, take the rope over the horizontal rows and again, bring it through the bottom opening to the front.
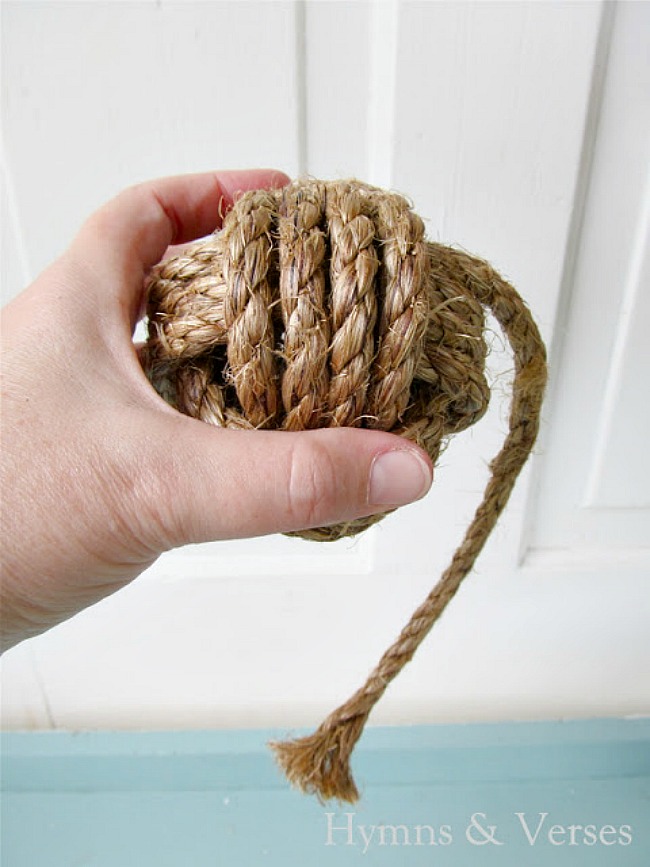
Step 7. Continue to wrap five times around or until you run out of rope and tuck the end inside the rope ball. This will leave you with the beginning tail.
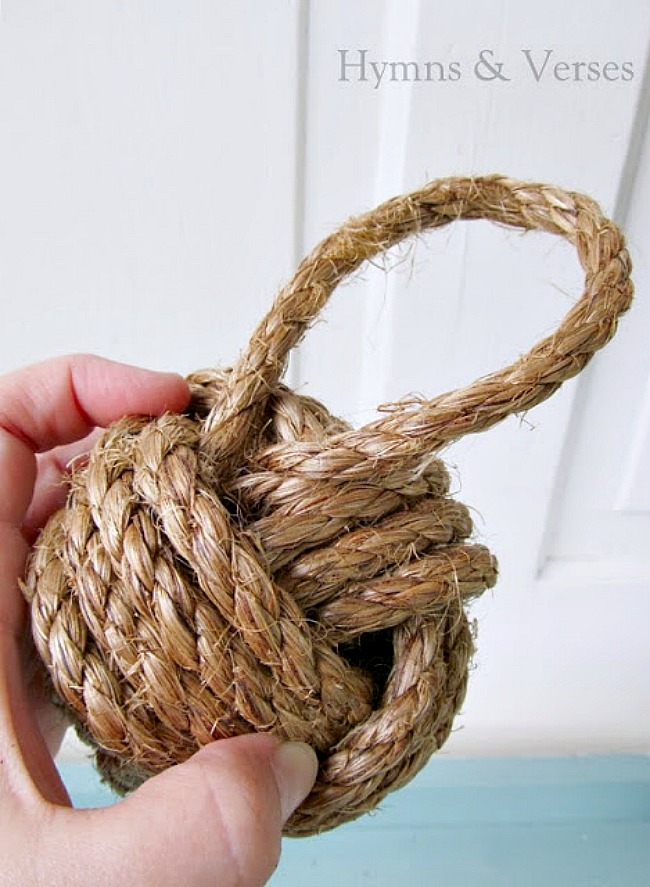
Step 8. Tuck the tail inside the rope ball making a loop for hanging. Use your hands to shape the ball of your decorative knot.
It took me a few tries to get this down. The main thing is to keep your rope wrapped tight as you go. I’ve seen other tutorials that put a weighted tennis ball or bean bag in the center if you are using the knot for a doorstop. I plan to use my monkey fist mainly as a decor element, so I skipped that step.
The size of your rope impacts the size of your finished knot. In the photo above, I used a thinner, lighter weight jute and my finished monkey fist knot is smaller.
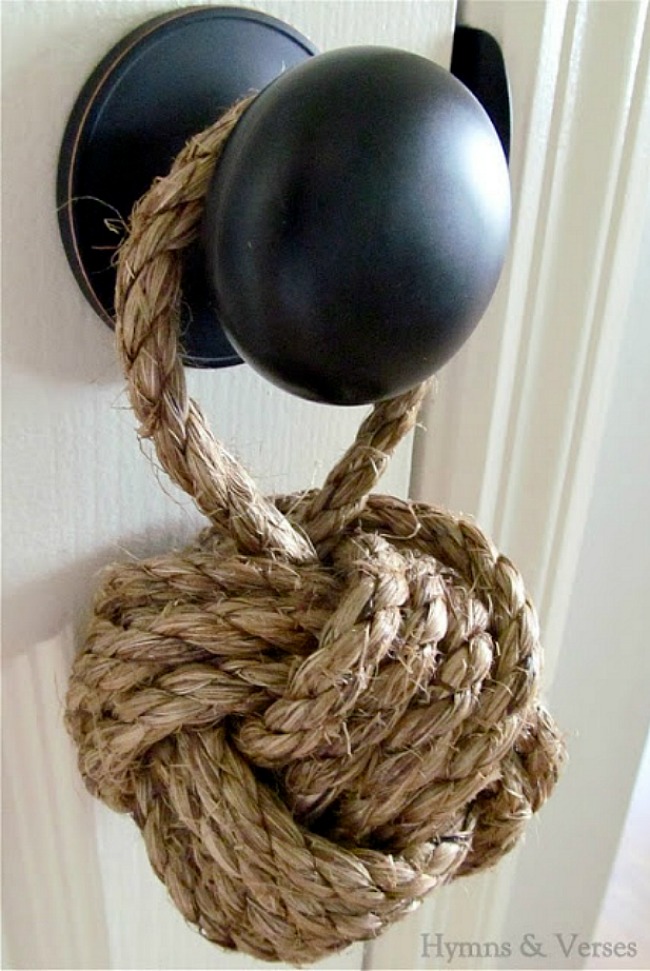
What are a few different methods to use your monkey fist?
You can use it as a door knob hanger, a door stop, or just a table centerpiece, among other ideas. If using it as a door stop you’ll want to put a weighted tennis ball, bean bag, pool ball, golf ball, weighted sphere or other round object with a little bit of weight in the center.
You can also create a monkey fist dog toy for your 4 legged friend. Learning to tie this monkey’s fist knot has been helpful for watermen and those who enjoy rock climbing.
With a little bit of practice you can learn this simple knot and using various different size ropes, you can create these monkey fist balls in different sizes for various different uses.
What can I do with any extra rope?
Don’t worry, I have quite a few different rope DIY projects that you can try out with any extra rope that you may have on hand after making your monkey fist. You could always make a second one to use for any of the other uses.
Or, you can use your leftover jute rope in any of these projects that I am about to share below.
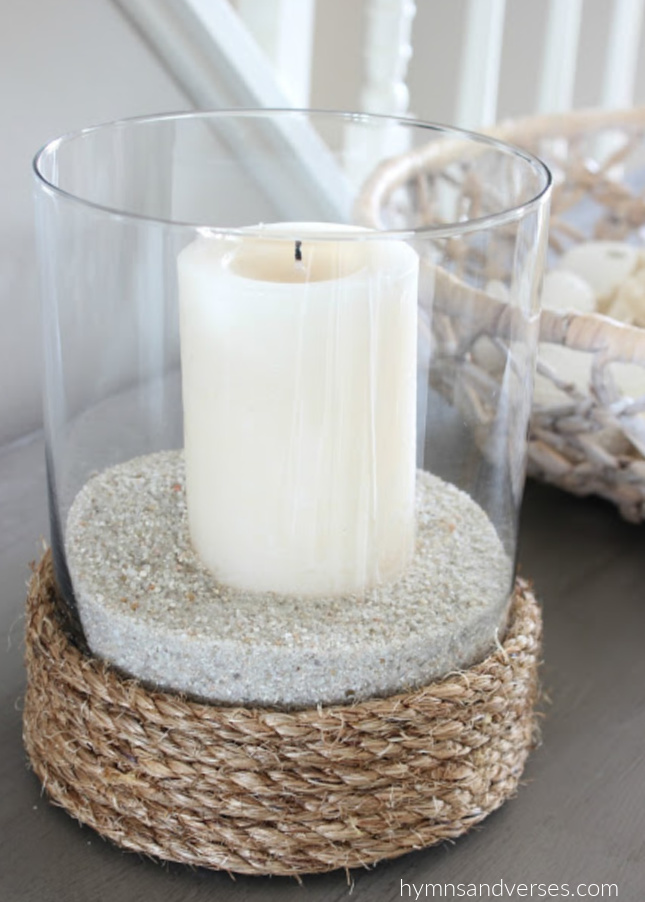
ROPE WRAPPED CANDLE HOLDER
And, if you have any left over rope from this project, wrap some around a cylinder vase using a hot glue gun to secure as you go. Add some sand to the cylinder and a candle and you’ve got an pretty coastal candle holder for summer!
ROPE LOVE SIGN
Or, you could make this rope love sign! You can get the full tutorial for the rope love sign in this post.
I love the nautical look of these monkey fist knots and they are great summer decor! Let me know if you give this ( or the other rope projects) a try! As always, thanks for stopping by!
Summer Coastal Photo Display - Hymns and Verses
Monday 16th of May 2016
[…] are a few more posts with a coastal / nautical theme. DIY Knotted Rope Paperweight/Doorstop HERE, Yvonne at Stone Gable shares how to make rope wrapped candle holders similar to the ones […]
French Country Front Porch - Hymns and Verses
Friday 6th of May 2016
[…] I also made a pinwheel out of sheet music to tuck into one of the tin bucket planters. If you’d like to make your own vintage sheet music pinwheel, you can find the tutorial and pinwheel template HERE. So is your home “summer ready” or are you looking for more inspiration? Here are a few of my favorite summer posts! 2015 Summer Home Tour Summer Coastal Theme Photo Display DIY Nautical Rope Paperweight / Doorstop […]
lovelearndo
Friday 31st of January 2014
I have been wanting one of these for our lakehouse. This tutorial seems easy enough with the great step-by-step pictures. Thanks for sharing. I'm going to give this a try next weekend.
revivedbydelia
Saturday 4th of January 2014
Bless you for making that look so easy! After 5 tries, I finally have something that is doable. Thank you so much for sharing this! I have a nautical theme in my bathroom and this will look great! Thank you!
Nikki Dao
Wednesday 18th of September 2013
Great idea and thanks for the great tutorial. I have featured it here: http://www.beadandcord.com/blog/15-creative-ways-to-use-nautical-rope-15079.html