Making your own pumpkin puree is a great way to make use of the abundance of pumpkins during the fall season. Whether for baking or adding to savory dishes, making your own pumpkin puree at home is simple, healthier than the canned stuff, and works out to be way cheaper too.
It’s also a fantastic opportunity to get creative in the kitchen! With just a few steps, we will turn your beautiful pumpkin into some creamy, delicious Pumpkin Puree.
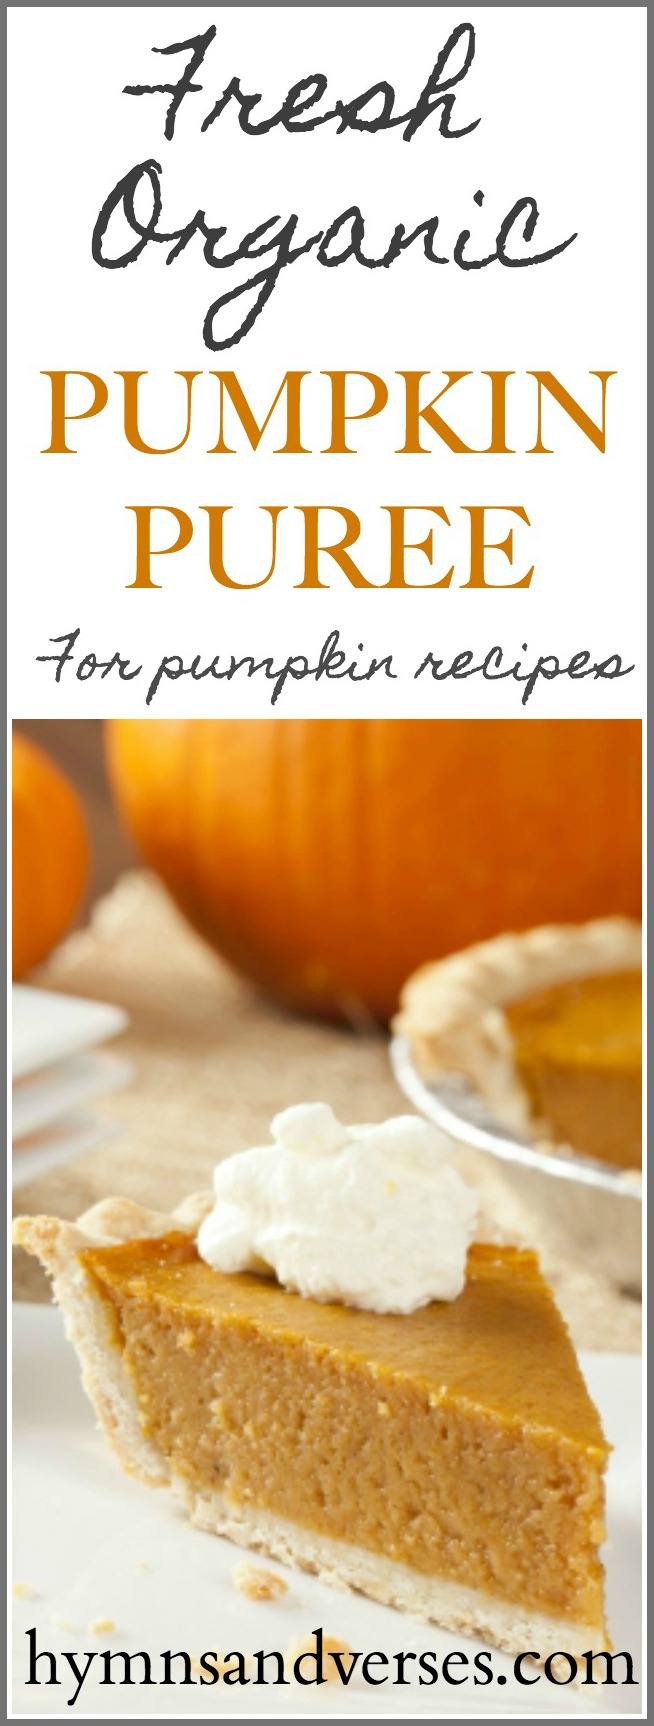
At this time of year, there are so many wonderful pumpkin recipes to bake. I usually stock up on my cans of Libby’s, but not anymore!
Why Make Pumpkin Puree
- This easy recipe is a great way to turn regular Fall decor into something delicious
- Making your own homemade pumpkin puree is easy, cheaper than store bought and way healthier than the canned pumpkin puree from the store with the additives and preservatives
- It’s a fun family project to do together
- You’ll have fresh, smooth puree with a creamy texture on hand for any of your favorite pumpkin savory recipes
What kind of pumpkin should I use to make Homemade Pumpkin Puree?
There are various kinds of pumpkins you can use to make a puree with.
We used a long neck pumpkin, but you can use other varieties of pumpkins.
A few other great ideas are sugar pumpkins or small pie pumpkins. These kinds of pumpkins have less water, thicker flesh, and are naturally sweeter than the traditional jack-o-lantern pumpkins.
If you’re not able to find either sugar or pie pumpkins where you live, it’s ok to use any other kind of fresh pumpkin you can find. Just make sure they are free from blemishes and have been stored in a cool location away from the sun! With any type of pumpkin, be sure to wash it off before cutting into it.
Why use a long neck pumpkin for pumpkin puree?
Long neck pumpkins are a great choice for making pumpkin puree because they have a tender, sweet flavor that complements the flavors of fall. They also tend to be easier to cut into and have less water content than some other types of pumpkins.
Additionally, their shape makes them ideal for scooping out the seeds after cutting. When making pumpkin puree at home, using a long neck pumpkin is highly recommended! That’s one of the reasons that chose the one we did. Ours looks a lot like a butternut squash, but it is NOT a butternut squash.
You can find more than just jack-o-lantern pumpkins at a farmers market, a local pumpkin patch, or even at many grocery stores.
How to Make Fresh Pumpkin Puree
Prep the Pumpkin
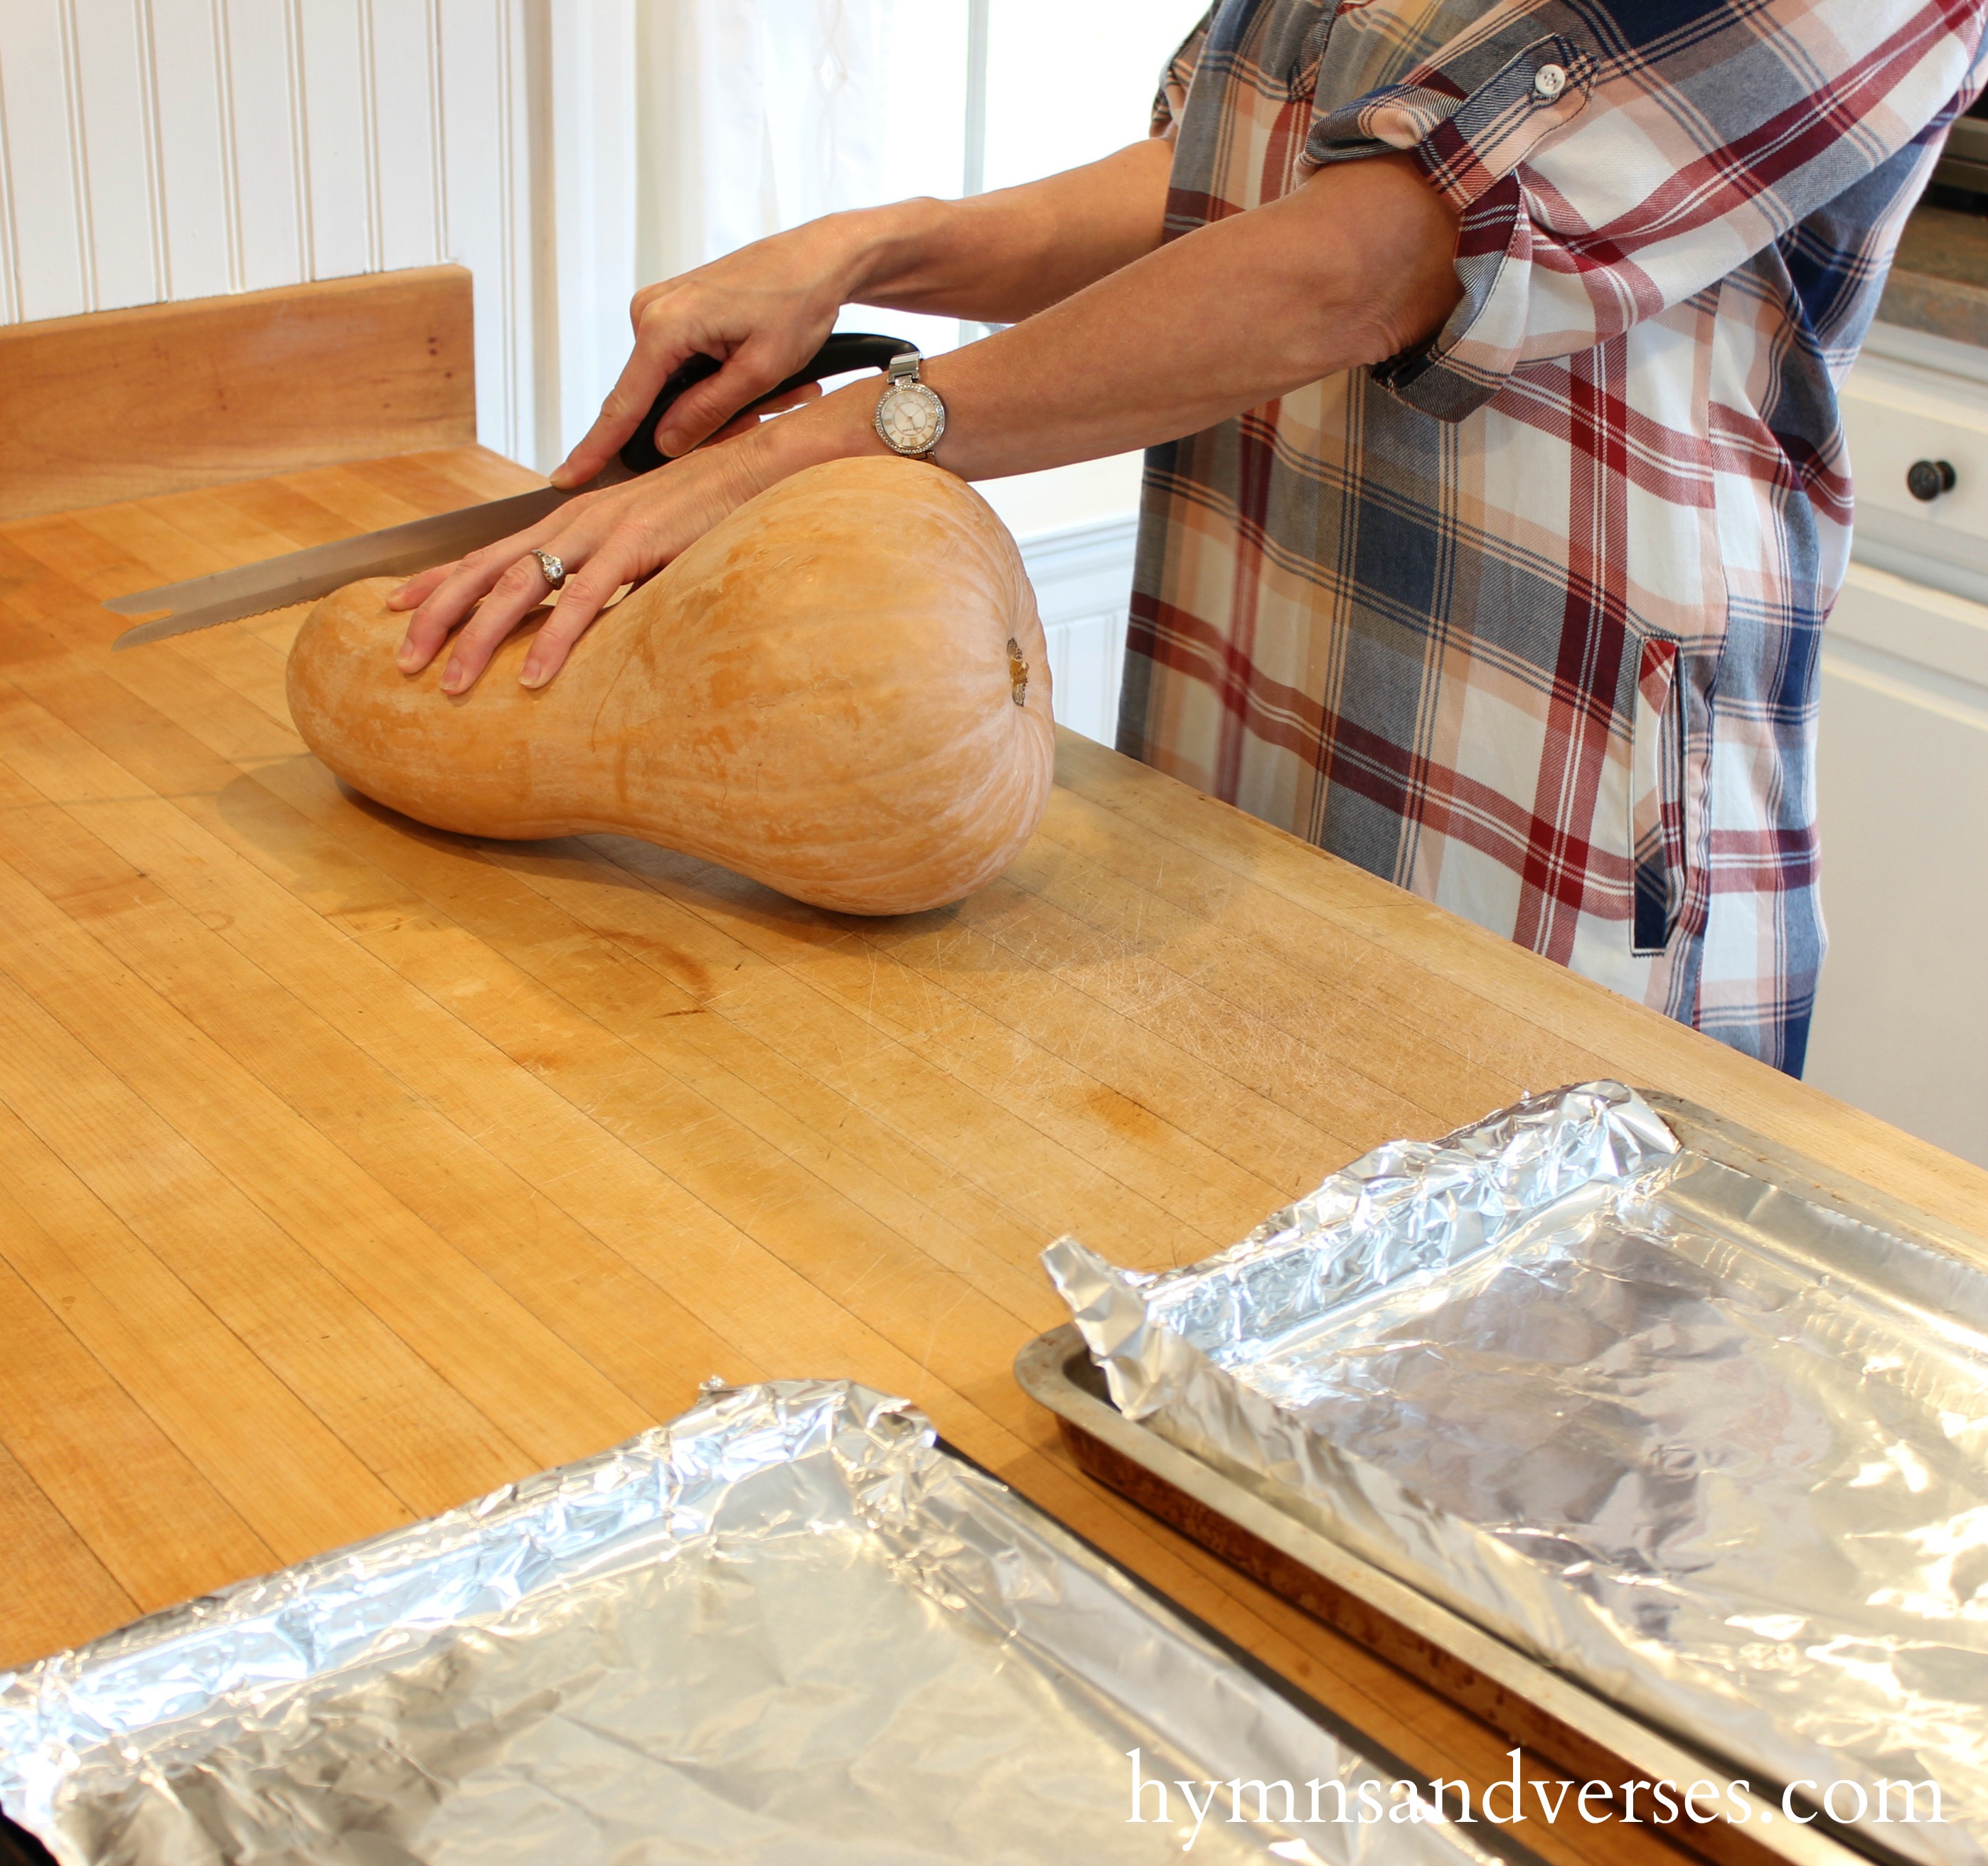
Cut off the top, where the stem is. Line two baking trays with aluminum foil.
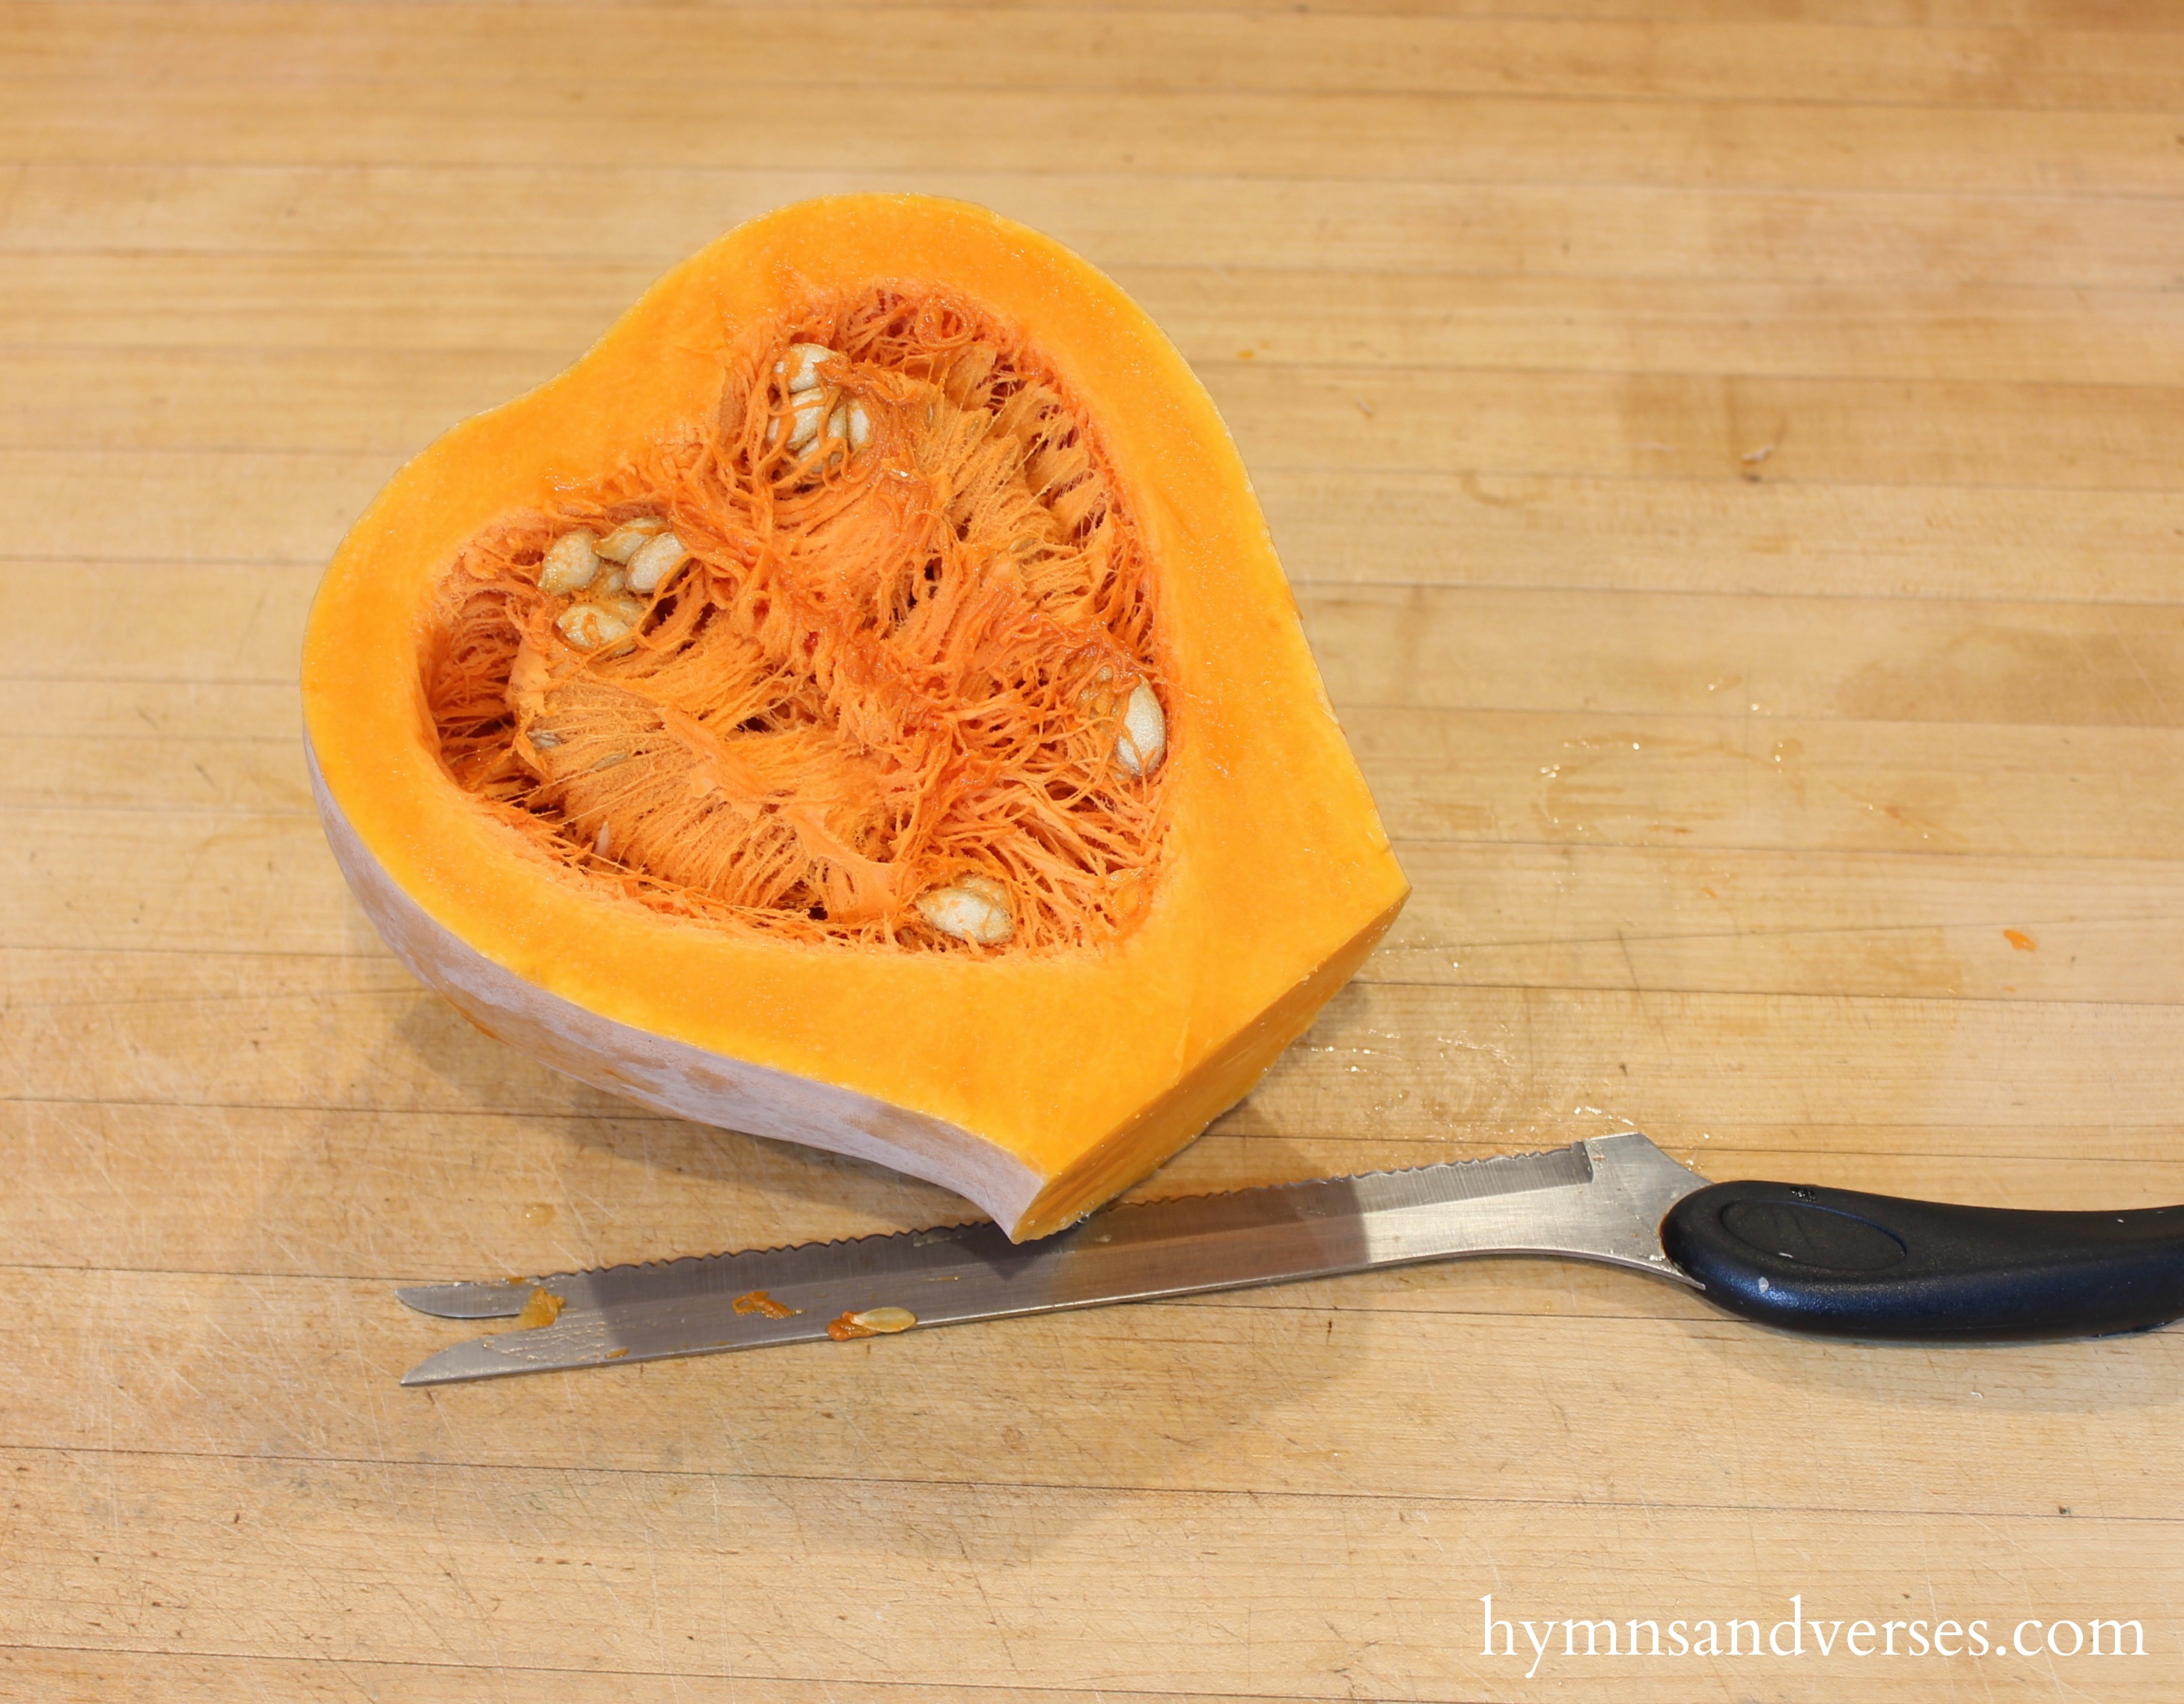
Cut the pumpkin in half lengthwise. Then cut those two pieces in half.
Scoop out the stringy pulp and seeds and place the pumpkin pieces face down on the foil-lined baking pans.
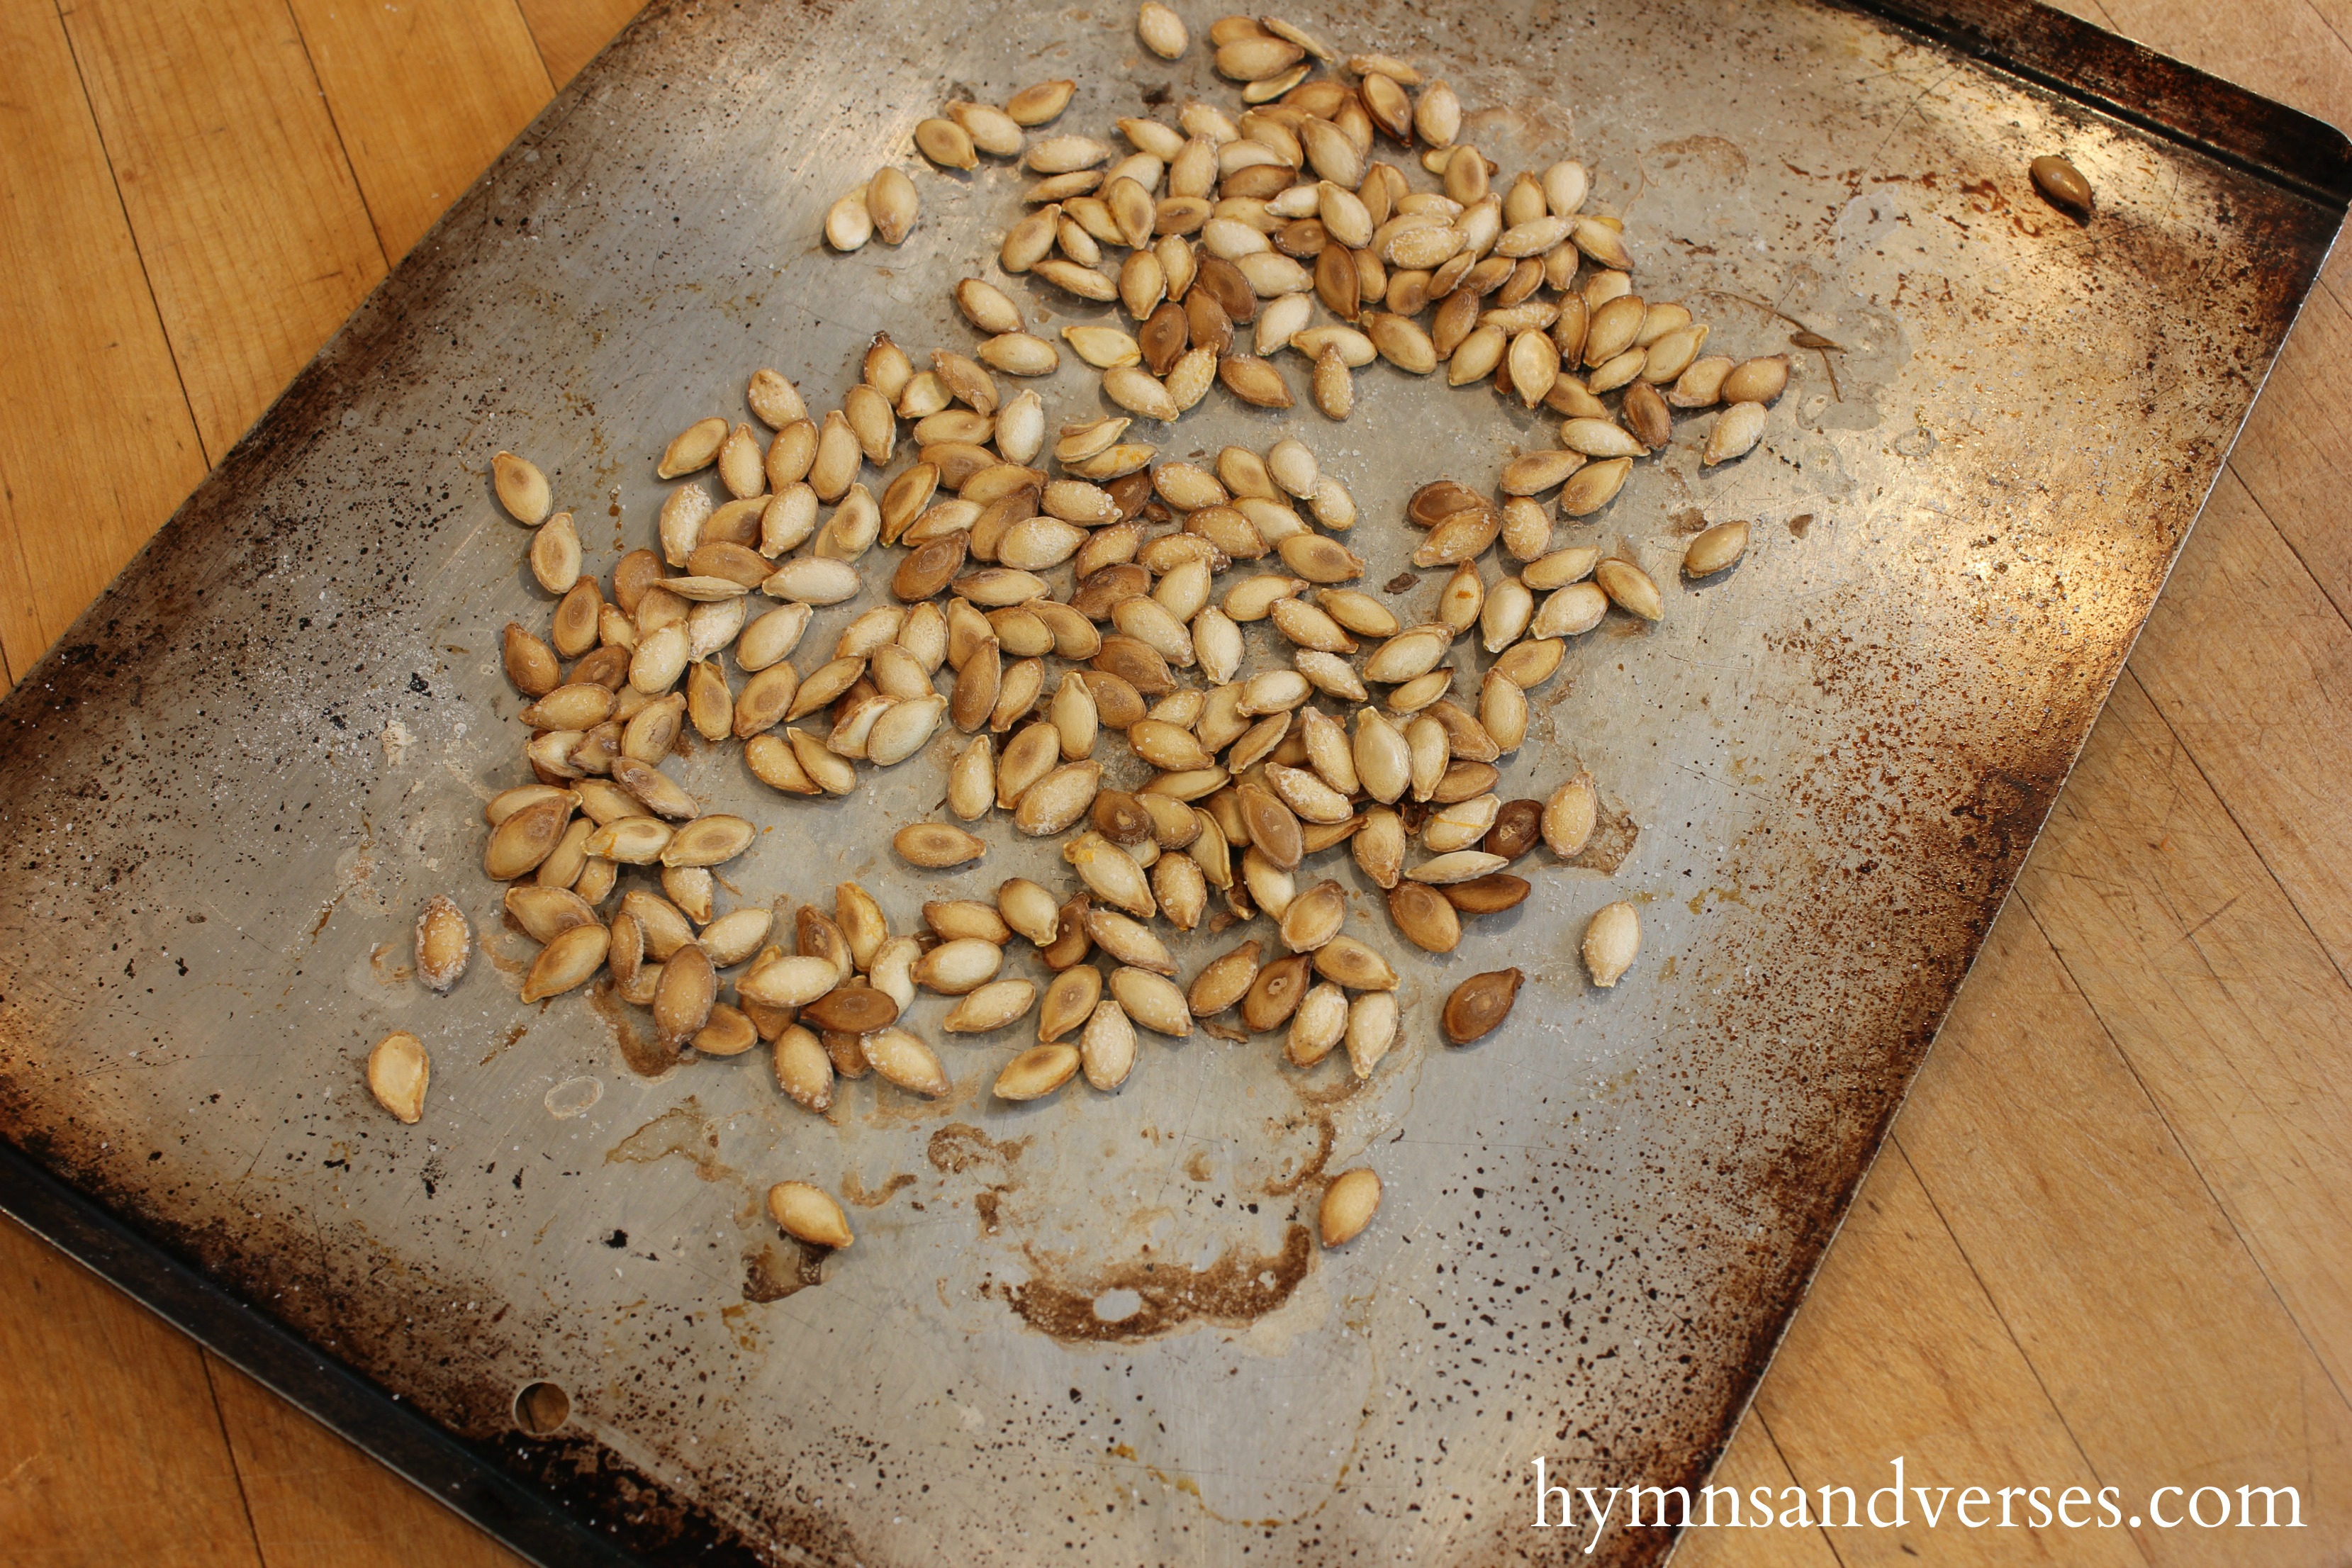
Rinse off the seeds and set them aside for roasting.
Roast the Pumpkin
Place the trays in a 400 degree preheated oven and roast for 30 – 45 minutes (until a fork can easily be inserted into the pumpkin).
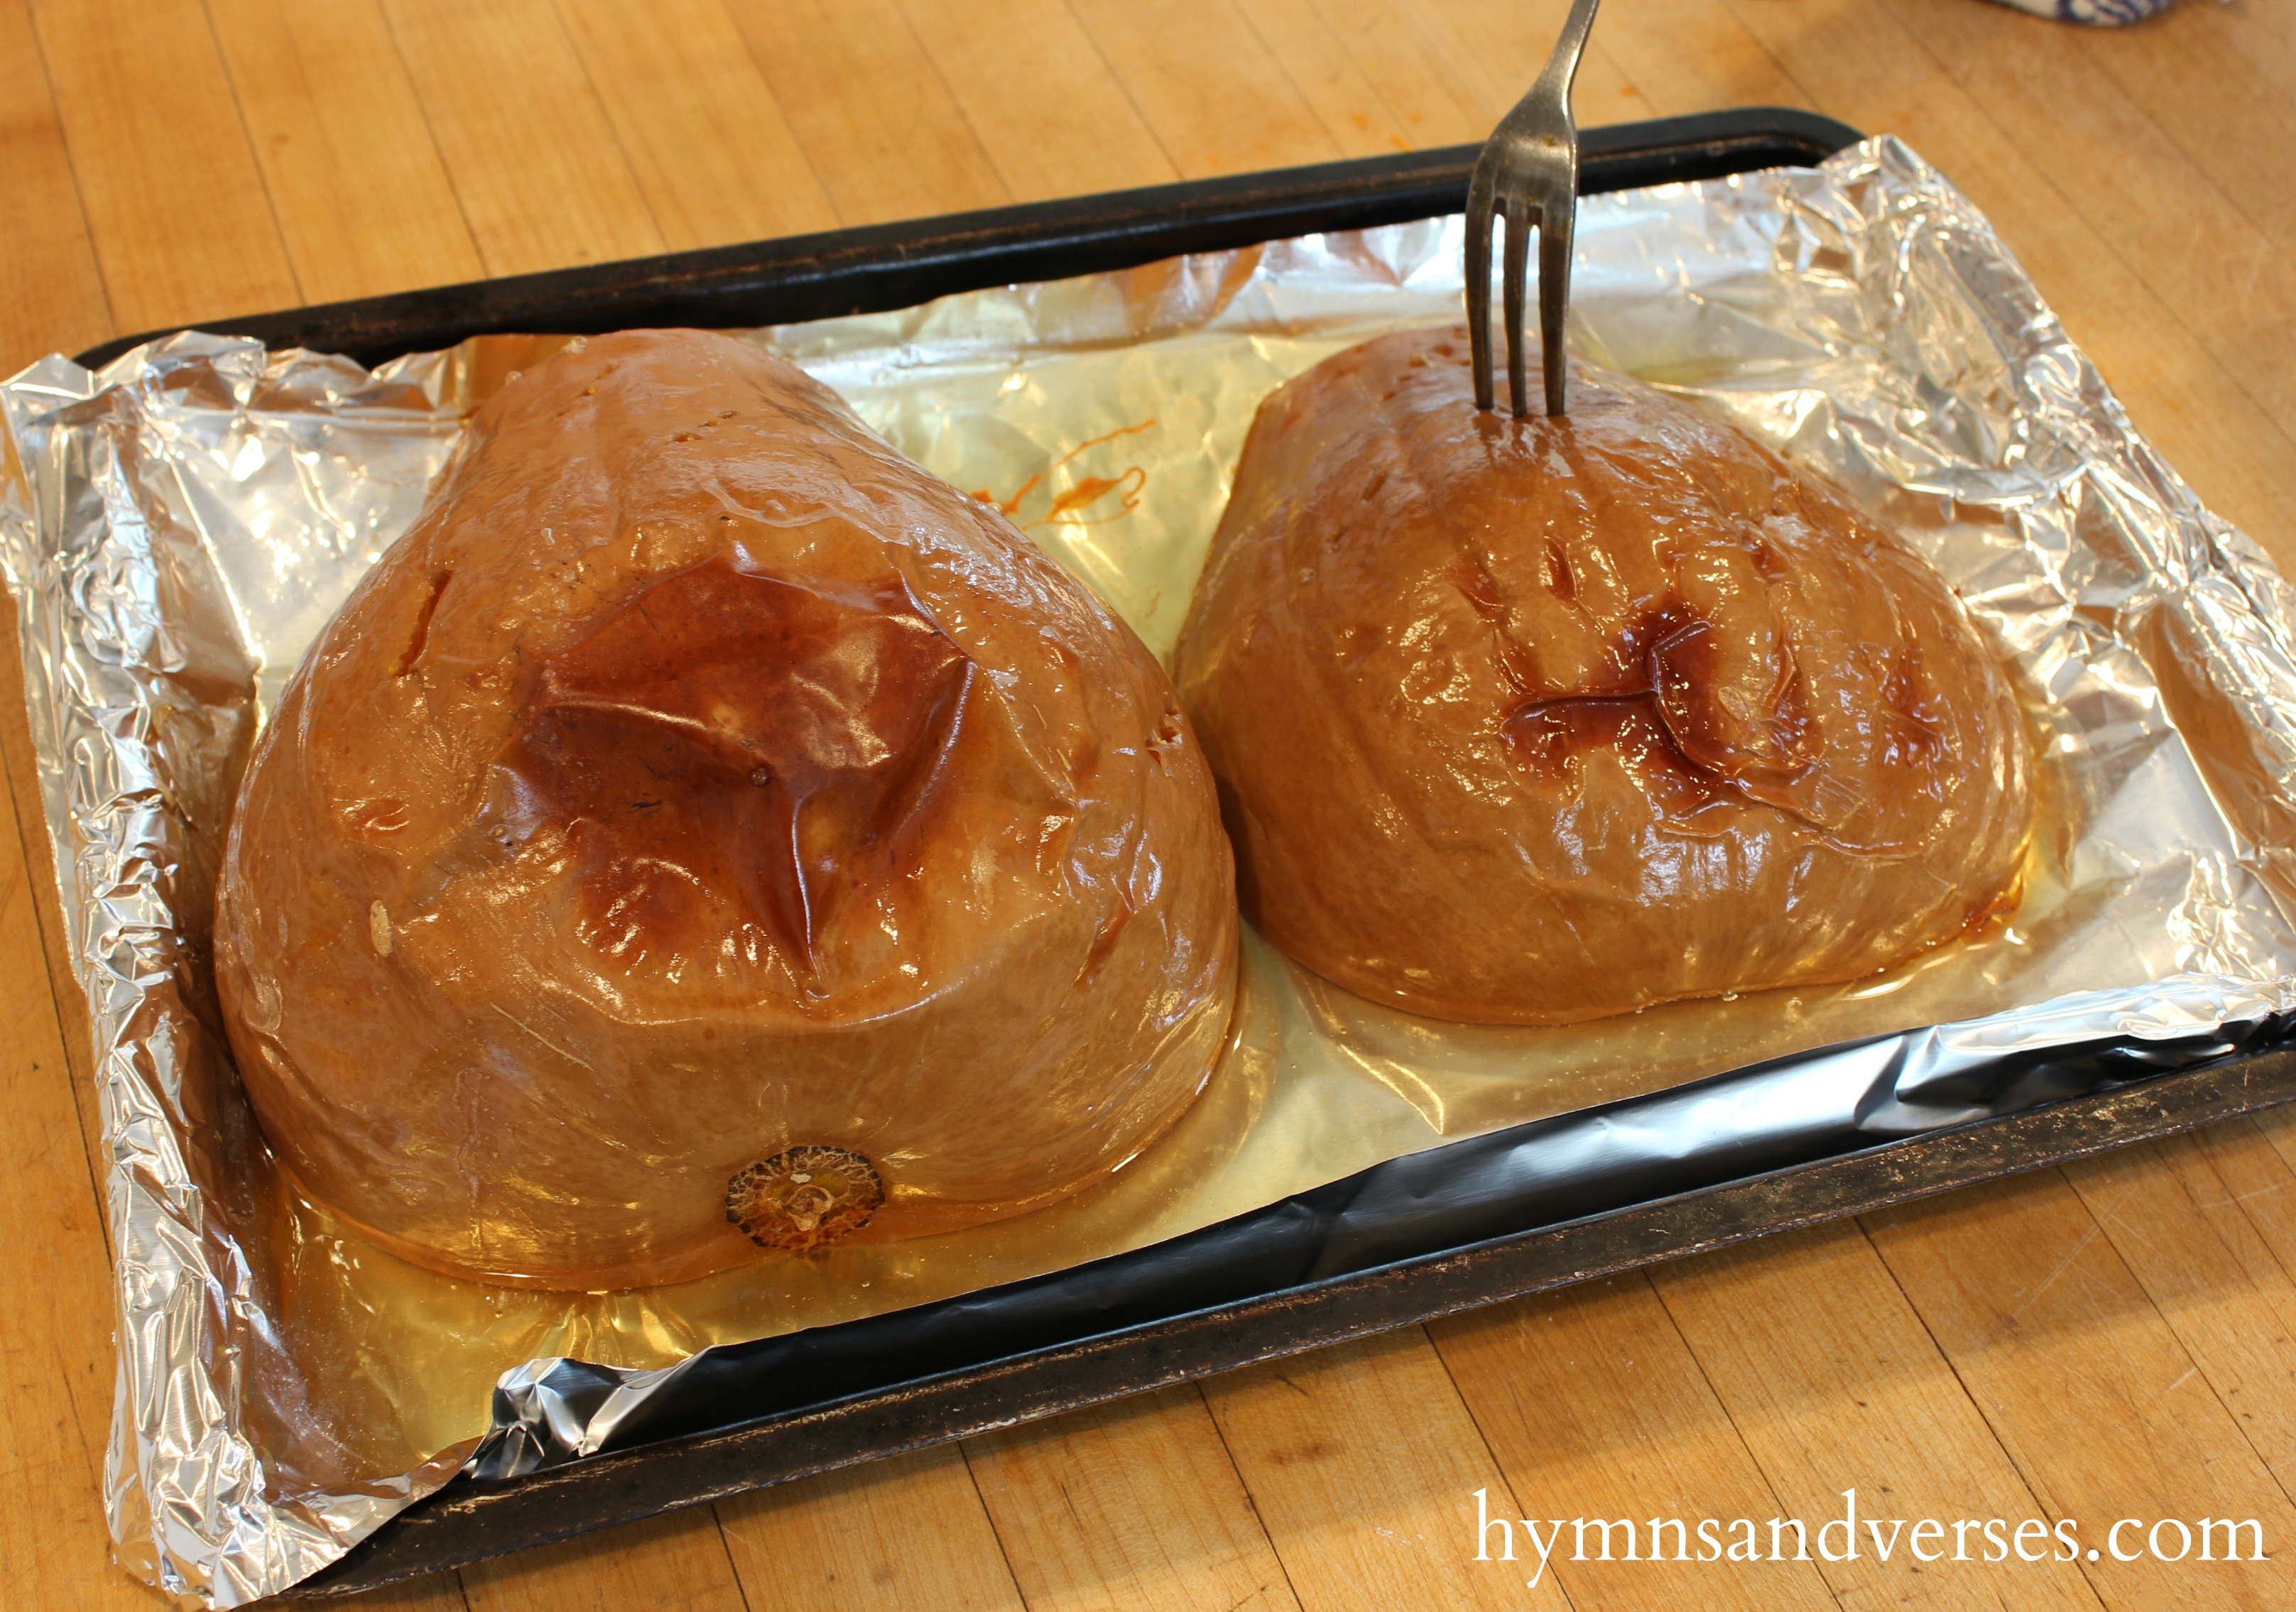
Let the pumpkins cool a bit. Scoop out the pumpkin, leaving the skin, and place in a bowl.

Turn Roasted Pumpkin into Pumpkin Puree
You can use a KitchenAid Mixer with THIS food grinder attachment to turn the roasted pumpkin into puree. This attachment is great for applesauce too.
In the photo below, you can see the food grinder attached to a mixer. Set your mixer up on your kitchen counter with the attachment extending over your sink bowl. Take the cooked pumpkin and add some to the top tray. Use the included wooden mallet to push the cooked pumpkin down the hole. This forces the pumpkin through the grinder and the bad stuff shoots out a little hole on the end. The pureed pumpkin comes out the bottom, so you need to have a bowl in your sink ready to catch it.

What if I don’t have a KitchenAid Mixer and an attachment?
No problem. Now, if you don’t have the Food Grinder Attachment for your KitchenAid mixer, you can use a food processor, like the Ninja.
This puree is great to have on hand for all of your fall and Thanksgiving favorite pumpkin recipes!!
Storage
Transfer your homemade puree to an airtight container and keep it in the refrigerator for up to a week. You can place it in a freezer safe container or a freezer safe bag and freeze the puree for up to 3 months if desired.
What do you do with the seeds?
Now, about those seeds that we saved! Don’t let them go to waste! After they are rinsed and dried, spread them on a baking sheet lined with parchment paper or without and sprinkle with some fresh ground sea salt.
Roast them in a 300 degree oven for 30 minutes until golden brown.

Tips and Variations
- If you don’t have a mixer and food grinder, try a food processor. If you don’t have a food processor, but have a powerful blender, give that a try. And, as a last resort, you can hand mash and mix the pumpkin flesh with a potato masher. You’ll end up with a thicker, less smooth puree, but it will still be delicious.
- If you plan on using this for pumpkin bread or pumpkin pie filling, you can add your favorite pumpkin pie spices to the mix to help make your puree even more flavorful.
- A bunch of smaller pumpkins may work if you’re desperate. But we like the long neck pumpkins, and they’re pretty easy to find during pumpkin season.
Can I use a microwave to roast pumpkin?
Yes, you can. If you don’t have room in the oven, you can use a microwave. Prep the whole pumpkin as you would in the regular instructions and then place the pumpkin cut side down on a microwave safe plate. You may need to work in batches, depending on the size of your pumpkin.
Then microwave your pumpkin in 5-minute increments until the pumpkin flesh is fork tender. Depending on the size of your pumpkin, the amount of time needed in the microwave will vary.
What to use pumpkin purée in?
Make some homemade pumpkin bread, pumpkin cupcakes with sea salt caramel buttercream, some pumpkin bread, creamy and fantastic pumpkin cheesecake, chocolate pumpkin brownies, and more!
Can you can homemade puree?
No, it is not recommended to pressure can or water bath any homemade pumpkin puree recipe. You can read more about why it is unsafe, here.
If you want to preserve your puree for longer than a week in the fridge, you can freeze it for longer use, as discussed above in the storage section.
I hope you enjoyed this post and will give making your own pumpkin puree a try.
Better yet, have a friend over and make some together! You can snack on warm roasted pumpkin seeds, talk away the day, and make fresh pumpkin puree all at the same time! What could be better?
Judy
Friday 4th of November 2016
Hi Doreen... I love pumpkin anything! I also thought it was awesome to see the perfect shaped heart when the pumpkin was cut in half.. God thinks of everythingt! When we lived in the South pumpkin butters were a delicious condiment and I used to make my own... after sampling The Cracker Barrel's.... and just last week I picked up a delicious jar at Aldi's... it is Great too. I love your blog... God Bless you ... Love, Judy
Mary
Friday 4th of November 2016
Hi Doreen: Very interesting! You realize the vegetable you used was in fact a Butternut Squash, not the actual pie pumpkin. A pie pumpkin is similar and smaller than a Halloween pumpkin. However, my mom used to use squash all the time, for her pumpkin pies, and they tasted just fine. It's the spices you add to make it. Enjoy your pureed pumpkin/squash.