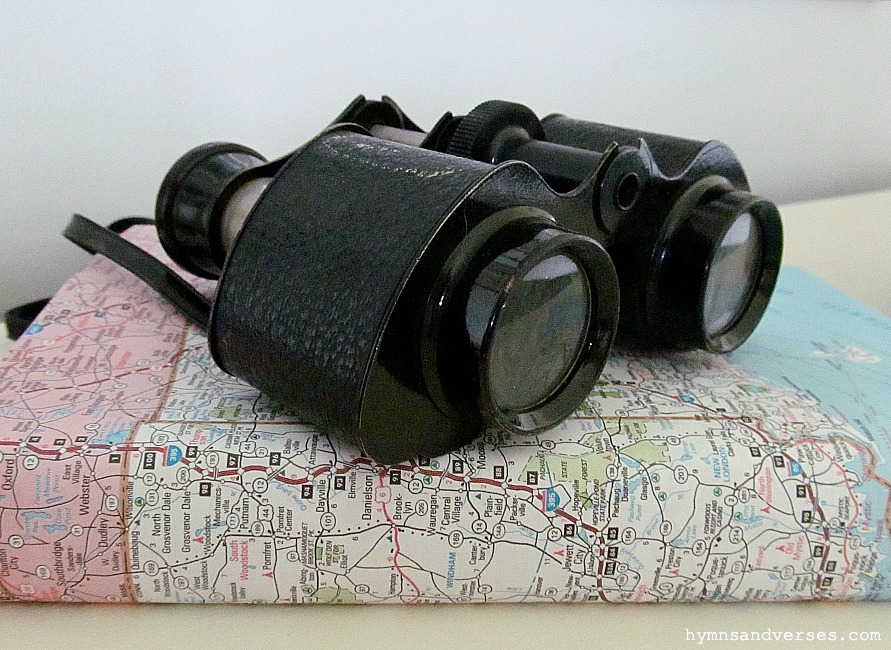
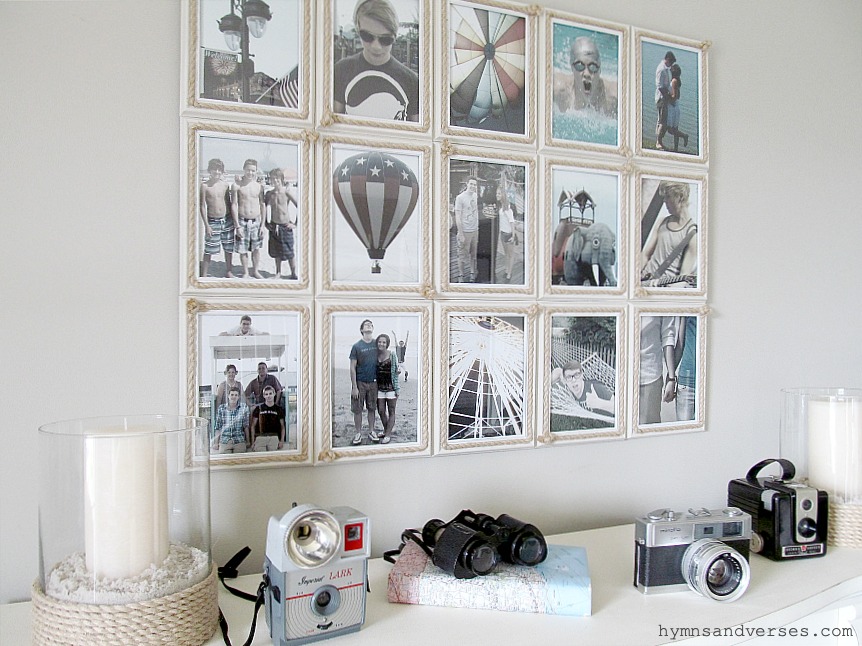
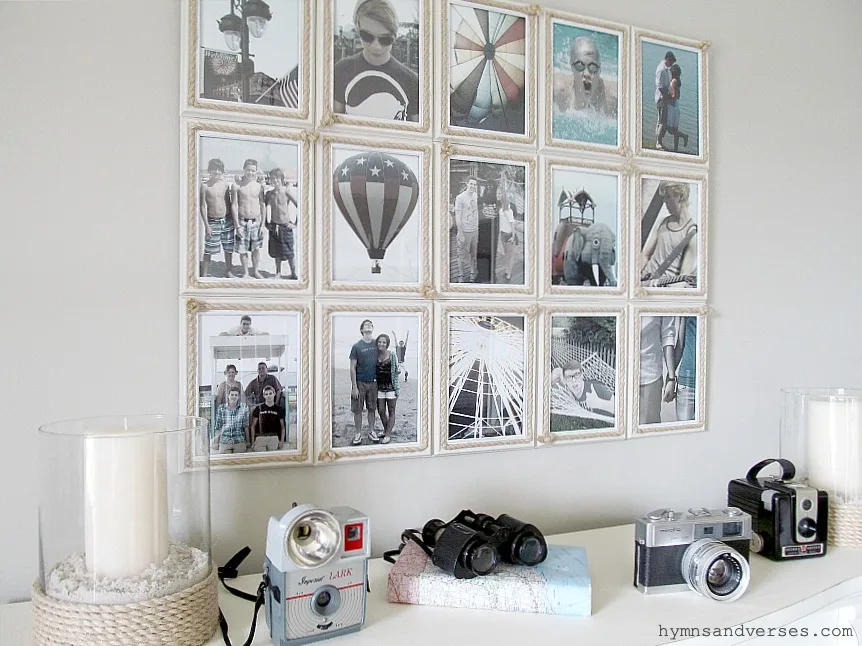
Each summer our family heads to Ocean City, NJ, for a week long family vacation. There’s nothing quite like the sound of ocean waves. I also like to do a little retail therapy while I’m at the beach! The shops there are full of nautical and coastal themed decor! I love it, but I don’t live at the beach. So my home isn’t going to reflect that nautical or coastal style for everyday living. But, I do like to add a touch of decor with a nautical theme to my home in the summertime – like seashells and rope accents. So, today, I’m going to share an easy and inexpensive way to add a bit of nautical or coastal style to your summertime home!
*This post contains some affiliate links for your convenience. Please see my full disclosure statement.
Nautical Theme Book Cover
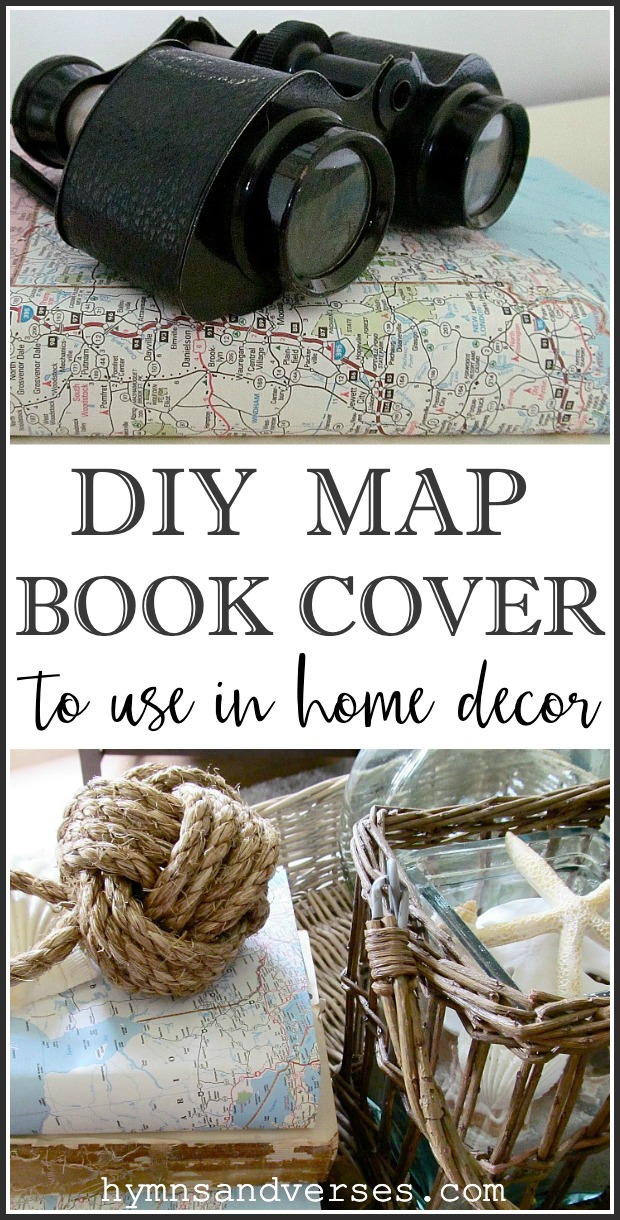
When’s the last time you made a book cover? I know for me, it goes back to the early elementary years of my older boys – now in their 20’s! So today, I’m going to show you how to make a book cover with a map. These map covered books make great accessories for summer decor!
Finding a Map for your Nautical Theme Book Cover
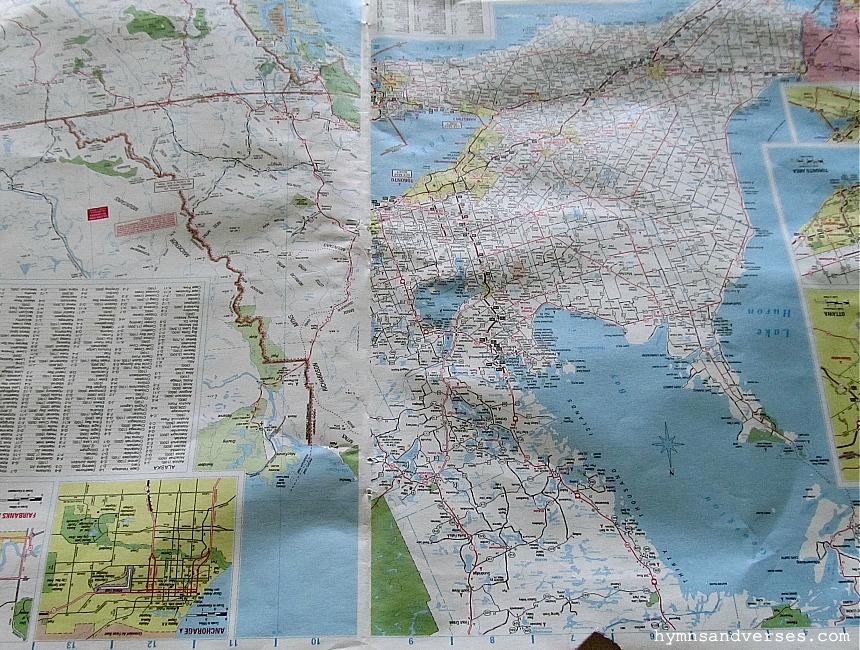
First – choose your map. I found an old atlas map book in the garage that I used for this project. You can also pick up new maps at many convenience stores that sell gas. Or, look for large books with old maps in your local thrift stores. I tried to find pages with water areas – making the finished book covers look more coastal. Here are some atlas and map options I found on Amazon.
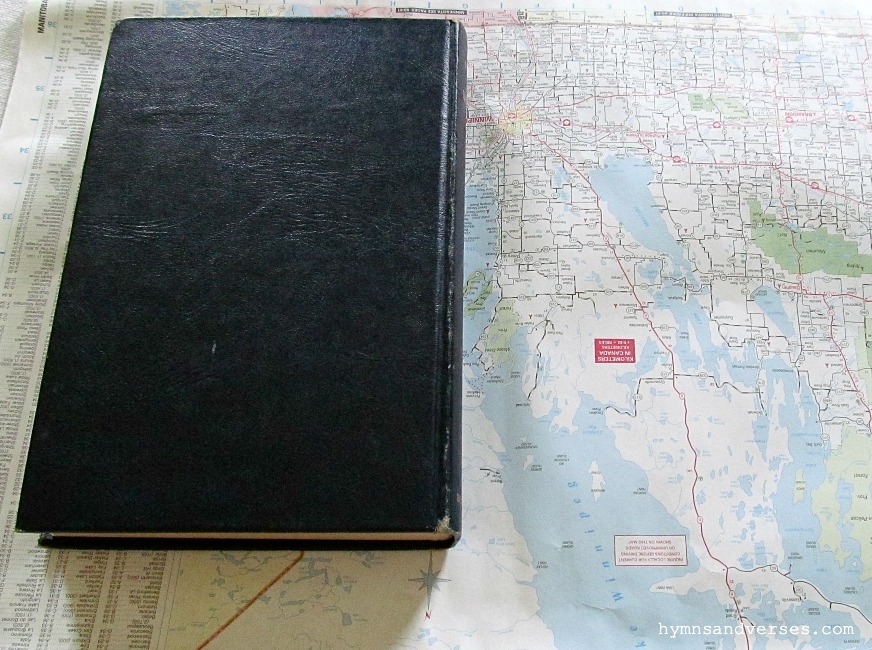
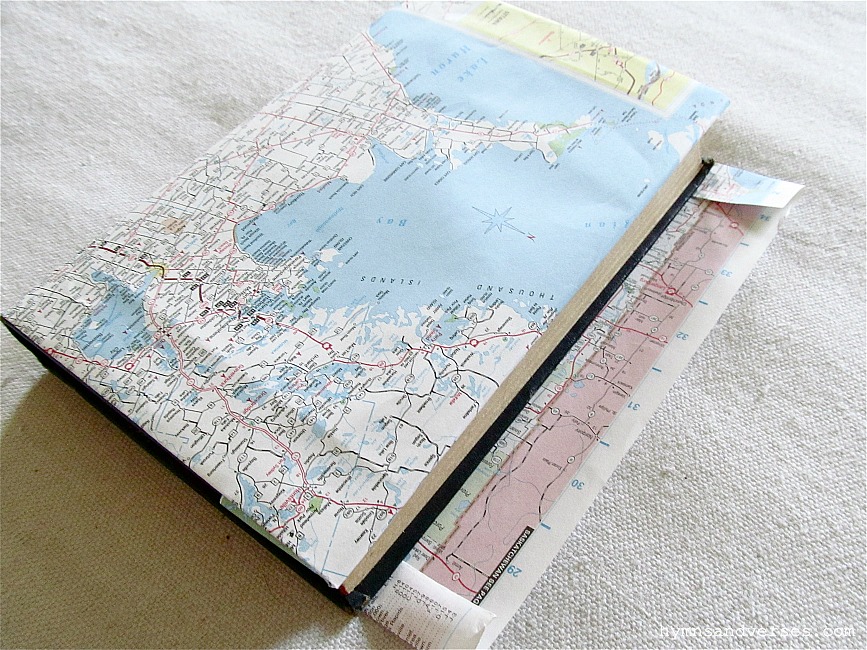
Find a book that fits your map – make sure your map is at least one inch longer in height than your book and four inches longer in width than your open book. This is my book on the map page I used.
Fold the bottom edge of your map and line your book bottom up with the folded edge.
Next, fold the top edge of the map to meet the top of your book. Use your fingers to make a crease with the book edge and then make a straight fold. Now your map should be the same height as your book.
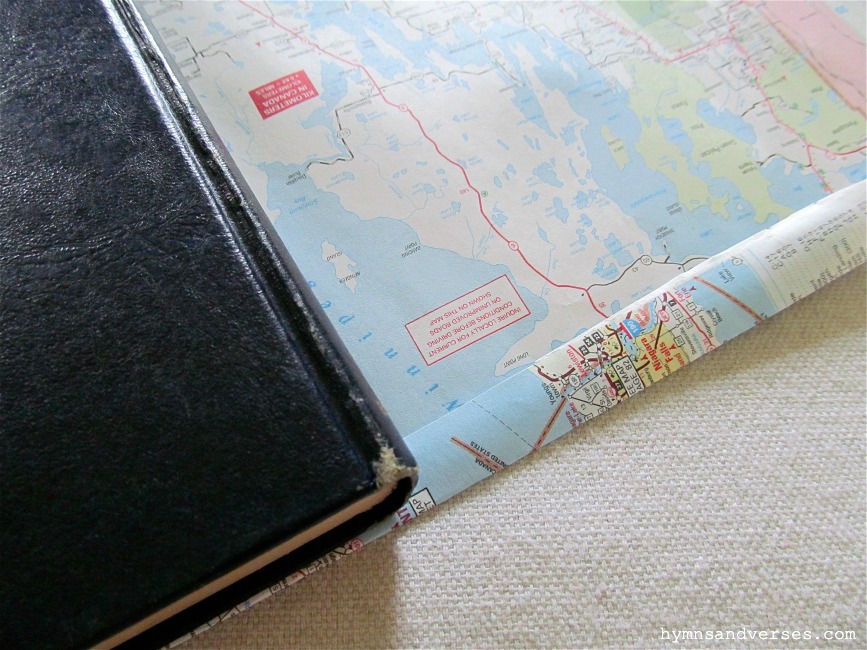
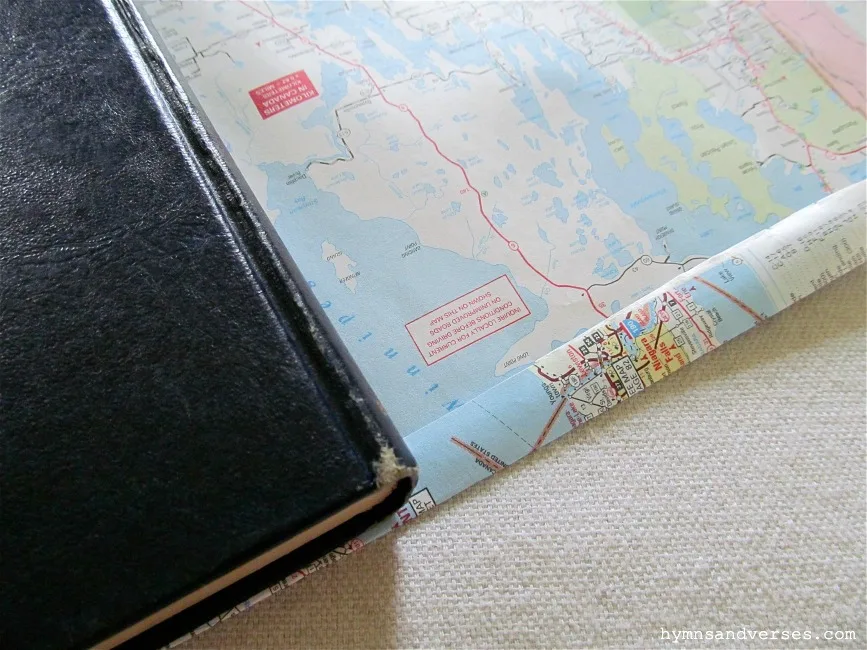
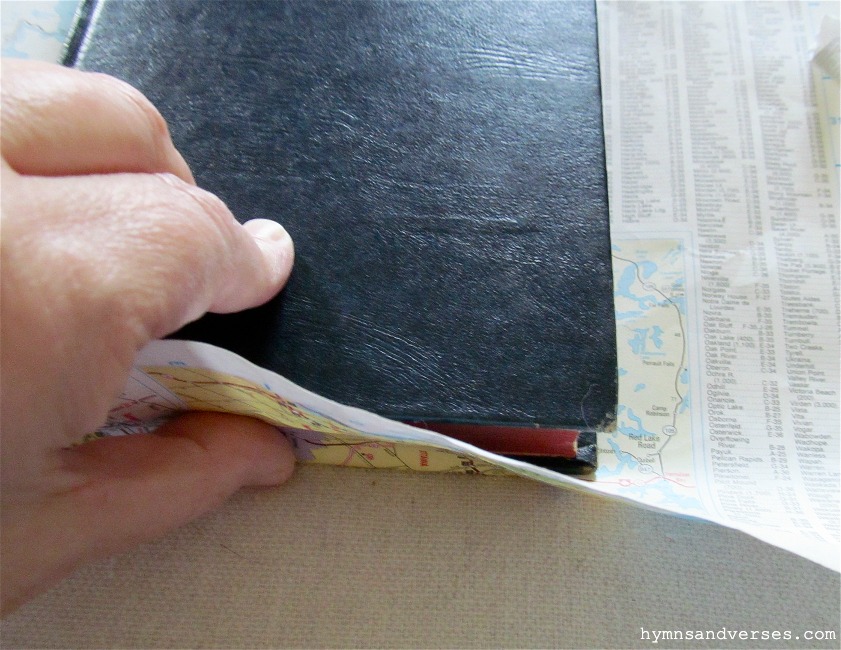
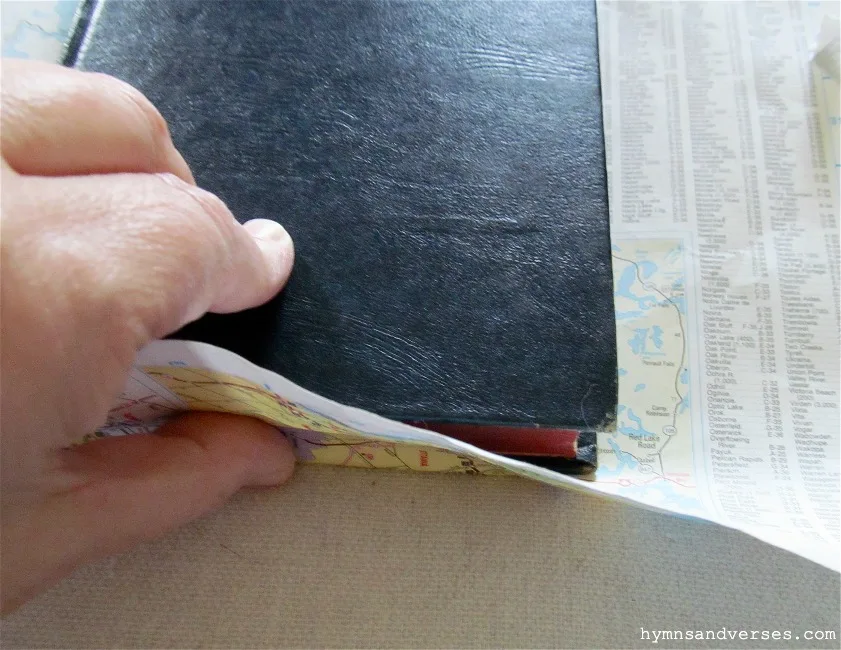
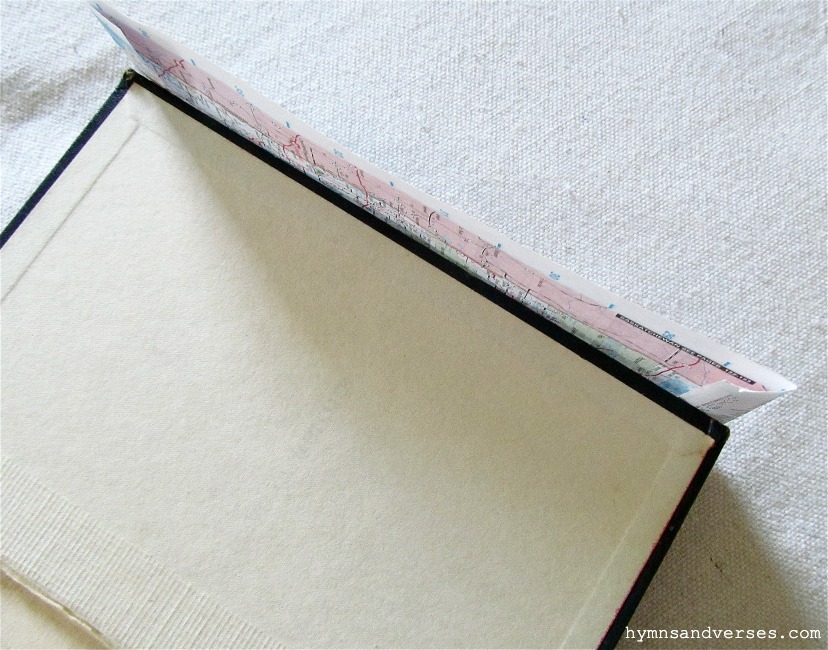
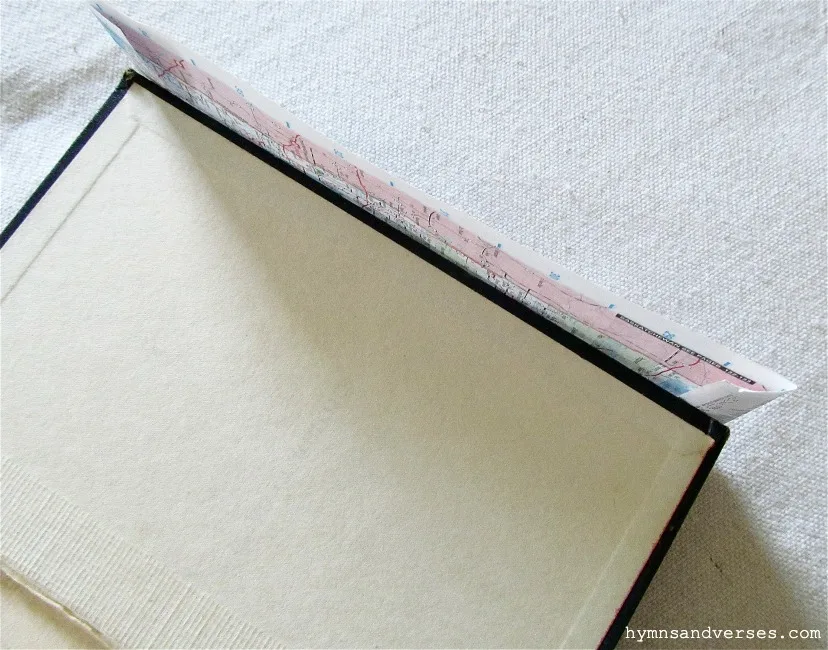
Open the front cover of your book and fold the map over the left edge, leaving about 1 – 1 1/2 inches of map. See the side slits from the top and bottom folds – just guide the hard cover of your book into those slits until you reach the fold line you made.
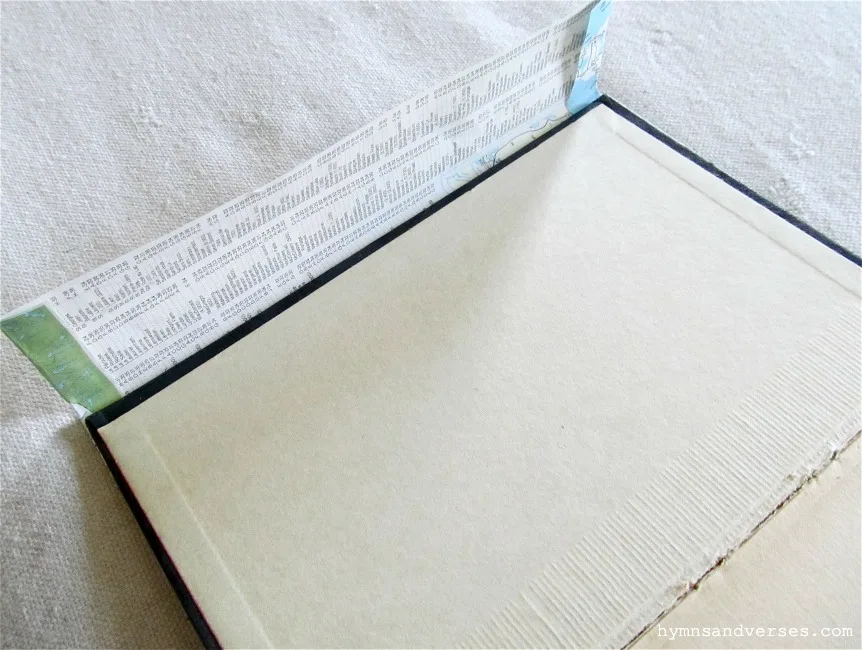
This is what it will look like from the inside. Now onto the other side. Close the front cover and see how much map you have left on the back side. You should have about 1 – 1 1/2 inches as shown.
Fold the remaining map to make a crease and insert the back cover into the side slits the same way you did for the front.
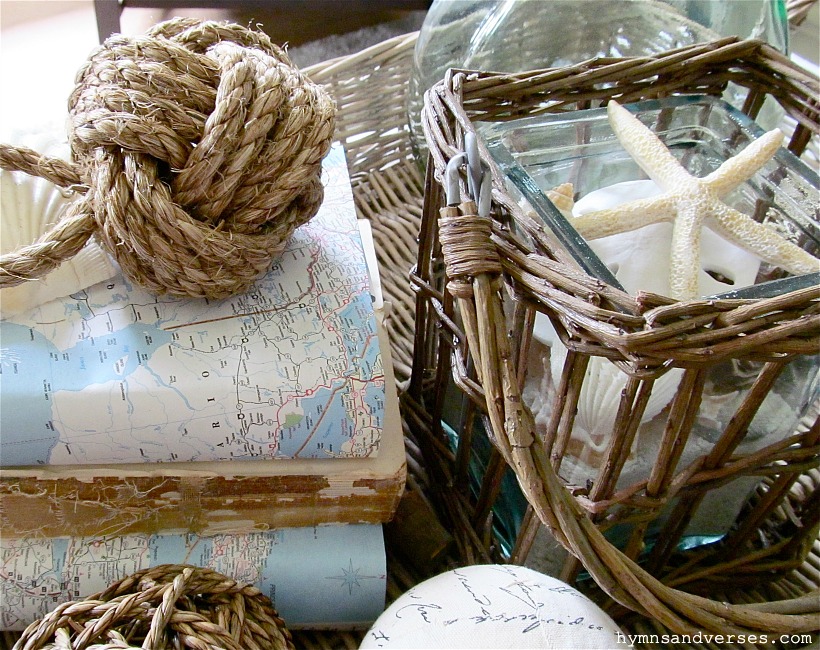
And, there you have it – your finished book cover! These nautical theme covered books look great stacked and add a nice coastal touch to your decor!
More DIY Coastal or Nautical Theme Home Decor
This nautical rope knot, or monkey fist, looks great with the map covered books and seashells.
Oh wow. This was from 2013? It seems fun for now. I remember coastal being so in style. I still have oodles of shells. I have old maps of my Dad’s. I remember covering my books plus my kids’ books with them. Happy memories. Thank you for a fun project.
Rachel
Thursday 18th of August 2016
I've always had a thing for old, antique looking maps. Making a book cover out of one sounds like an excellent project. Thanks for sharing!
Doreen Cagno
Thursday 25th of August 2016
I'm so glad you are going to give it a try!!!
Barbara
Wednesday 18th of May 2016
Doreen,
Do you have an inexpensive place to buy maps? They are often hard to find. Please advise me! Thanks. I love the map book covers. I now have three books covered in cloth in patterns to match my decor in the living room. Love to show books in a vignette.
Jann Olson
Sunday 21st of July 2013
Doreen, what great décor for summer. Love the covered books. Thanks for showing how to do it. Been so long that I had forgotten how. So happy to have you share with SYC.hugs,Jann
sew sweet vintage
Friday 19th of July 2013
How cool! Pinned to my beachy board! I posted anchors away pillowcases to the Creative Party. Stop over:)


Gwen
Thursday 28th of May 2020
Oh wow. This was from 2013? It seems fun for now. I remember coastal being so in style. I still have oodles of shells. I have old maps of my Dad’s. I remember covering my books plus my kids’ books with them. Happy memories. Thank you for a fun project.
Rachel
Thursday 18th of August 2016
I've always had a thing for old, antique looking maps. Making a book cover out of one sounds like an excellent project. Thanks for sharing!
Doreen Cagno
Thursday 25th of August 2016
I'm so glad you are going to give it a try!!!
Barbara
Wednesday 18th of May 2016
Doreen, Do you have an inexpensive place to buy maps? They are often hard to find. Please advise me! Thanks. I love the map book covers. I now have three books covered in cloth in patterns to match my decor in the living room. Love to show books in a vignette.
Jann Olson
Sunday 21st of July 2013
Doreen, what great décor for summer. Love the covered books. Thanks for showing how to do it. Been so long that I had forgotten how. So happy to have you share with SYC.hugs,Jann
sew sweet vintage
Friday 19th of July 2013
How cool! Pinned to my beachy board! I posted anchors away pillowcases to the Creative Party. Stop over:)