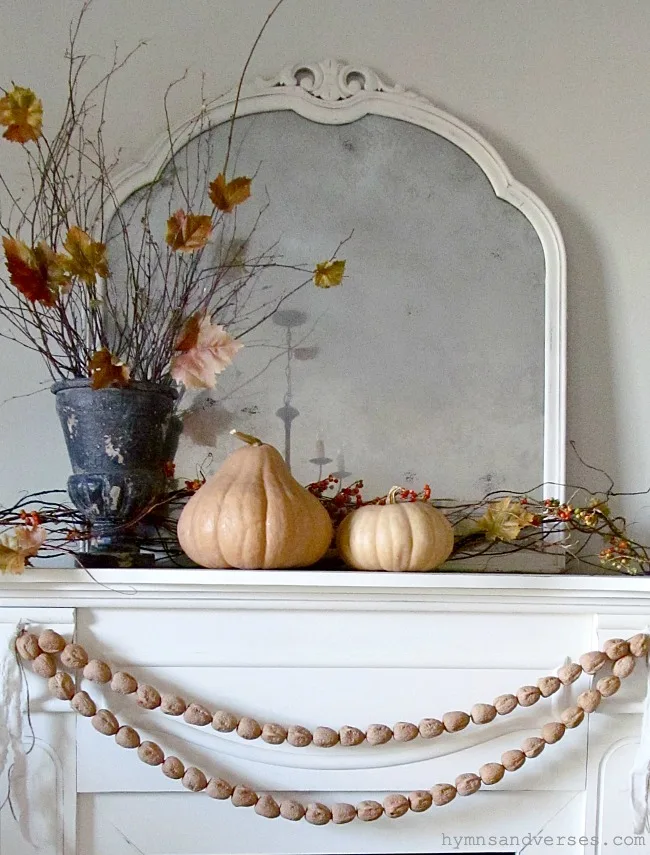
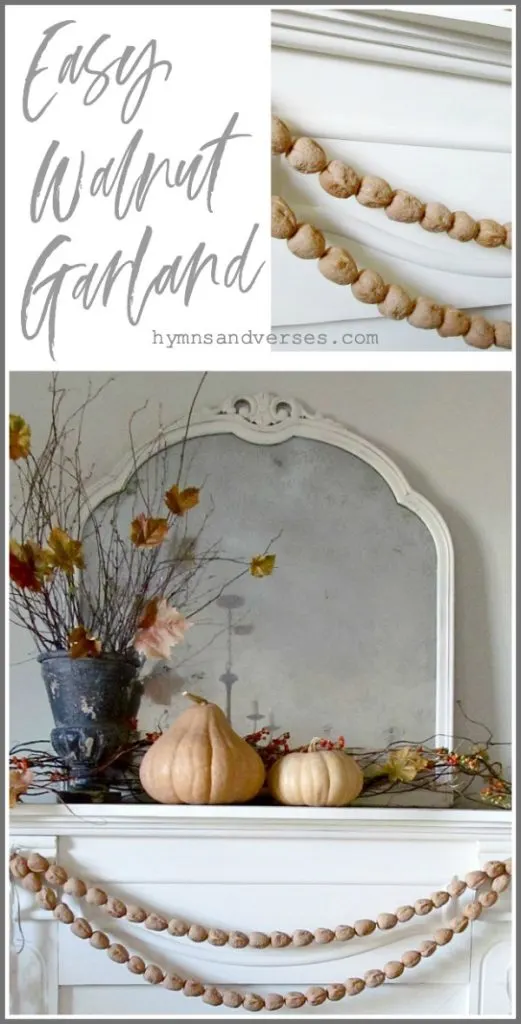
Growing up on the farm, we had a huge walnut tree that dropped what seemed like thousands of walnuts each year! Over the years, I’ve used walnuts in my home decor. From gilded silver walnuts on my Christmas tree to using walnuts as a filler in the base of a lantern. But, today, I’m going to show you how I made a walnut garland for my fall mantel.
*This post contains some affiliate links. Please see my complete disclosure statement.
This walnut garland is easy to make and could also be used decoratively like the popular wood bead garland. This fall mantel also features the mirror that I made to look antiqued, similar to ones they sell on Anthropologie.
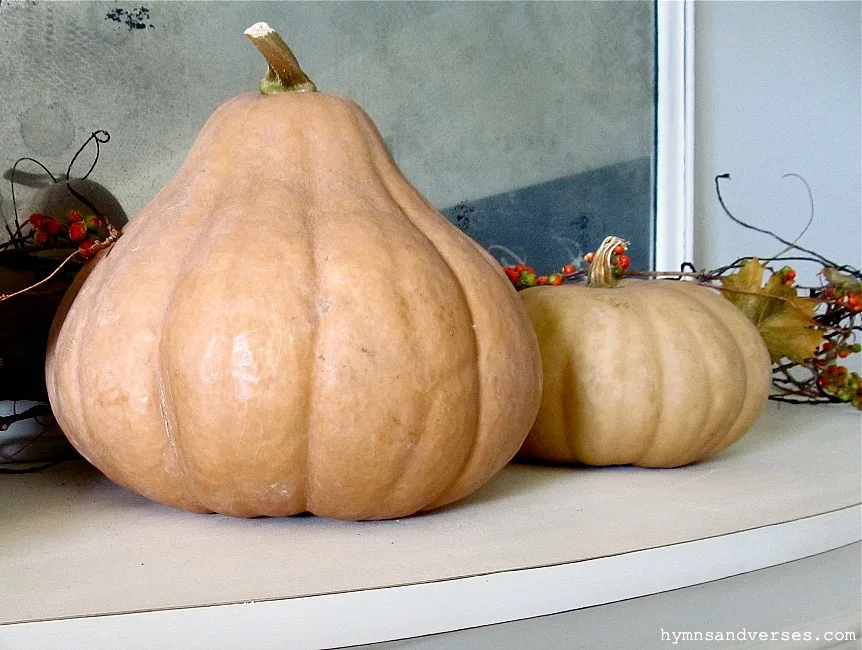
They’re such a pretty color and I loved the shape of the larger one!
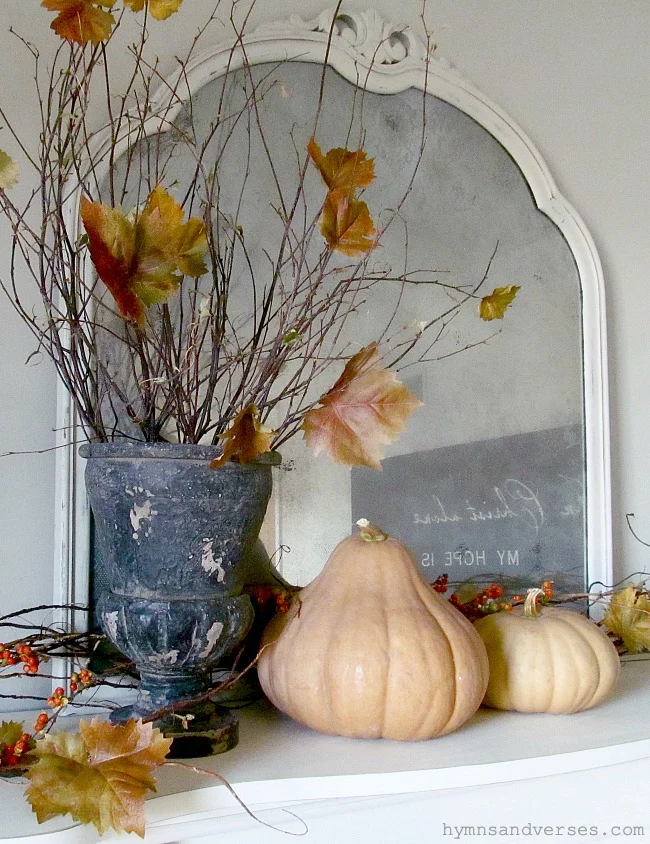
A great way to use faux fall branches to make them look more realistic, is to remove the leaves and glue them to a real branch. It’s a trick I used here with this arrangement of branches in a rustic urn. I also used some realistic, but faux bittersweet that I intermixed with some grapevine scattered across the top of the mantel. I absolutely love real bittersweet, but it’s really messy and is poisonous to cats. So, it’s a no-no at my house!
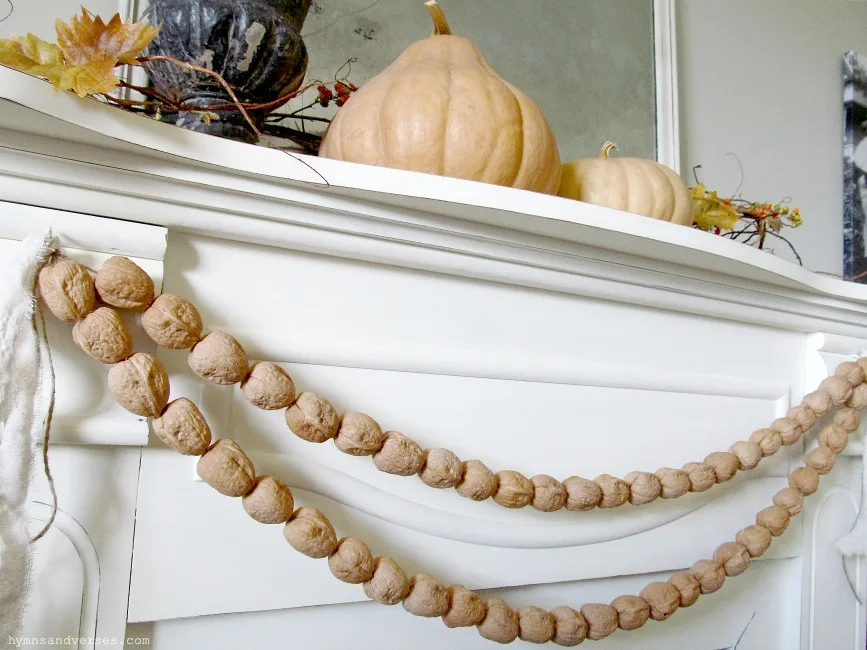
Now, let’s make the real statement piece on this mantel, the walnut garland!
You need three things for this walnut garland
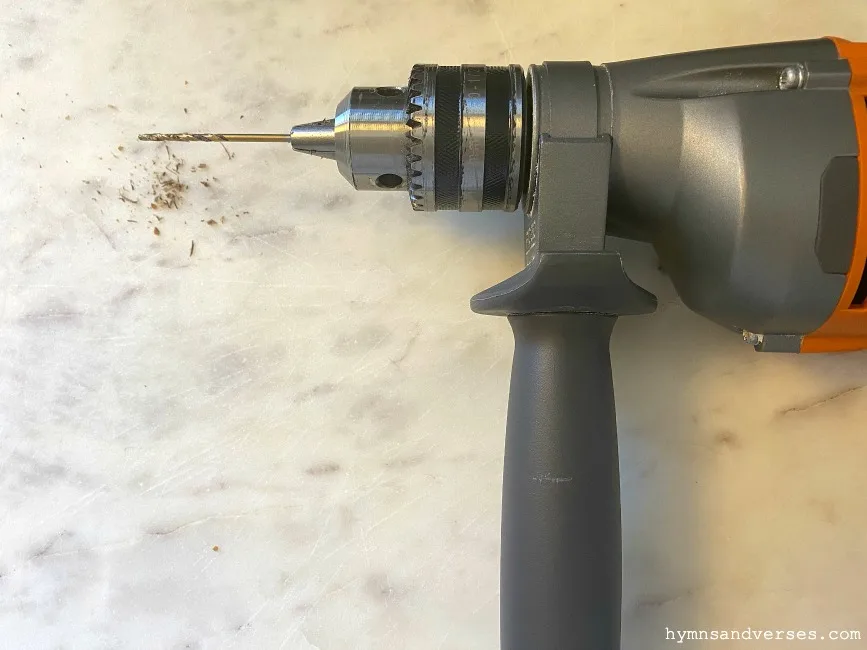
a drill with a 3/32 drill bit
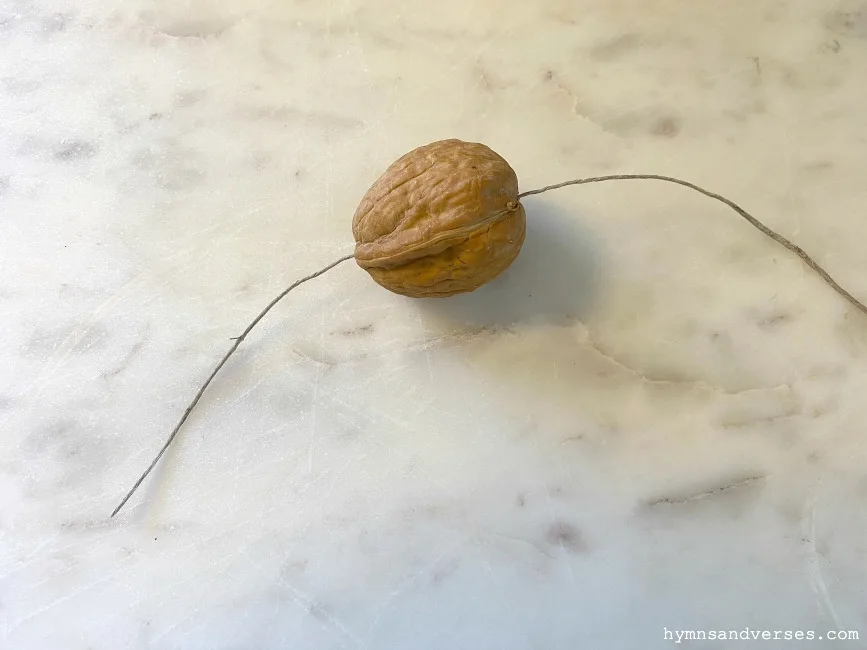
coated cord used for jewelry making
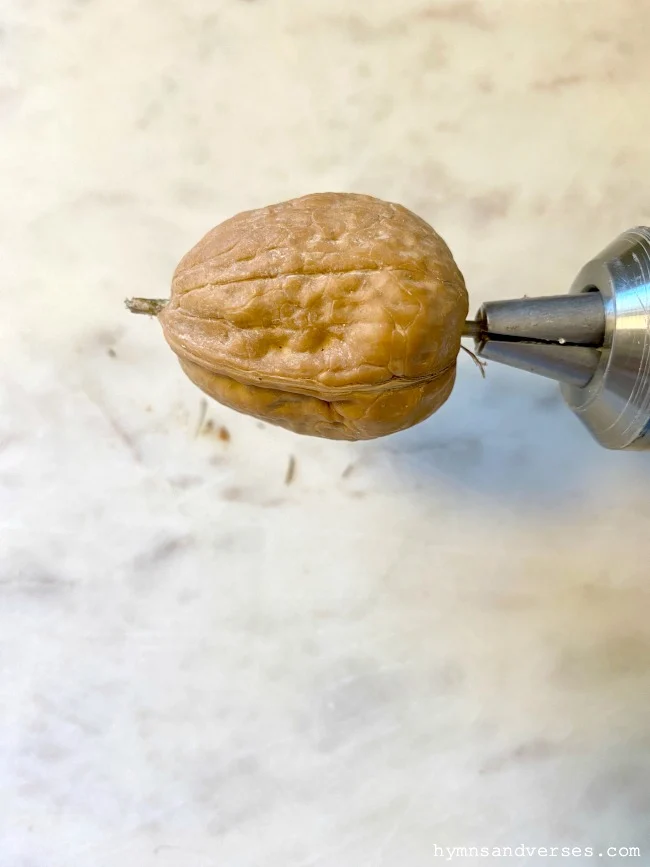
The first thing you need to do is drill holes in the walnuts. This is so easy to do and doesn’t take long at all! You’ll need about 30 walnuts to make a nice sized garland (the size of the lower row on the mantel). The photo below shows how I set up my drill to make this process easy!

vicky
Friday 16th of October 2020
Thanks for sharing your old post because I hadn't seen this one. I do have a question. Did the drill holder come with the drill or did you purchase that separately?
Doreen Cagno
Friday 16th of October 2020
It's part of the drill. Thanks for asking!
19 DIY Fall Garlands that are Easy & Inexpensive to Make!
Wednesday 9th of October 2019
[…] hymnsandverses […]
fall mantel ideas
Monday 10th of September 2018
[…] Walnut Garland Fall Mantel |Hymns & Versus […]
Stunning Mantel Ideas For Fall
Thursday 24th of August 2017
[…] Fall mantel with walnut garland by Hymns and Verses […]
DIY Fall Garlands
Tuesday 16th of August 2016
[…] Fall Mantel With Walnut Garland from hymnsandverses.com […]