Adding art to your home is an easy and affordable way to spruce up the look of any space. A great option for adding decorative accents is displaying tea towels. Not only are tea towels relatively inexpensive, but you can also display them in many different ways to create a unique and eye-catching piece. Framing a tea towel can be a simple and cost-effective way to bring some personality to your walls without having to go through the time or expense of a full painting project. In this blog post, we’ll show you how to frame a tea towel for decorative purposes.
Creating your own wall art is the perfect thing to do when you can’t seem to find just what you’re looking for in stores or online. If you can find something you like on a dish towel you can create something very special.
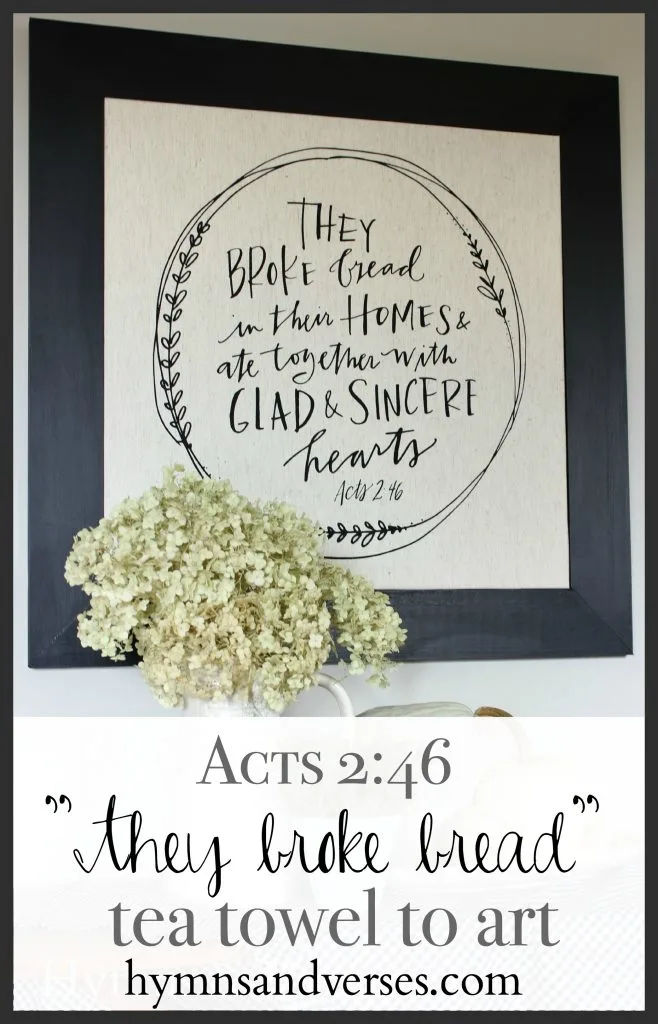
When I discovered Mary & Martha, one of the first items that caught my eye was the Acts 2:46 tea towel! I immediately recognized the artwork of Lindsay Letters and decided that this tea towel needed to be on display! I purchased the tea towel, attached it to an artist canvas, and made a custom frame for it! This post is one of my most viewed.
So here’s a step-by-step guide to show you how I framed the Acts 2:46 Mary and Martha tea towel.
This post contains some affiliate links for your convenience. See the bottom of this page to read my full disclosure policy.
How to Frame a Tea Towel
The good news is, with just a handful of supplies, some patience and time you can complete this beautiful tea towel art project.
SUPPLIES
Acts 2:46 Tea Towel or any other linen tea towel, English tea towel or other thin towel that you would turn into a piece of decor
Four Mending Braces and Screws
Stain or Paint of Choice
Wood for Frame: 1″ x 4″ (actual size is 3 1/2″ x 3/4″) finish board cut to sizes below.
Stapler/Screwdriver/Hammer
Step 1
Iron the tea towel. This is an important step – who wants wrinkles or creases in their artwork!
Step 2
Spray your artist canvas with the spray adhesive – spray edges as well. Carefully line up your tea towel over the canvas so the image is centered. Apply light pressure once you have the tea towel where you want it.
Make sure you don’t have any wrinkles or air bubbles.
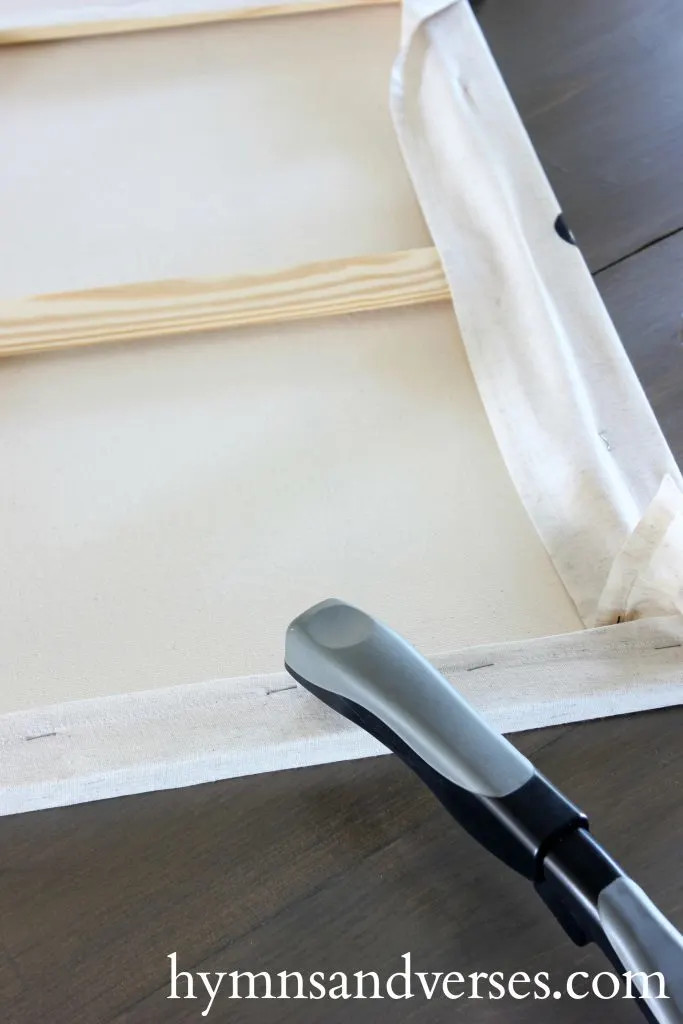
Fold the tea towel over the edges and use a stapler to secure the tea towel to the back of the canvas as shown. (for example purposes, I used the other Lindsay Letters Mary & Martha Tea Towel. I’ll be sharing how I framed that one tomorrow. It’s a totally different method).
Fold the corners neatly (like a package) and staple to the back of the canvas. I cut the excess fabric on the back to keep it neat.
If you want to keep the tea towel for another project later, you can leave it as is because no one will see the back once it’s hanging on the wall.
Step 3
Cut the 1″ x 4″ wood planks to size.
(if you don’t have a saw, Home Depot will cut the wood for free)
For a 24″ x 24″ inch frame opening you need 2 – 24″L and 2 – 31″L
Step 4
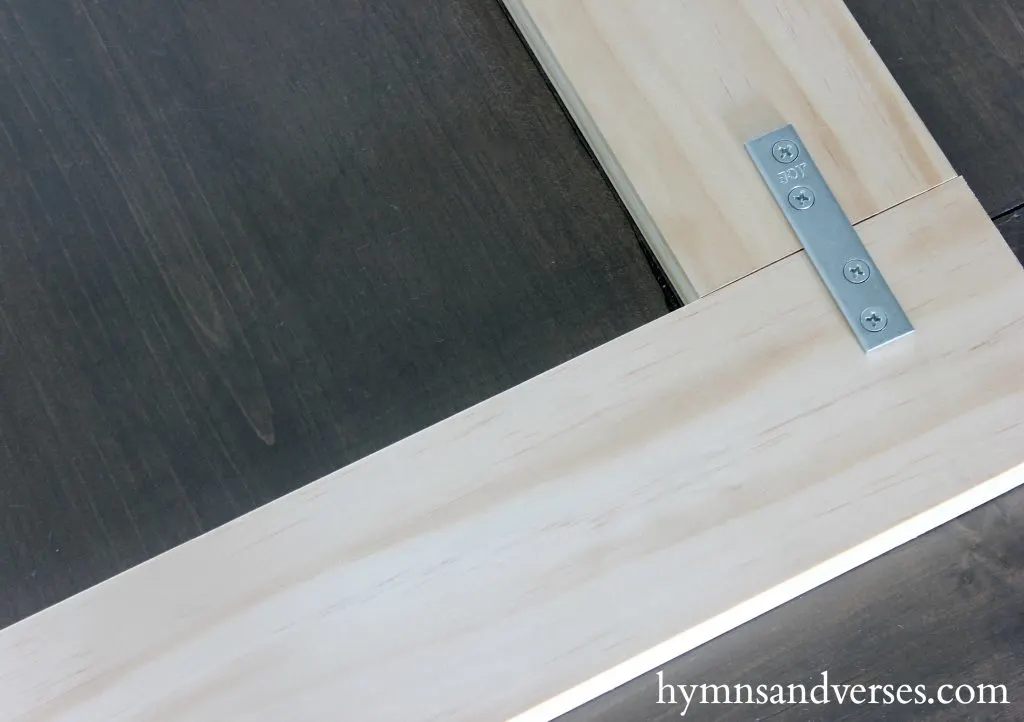
Sand the cut edges of the wood and line up the pieces to form the frame. Use the mending braces at each corner joint where the wood comes together as shown below.
Step 5
Stain or paint your frame. For this frame, I used a simple, black acrylic craft paint. Paint both the inside and outside edges.
Step 6
Once the stain or paint is dry, put your canvas inside the frame. It should be a snug fit. I didn’t do anything further to secure the canvas to the frame. But, if you wanted to make it more secure, you could use a staple gun to staple through the canvas edge and wood frame on the reverse.
Finally, attach the sawtooth hanger at the top back of the frame for hanging.
Tips for framing a tea towel
- If you don’t want to make your own picture frame, you can buy one or if you have a small design, you could use a shadow box frame.
- You could even get your own blank pure linen towel and use a fabric marker to design and draw your own gorgeous designed tea towel. Sometimes it’s easier to make your own design if you can’t find exactly what you’re looking for. Then add a proper frame and you can easily hang this project in your living room or other place where you wish to display your art piece.
- This is a lovely gift that you could make for family, friends or even newlyweds moving into their first house, or kids going off to college looking to spruce up their boring dorm rooms.
- Always take a second to remove any surface lint you see on your tea towel before working with it.
Tomorrow, I’ll be back to share a little vignette featuring the other Mary & Martha tea towel that I framed using a different method. Stay tuned to see which type frame you like better!!!


Welcome to Mary and Martha - Hymns and Verses
Wednesday 27th of February 2019
[…] Grace & Gratitude Queen Anne’s Lace Pitcher The last item I want to share with you today is the Acts 2:46 tea towel. I thought it was too pretty to just dry dishes, so I decided to make it into an art piece for the kitchen. I purchased a basic artist canvas at AC Moore with a 50% off coupon. Then I used a general purpose spray adhesive to attach the tea towel to the canvas. I made a simple frame and painted it black to frame out the piece. It’s now hanging in my kitchen. You can see the full tutorial HERE. […]
Mary and Martha Early Black Friday Sale - Hymns and Verses
Wednesday 21st of November 2018
[…] Acts 2:46 Lindsay Letters Tea Towel. This is my biggest Mary and Martha seller! And, I have the tutorial to make this into the framed art as shown above! What a great gift for someone that would be! It’s so easy to do and it […]
DIY Wood Frame for an Artist Canvas - Hymns and Verses
Wednesday 17th of August 2016
[…] or any canvas art for that matter. If you missed my first DIY frame tutorial, you can see it HERE. For this project, I used another Lindsay Letters tea towel sold by Mary and Martha. It reads […]
Pat
Friday 12th of August 2016
Doreen, You, dear friend, do lovely work! Thank you for sharing this technique! Fondly, Pat
Gwen
Sunday 14th of August 2016
I totally agree with Pat!! This looks superb. Love the frame. Going to keep in mind for mine