Installing hidden cabinet hinges is an easy and cost-efficient way to take your cabinets to the next level. With hidden hinges, you can achieve a clean, modern look in any room of your home. It’s a great DIY project that anyone can accomplish in a couple of hours or less. The installation process is fairly straightforward, but there are several important steps that need to be followed to ensure success. This guide will provide an overview of each step involved in installing hidden cabinet hinges for a perfect finish.
Would you like to give your kitchen a little update without spending thousands of dollars on new kitchen cabinets? There are little projects that you can do in a weekend or even a day to help spruce up the kitchen and installing hidden cabinet hinges is one of them.
In newer home builds, you will find that the cabinet door hinges are hidden (or concealed) and have a soft close feature. But, with a little time and effort, we can update the kitchen cabinets in our homes with these concealed hinges. I’m going to show you, step-by-step, how to install hidden cabinet hinges to your kitchen cabinets.
Why Use Hidden Cabinet Hinges
- No more ugly hinges, they’ll be oncealed behind the door for a seamless cabinetry appearance
- There are numerous options to achieve the perfect fit and look for your cabinet
- Easily accessible at the majority of home improvement retailers and hardware stores
- It’s cheaper to redo the cabinet hinges instead of getting new cabinets
- Effortless to open and close
- Surprisingly simple to install with a bit of expertise
What kind of cabinet do you have?
There are a few other factors we need to know about your cabinets before we dive into how to add the cabinet hinges. One thing. weneed to know is what kind of cabinet you have. I’m not talking about if they’re oak, or real wood, or fake wood, or whatever, I’m talking about whether or not you have framed cabinets or frameless cabinets.
This will determine the type of hinge you will need.
Framed cabinets vs. frameless cabinets
If you are unsure if your cabinets are framed or frameless, there are a few methods you can use to determine the type. First, measure the space between your cabinet doors and the cabinet frame. If it is anything more than 1/4 of an inch, then you have frameless cabinets.
Second, look at the sides of your cabinets. If they are flush against the wall and there is no gap in between them and the wall, then you have frameless cabinets.
Lastly, examine the back panel of your cabinet. If it fits perfectly inside the frame, then once again your cabinets are frameless.
If you need more help, Rockler has a great page to help you choose the right new cabinet hinges. I found it so helpful in determining the kind of hinges we needed to buy.
It’s called: Choosing the Right Cabinet Hinge for your Project.
Are Face Frame Cabinets the same as framed cabinets?
Yes, face-frame cabinets are the same as framed cabinets. They are both referred to as American style or traditional cabinets and have similar features. The difference is that face frame cabinets have an extra frame around the front of the cabinet box which goes around the outside edges of each door and drawer. This gives them a more decorative look and can also be used to give the cabinet a stronger structure. Frameless cabinets do not have this extra frame and so lack this additional strength and decorative look.
Face frame cabinets are the opposite of frameless cabinets. With face frame cabinets, there is a 1.5-2 inch frame that is built around the front of the cabinet with a thin lip that extends outwards. This type of cabinet is considered more traditional, and hinges will attach to this face frame in order to open and close the doors. These types of hinges typically have two plates – one attached to the door and one attached to the face frame.
Determine overlay (door style)
You’ll also want to determine what kind of overlay you have. There are different types of door overlays.
You can have inset, full overlay or partial overlay. You want to make sure you get appropriate hinges that will work with your door style. Since we are installing new types of hinges, you can’t just take your old hinges to the store and find a direct replacement. While you could get new doors, it’s much cheaper to get new hinges and you’ll be amazed at how something so simple can make such a dramatic transformation.
Inset doors
Inset cabinet doors are when the cabinet door sits inside of the frame and is flush with the front edge, providing a clean and seamless look. Inset doors usually require special hinges due to the way they are installed. They sit within a rabbet or lip that is built into the cabinet frame. This type of door gives a unique, elegant look and can be more expensive than other types of doors.
Full overlay doors
Full overlay cabinets are one type of overlay door style. The doors and drawers have large openings that cover the entire cabinet face frame. This provides a more contemporary look than standard inset doors, where only the center panel is visible. This type of styling also allows for more creative use of hardware, as there’s no need to worry about door clearance or outward visibility.
Partial overlay doors
Partial overlay doors are another popular door style that falls somewhere between full overlay and inset. These doors have a slightly smaller opening than full overlay, but still provide an open, contemporary look. The edge of the door is exposed and sits on top of the face frame, with a small gap in between. This type of styling allows for visible hinges and knobs, giving it more of a traditional appearance than full overlay. It also provides more flexibility in terms of hardware placement, since there’s room to adjust for various sizes.
I learned that we have face frame cabinets with overlay doors and semi-concealed hinges. Here is a look at our kitchen cabinets before with the black, “semi-concealed” hinges. Stick with me to the end for the after!

Determine the type of cabinet hinge you need
A frameless concealed hinge is a type of cabinet hinge that is completely hidden from sight. It is installed on the inside of the cabinet door, with no visible knobs or screws. This type of hinge provides a sleek, modern look to any kitchen or bathroom, and offers maximum access when opening the doors.
Frameless concealed hinges are also easy to install and adjust, making them an ideal choice for DIYers looking to upgrade their kitchen cabinets without having to break the bank.
Face frame hinges are a type of hinge used for face frame cabinets. They attach the door to the cabinet frame and allow it to open and close. They have been used for many centuries and provide an attractive look to any kitchen cabinet.
Face-framed hinges can also be easily adjusted for various sizes, making them more flexible than their concealed counterparts.
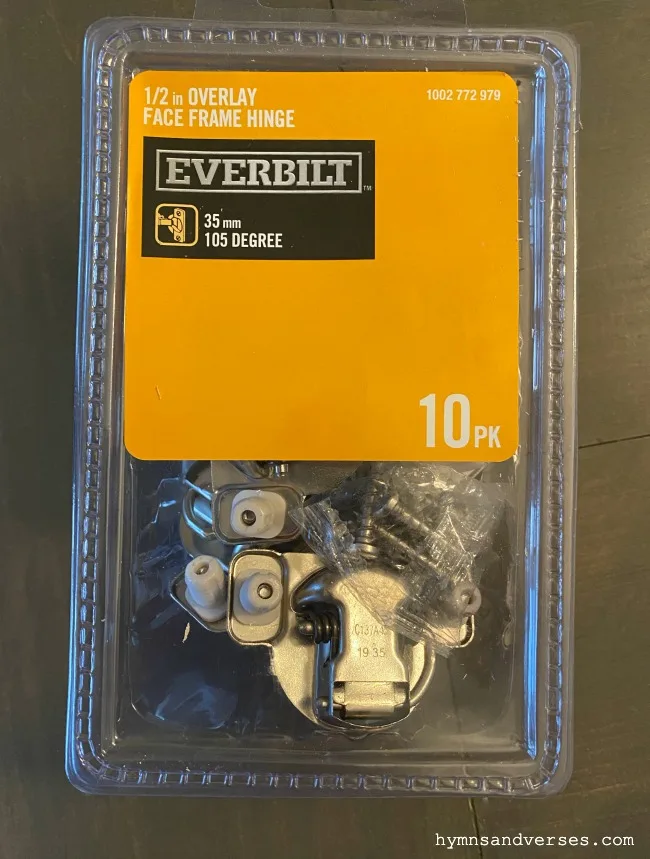
For our kitchen cabinets, we determined the new hinges that we needed. I was able to save some money by purchasing the hinges in a bulk package of ten at The Home Depot for $24.98. We needed a total of 30 hinges, so I purchased three packages of ten.
So, the cost to change out all of our kitchen hinges was about $75. Now, if you want the soft close feature, the price almost doubles. A set of ten soft close hinges is $46.48. The soft close feature is nice, but I’m thrifty and didn’t want to spend the extra money!
There are plenty of different options, so choose what fits your budget and will work with your door. Make sure you have the right hinges and you have enough for all of your doors.

Cabinet hinge installation template
There is one other thing that you will need for this project, this cabinet hinge installation template, also from The Home Depot. The kit includes a template and special pocket hole drill bit. Another important tip – you will need an electric drill. We found that using our battery operated drill just wasn’t powerful enough, so we suggest an electric one.
Now, let’s change out those hinges!
We started with the two small cabinets that are above the refrigerator. When you are doing something new, it’s a good practice to do a test in the least noticeable spot!
The first thing you want to do is remove the cabinet doors and existing hinges. If you remove them all at once, put a piece of painters tape on each door with the door location written on the tape. You want to make sure they all get back in the right spot!
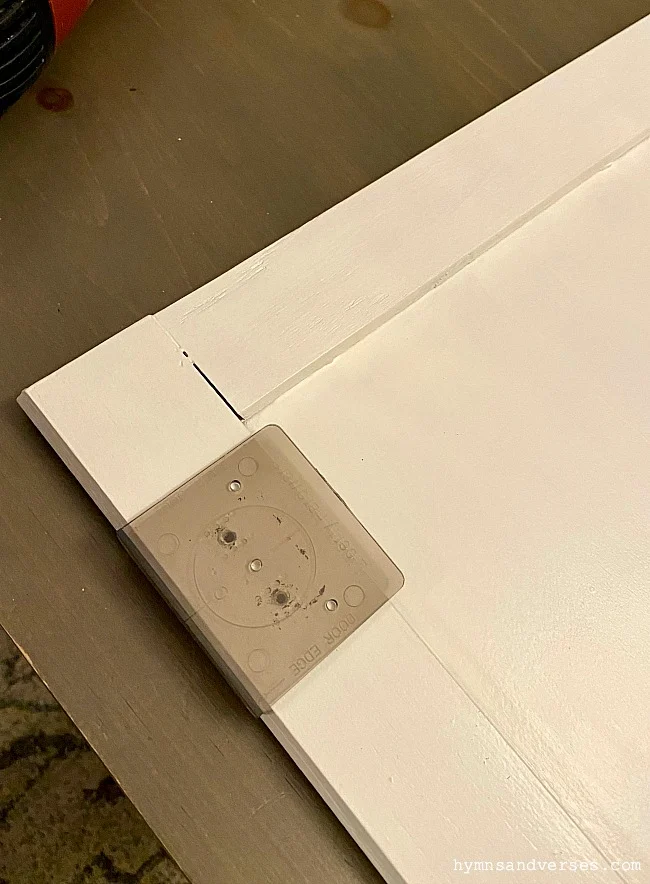
Once the hinges are removed, it’s time to install the new ones. Position the template where you want the hinge placed on the cabinet door.
In the photo below, you can see the template with the round circle. The two dark spots at the top and bottom of the circle are the holes from the previous hardware screws. Those holes fell nicely within the circle template, which worked out perfectly.
This large circle is what you will be drilling to “inset” the hinge. In other words, you won’t see the previous hinge placement once the new hinge is installed. In the very center of the large circle on the template, there is a small hole.
The first step is to take a pencil and make a mark on your cabinet door through that hole. It’s always a good idea to use a tape measure to be sure that you’re putting the new hinges at the same place on all of your cabinet doors.

Next, you need to make a pilot hole where you made that mark on the back of the door. Use a 3/32 drill bit and place a piece of tape 5/16 inch from the bottom of the bit. That’s how deep you need to drill the pilot hole.

DRILLING THE POCKET HOLES
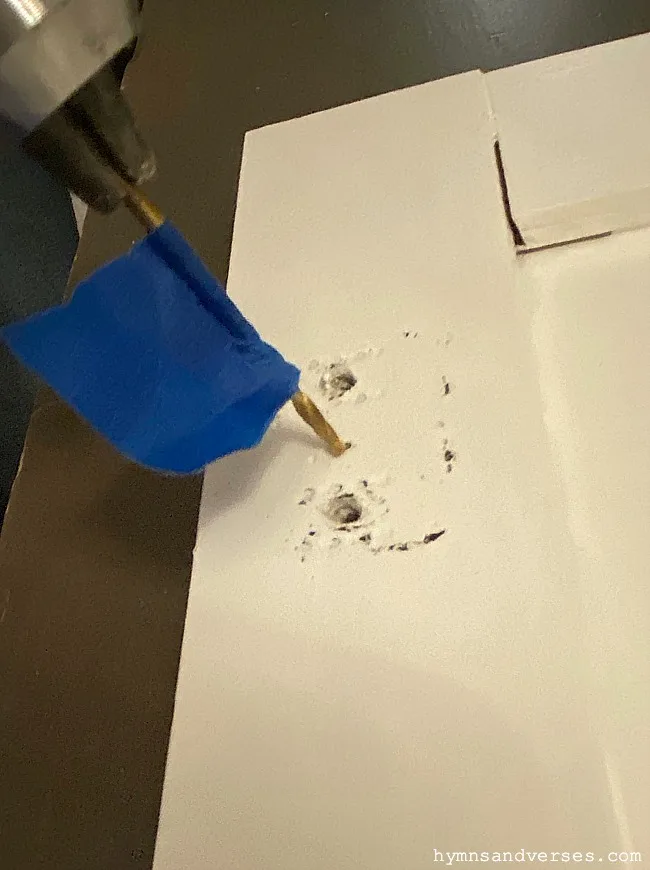
Now that you’ve made the pilot hole, you can attach the drill bit that came in the cabinet hinge installation template kit to your drill. There is a pointy center tip on this bit and you want to place that point into the pilot hole you just drilled. Now, you are ready to drill the pocket hole for the hinge.
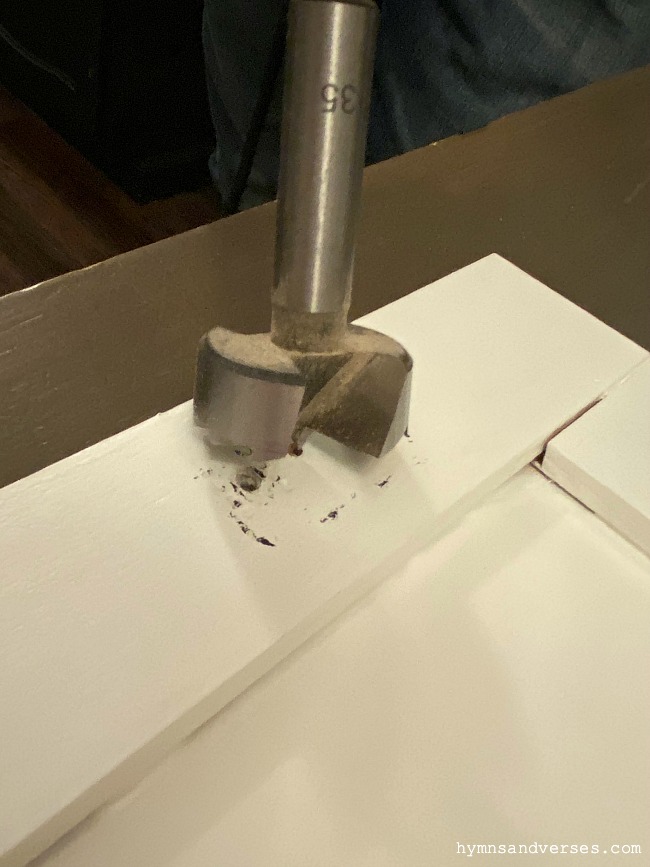

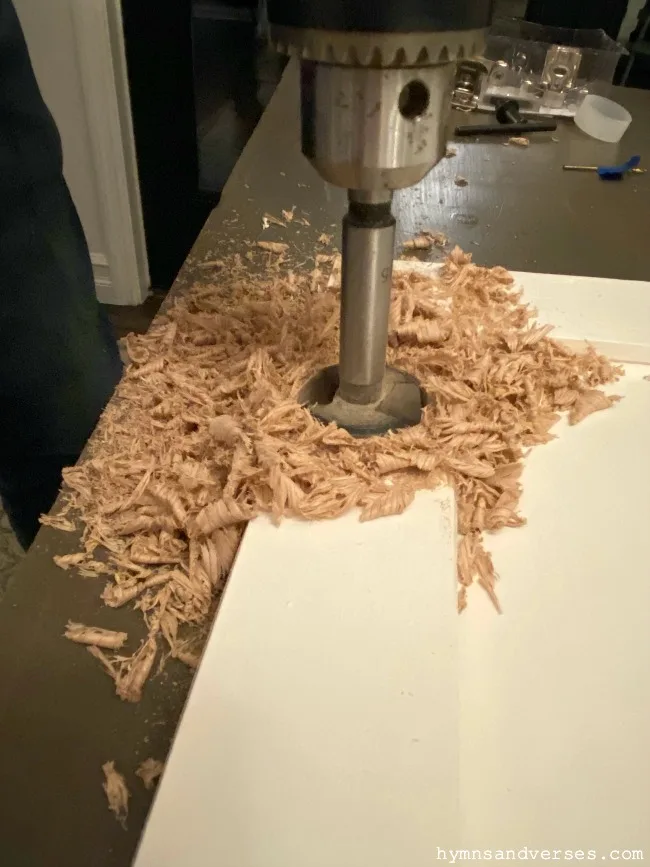
Drill until the top of the round part of the drill bit is level with the cabinet door. As you can see, there will be a lot of wood shavings.
And, if you can work outdoors, that would be preferable! As you can see, we were working on top of the dining room table and by the time we finished the rug was completely covered with wood shavings!

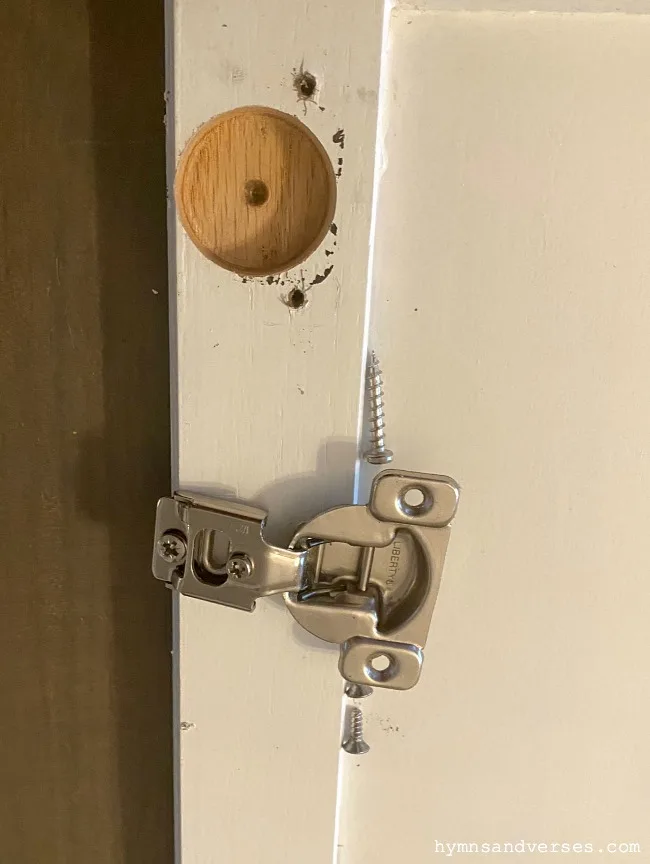
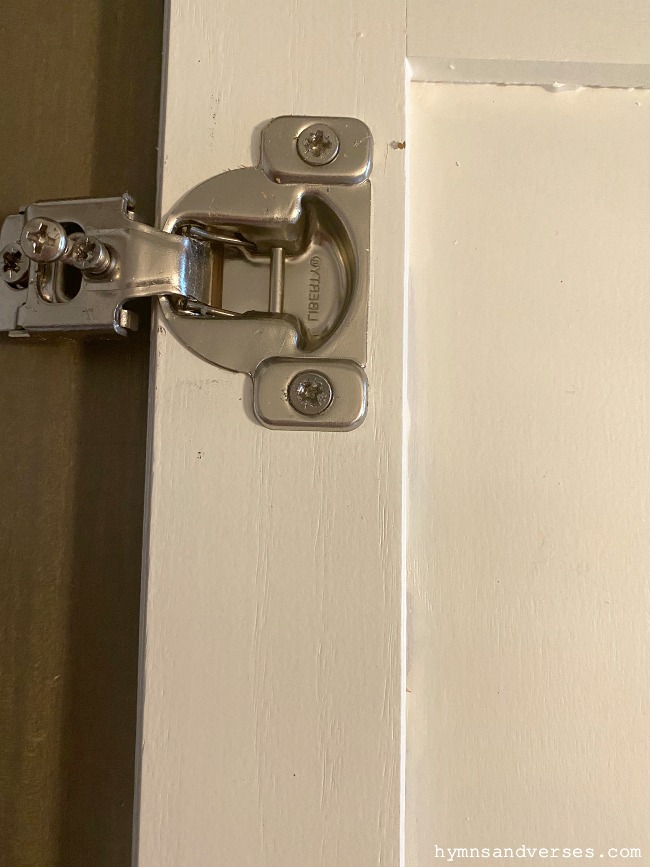
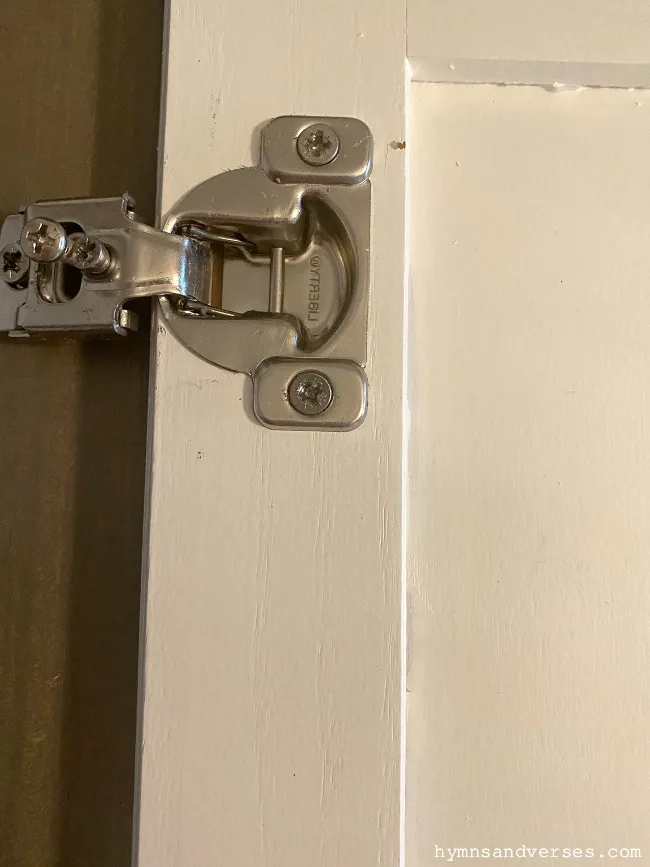
Now, you can place the hinge into the hole on the back of the cabinet door and attach it with the provided screws! But, you will need to pre-drill holes for the screws first.

Now, it’s time to hang the door back up by attaching the other end of the hinge to the cabinet. Make sure the door is lined up with the cabinet opening.
Whew!!! That sounds like A LOT – right? Once we had the first two small cabinet doors finished, he did all of the drilling for the rest of the doors and then attached them to the cabinets. It took about three hours total, making this a great weekend project. I hope this tutorial helps you understand the process for installing hidden cabinet hinges.
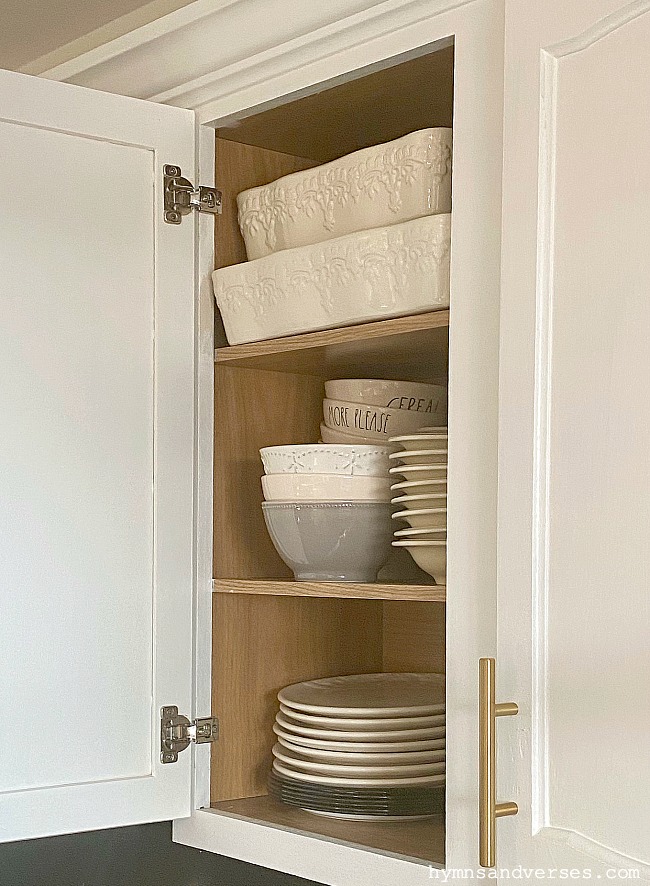
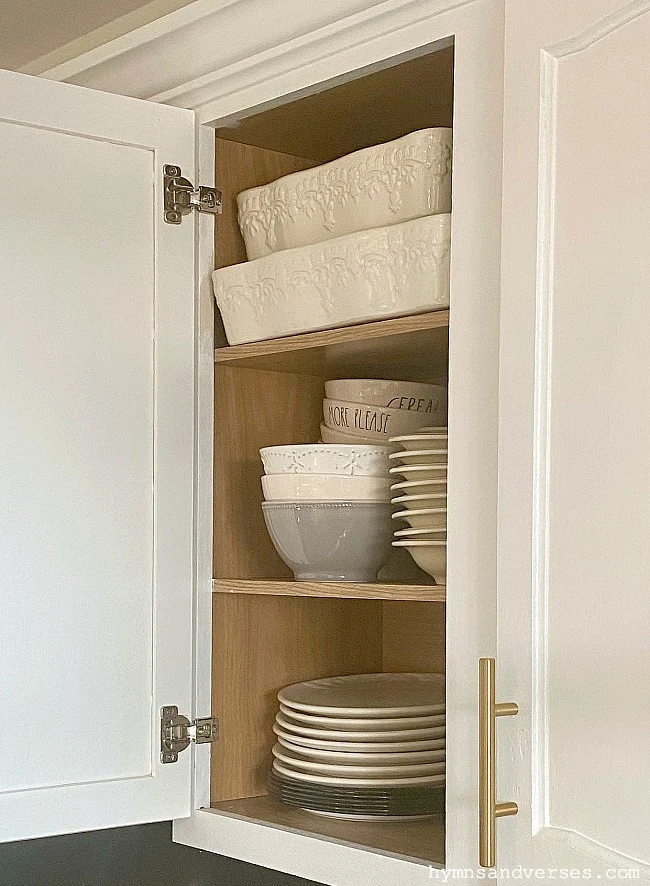
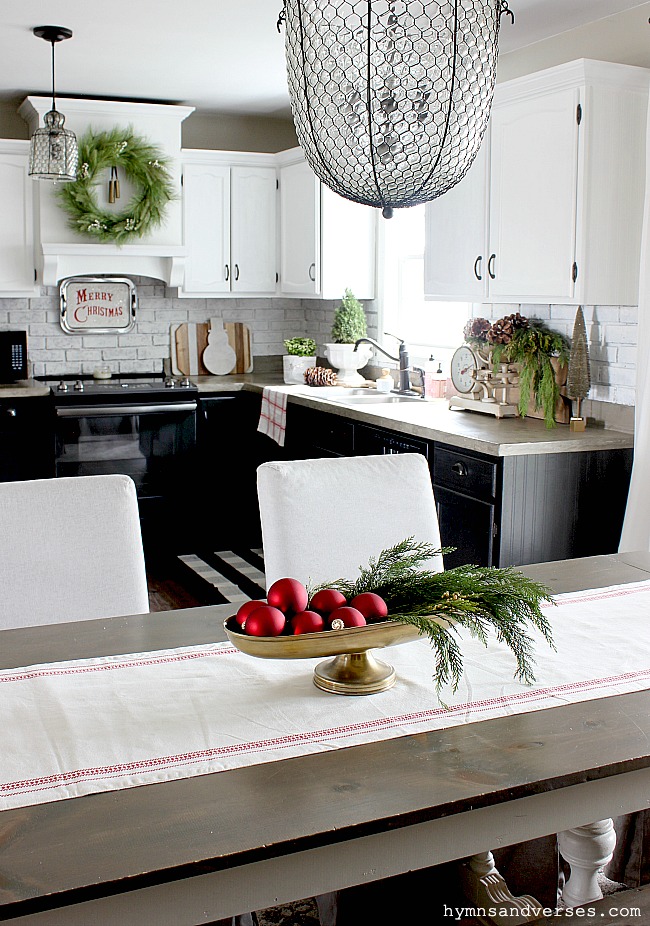
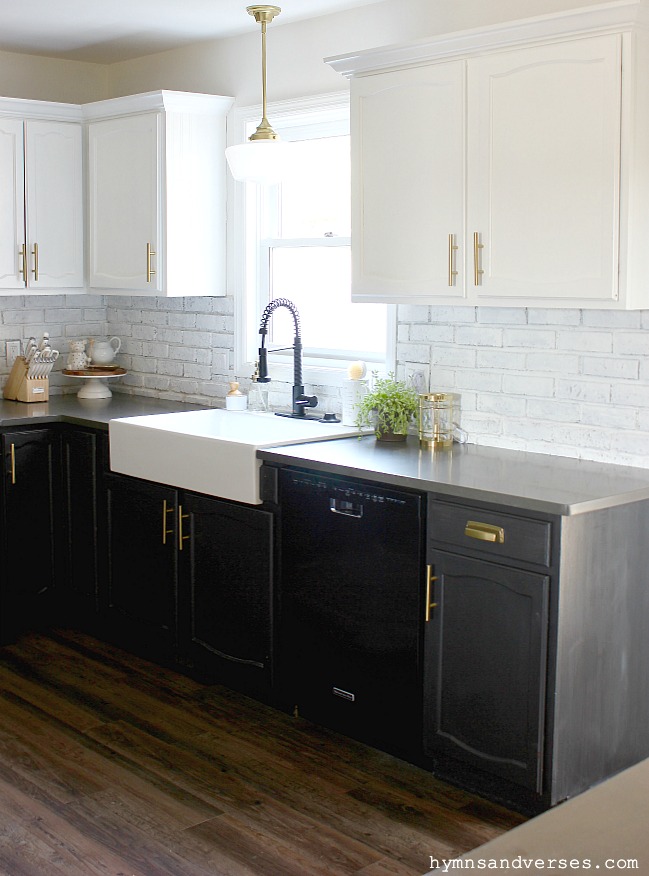
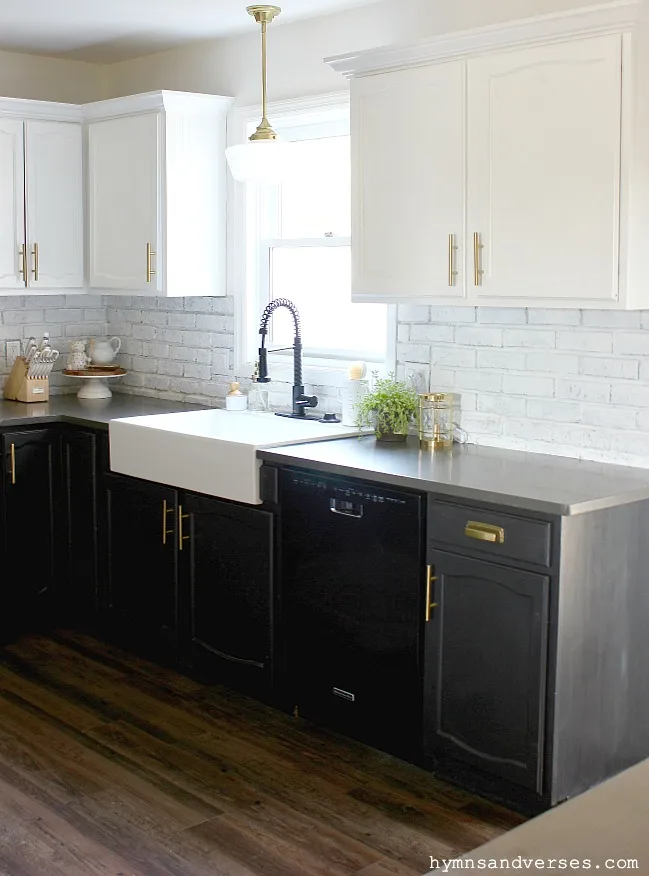
And, now for the after photo reveal! No black hinges showing!!! And, you get a peek at the new cabinet pulls, farmhouse sink, new faucet, quartz countertop and pendant light over the sink!
Hope this tutorial helps you transform your traditional cabinet hinges into the best concealed hinges that give those old cabinets a beautiful new look!


Christine Irvine
Wednesday 19th of February 2020
Doreen, it looks really nice. Thanks for this information. I have some unattractive, builder grade hinges I don't like ... but I didn't know what I could do to change them except paint them. This helps me a lot! I'm going to look into this! I have always loved your kitchen. Did you build the section above the stove that houses your ventilation fan?
Christine New Hampshire
Wendy Michelle Jenkins
Tuesday 18th of February 2020
Love this, thanks for the tip.
Debra
Tuesday 18th of February 2020
Soooooo much better!
Shari
Tuesday 18th of February 2020
Wow what a transformation. Everything looks more modern. Great job! Thanks for sharing
Doreen Cagno
Tuesday 18th of February 2020
Thank you, Shari!!
C E
Tuesday 18th of February 2020
Love your dishes ! Tried to order from M and M but they are not available for shipping to Canada 🇨🇦. Thank you for your blog. I really like the name ! Blessings