I’m here today to bring you the final post on Seth’s bedroom. This probably should have been the first post since it was one of the first things we did in the room – besides painting. It’s the wood floor treatment we gave to this small space – an easy and inexpensive alternative hardwood floor.

First, let me say, this is probably not for everyone. If I was in a position to get hardwood floors for my entire home, I would not have done this. However, our upstairs hallway floor matches what we have on our main living floor; and we’re not quite ready to replace it. So, I wanted something inexpensive, but still looked good and made a nice transition from the hallway floor. The other big thing, this room had carpet and all carpet is getting the “heave ho” from our house! I have horrible allergies and carpet just isn’t great for that reason. So, here’s our solution!

Okay – first off, this isn’t exact brand that we used, but I wanted to give you a source to buy your own product. This is called Tri Ply and comes in 4 ft. x 4 ft. x 1/4 in. sheets and you can find it at Home Depot. It is sold by the sheet for $8.97 and you can order it online and pick it up at your local store. My husband works in the flooring industry and had some of this same Tri-Ply in our garage. The one side has a really beautiful grain and it is smooth. You may remember that I painted the subfloor in our bedroom and that was my original thought for Seth’s room. But, when I saw this in the garage, I knew it would look great stained for a more industrial look and it has a much nicer finish than regular subfloor.
What we used was 4′ x 4′ x 1/4, but it also comes in 8′ x 4′ x 1/4″. It is thin enough that you can even cut it with a sharp utility knife to get around corners, closets, etc.

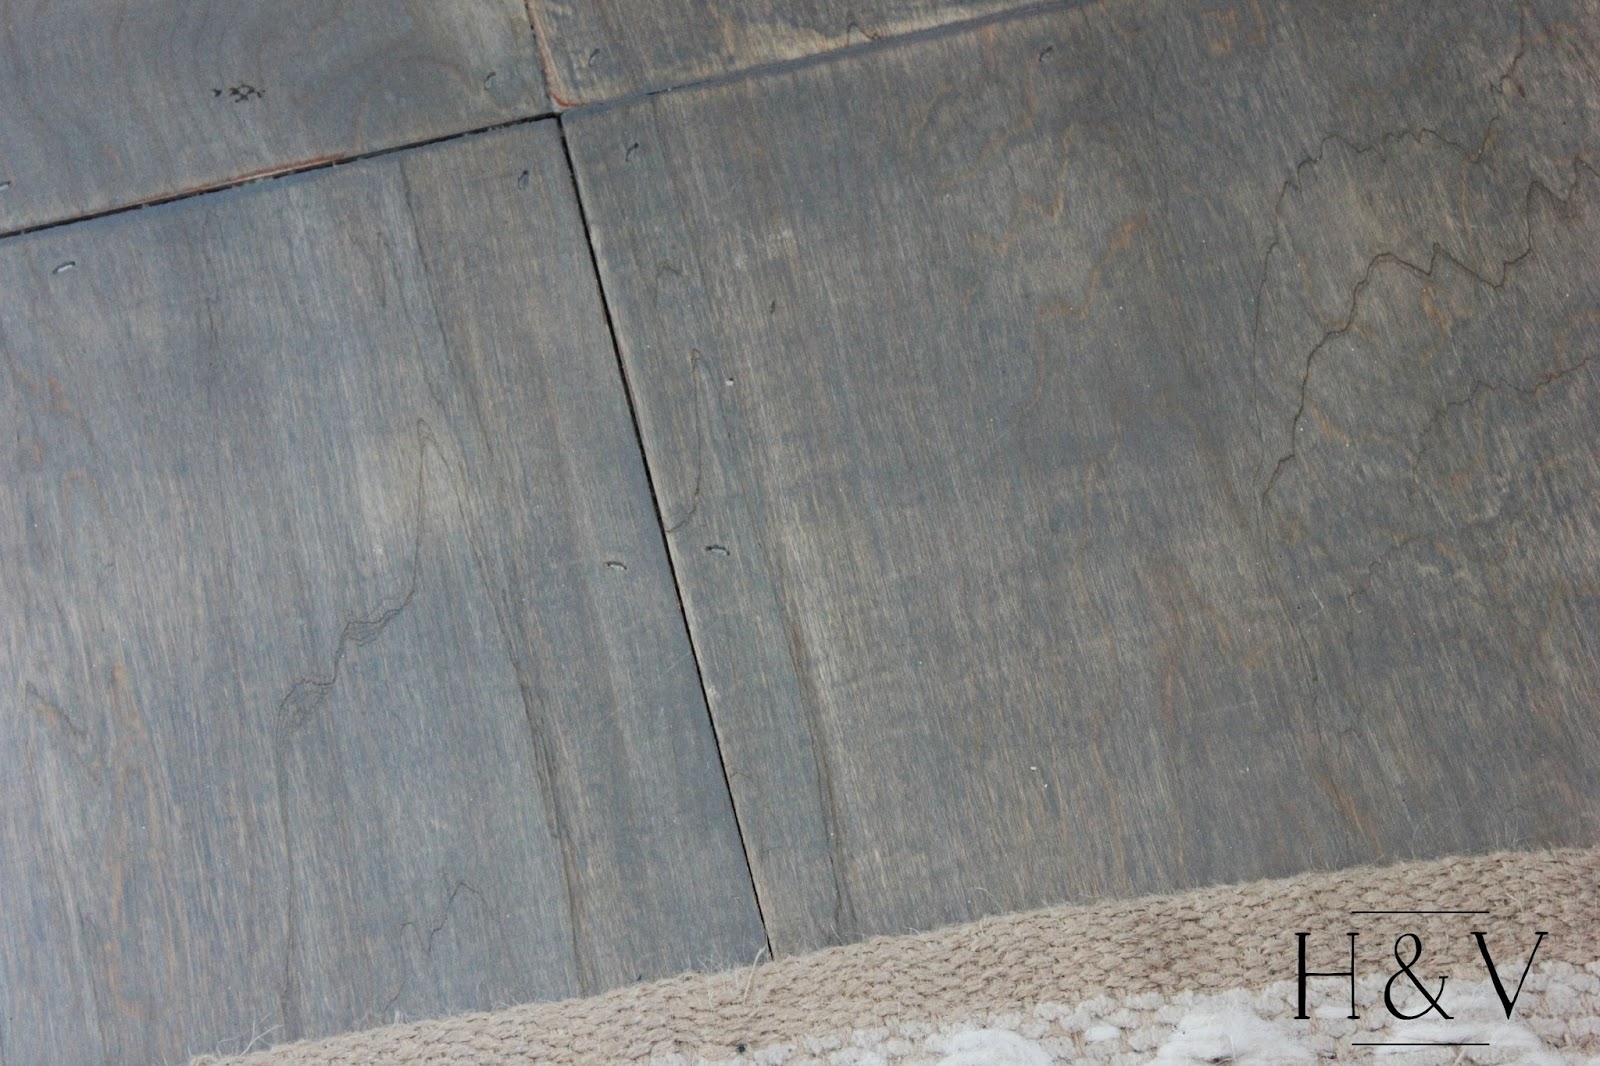
Mark used a pneumatic staple gun with 1/4″ crown staples to attach the Luan to the existing subfloor. I didn’t fill in the staple holes or cracks in between boards because I wanted it to look rustic. Again, the Tri-ply is really smooth, so it didn’t require any sanding. Once the floor was all installed, we stained it with Minwax Classic Grey stain – just one coat. Then sealed the floor with two coats of poly.

I love how this hardwood floor turned out and it was free – because we had everything needed right in the garage! You can’t get better than that – right? Here are some of the spaces I’ve shared previously in Seth’s room. You can click each picture to take you to the corresponding post.
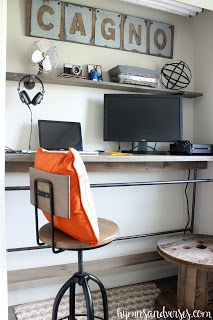

Built-in Closet Industrial Desk
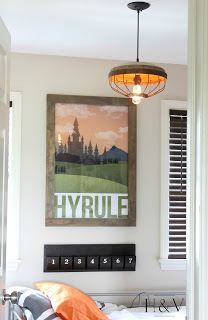
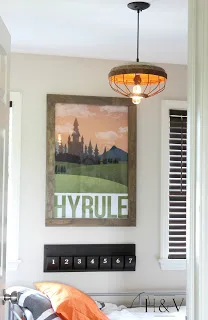
Chicken Feeder Pendant Light

Eleanor Bruce
Thursday 21st of January 2016
I've been wondering if you could fake the look of a typical wood floor by cutting the luan plywood into strips 8' long x 3" wide and install them butted up against each other. Then you could stain it and seal it like you did. My fear is that the veneer or top ply of wood might chip and peel. How have your edges held up?
Doreen Cagno
Thursday 21st of January 2016
Hi, Eleanor. The edges of mine have held up well. We've now used this technique in two of our bedrooms. No splinters, etc. Cutting the wood into strips might cause more splintering?
Top 10 DIY's of 2015 - Hymns and Verses
Tuesday 29th of December 2015
[…] EASY & INEXPENSIVE HARDWOOD FLOOR […]
Cindy
Saturday 15th of August 2015
What a great idea! And it looks awesome! Thanks for sharing!:)
Ellen Ross | Ask Away
Thursday 13th of August 2015
Wow I love that and it looks great!!!!! Hardwood is awesome isn't it?! Love your blog!XO Ellen from Ask Awaywww.askawayblog.com
Debbie Huffaker
Thursday 13th of August 2015
It looks great. Oh, how I would LOVE hardwood throughout our house, too. But, alas, that will have to wait for several more years!