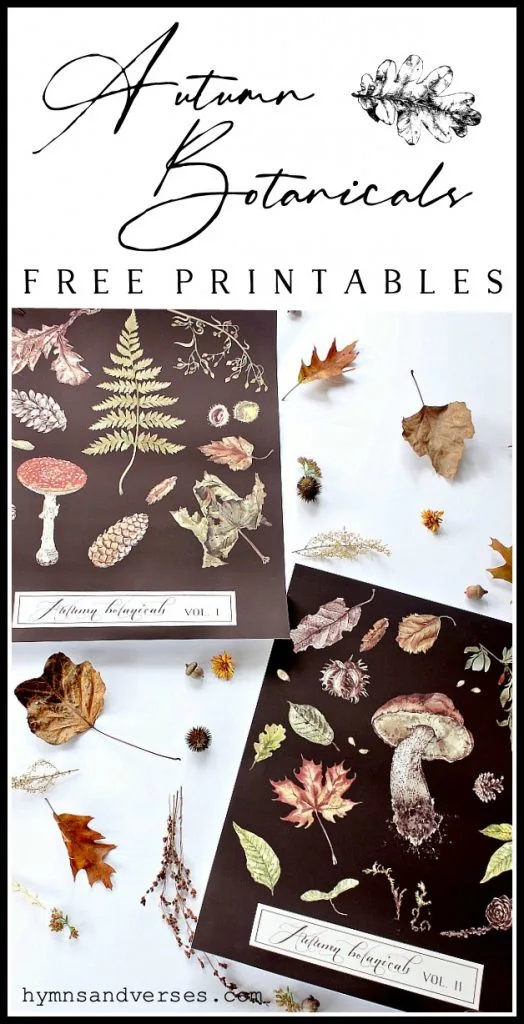
Vintage botanical prints are classic and I’ve used them often in my decor. But, after searching online for autumn botanical designs, I couldn’t find exactly what I was looking for. So, I decided to create my own! These prints are available in my FREE Printable Library for my email subscribers.
*This post contains affiliate links. Please see my full disclosure statement HERE.
Do you ever have something you are shopping for that you’ve seen dozens of times in the past, but when you need it, it’s no where to be found! Please tell me that happens to you too! When I began thinking about my fall decor for this year, I wanted to incorporate some vintage autumn botanical prints. But, after spending way too much time on the internet searching, I came up empty! So, I decided to create my own using botanical watercolor artwork that I purchased at Creative Market.
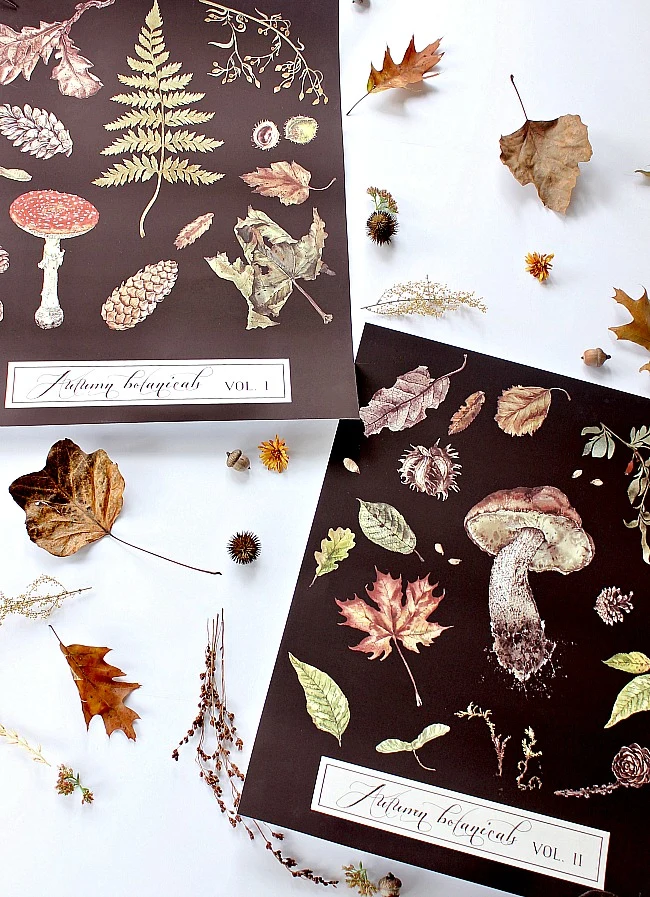
Creative Market is an amazing source for graphic designers. You can find graphics, artwork, fonts, templates, etc. all in one place. You can purchase a license to use these digital files in your own designs. Over the years, I’ve purchased many fonts and graphic elements from Creative Market. I wanted these botanical prints to have the look of a vintage botanical wall chart. So, I combined some of the individual elements to create Autumn Botanicals, Volume I and II.
And, since I wanted these prints to have the look of a vintage botanical wall chart, I chose to recreate that look with a DIY! I’ve made other wall charts in the past, but I am really liking this particular style and thought I would share the steps with you, so you can make your own wall charts for the Autumn Botanical Prints or any other print.
HOW TO MAKE A DIY WALL CHART
Here’s what you will need to make the wall charts:
Screen Molding – cut pieces 1 inches longer than the width of your print
Glue Gun
Jute Twine
Eye Screws
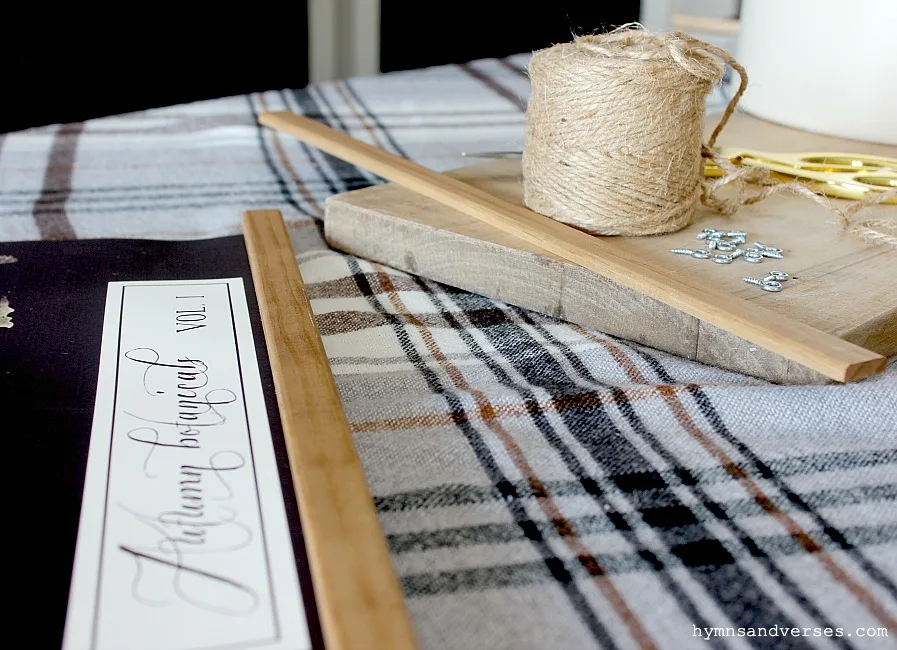
To make the wall charts, cut each piece of screen moulding 1 inch longer than the width of your print. I stained my wood moulding pieces, but you wouldn’t have to. Use your glue gun, or craft glue, to the front of each print. I lined my wood trim up with the edge of the paper print. Then, reverse the print and glue another piece of wood trim to the back of the front piece (shown below).
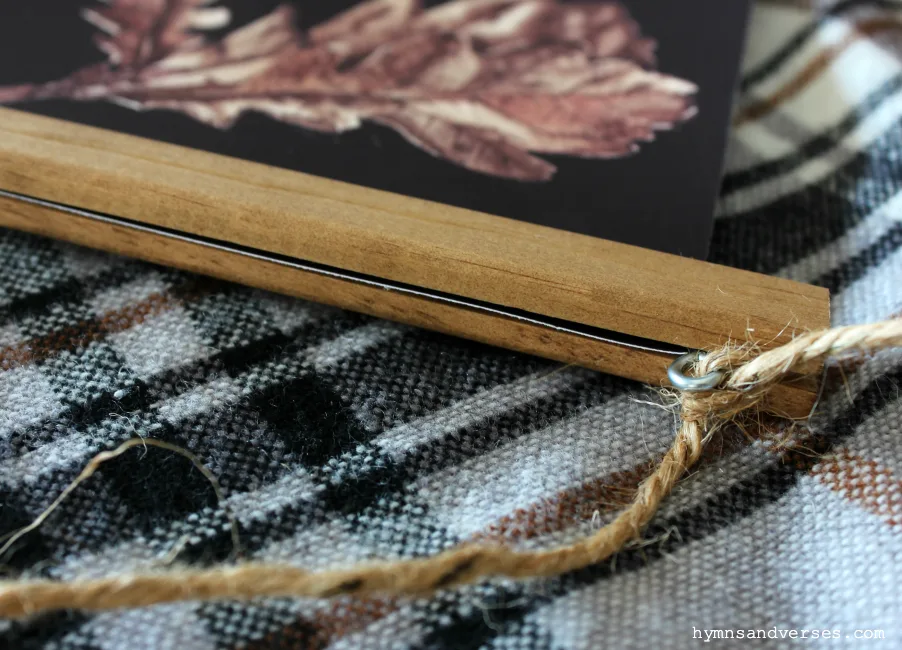
Here you can see how the wood trim pieces look when glued together. Next, add an eye screw to each end of the top wood trim pieces. You just screw these into the “crack” at the top. Finally, add a piece of jute twine to hang the wall charts. So easy!
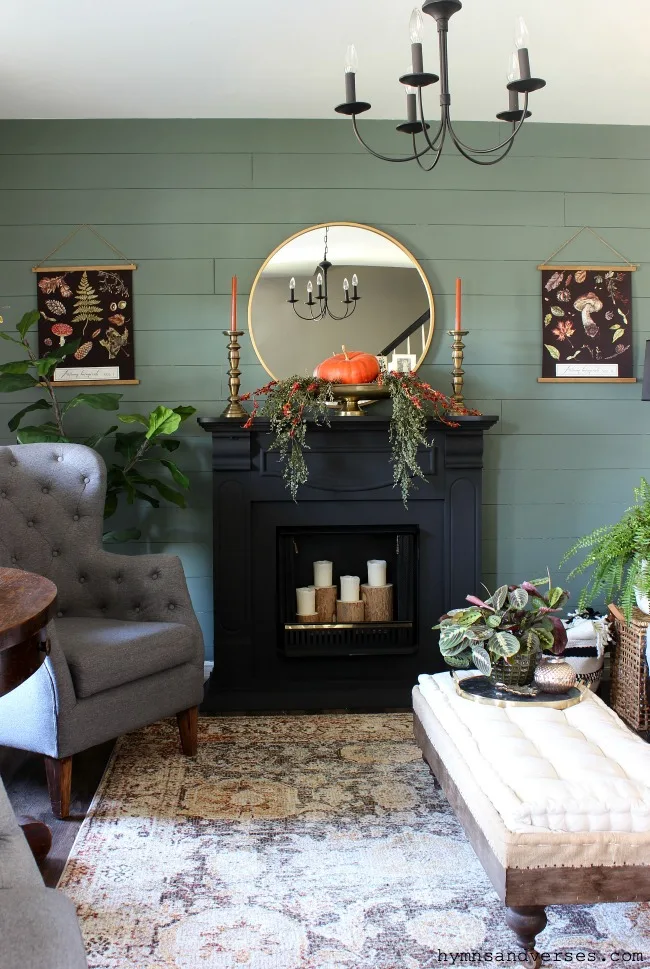
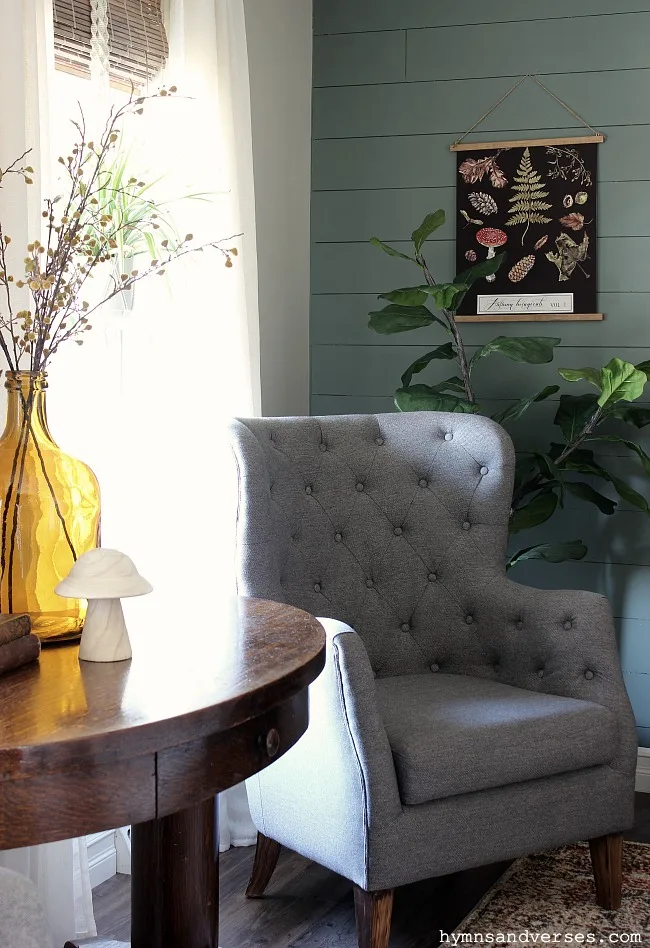
Here are the finished Autumn botanical prints made into wall charts hanging in my living room! Of course, you can just print the Autumn botanicals prints and frame them. Feel free to use them any way you wish! Below is a closer look at Volume I.
Again, you can find these new Autumn botanical prints in my FREE Printable Library! You can always access the library by clicking the Printables photo on my blog home page!
Joan Wettlaufer
Saturday 5th of October 2019
Hi Doreen, I'm interested in the botanical prints for Autumn but I haven't accessed the free printable library for quite some time. I see that a password is now required. Do I need to subscribe again (I already get your emails) or is there a previous email where I can get this information (I may have missed it in the past). Thanks!
Jenn
Thursday 3rd of October 2019
Thank you for sharing how you make these! I am always curious about how you do your printables. I love exploring graphic design, so I appreciate all of the tips! My son is going to school right now for Graphic Design and I am so excited for him to teach me everything he learns!
Suzanne
Thursday 3rd of October 2019
Thank you! The black is so dramatic and looks great on that wall! The whole room is so pulled together.
Beverly Trice
Wednesday 2nd of October 2019
Did you copy them on paper that was white?
Doreen Cagno
Thursday 3rd of October 2019
Yes.