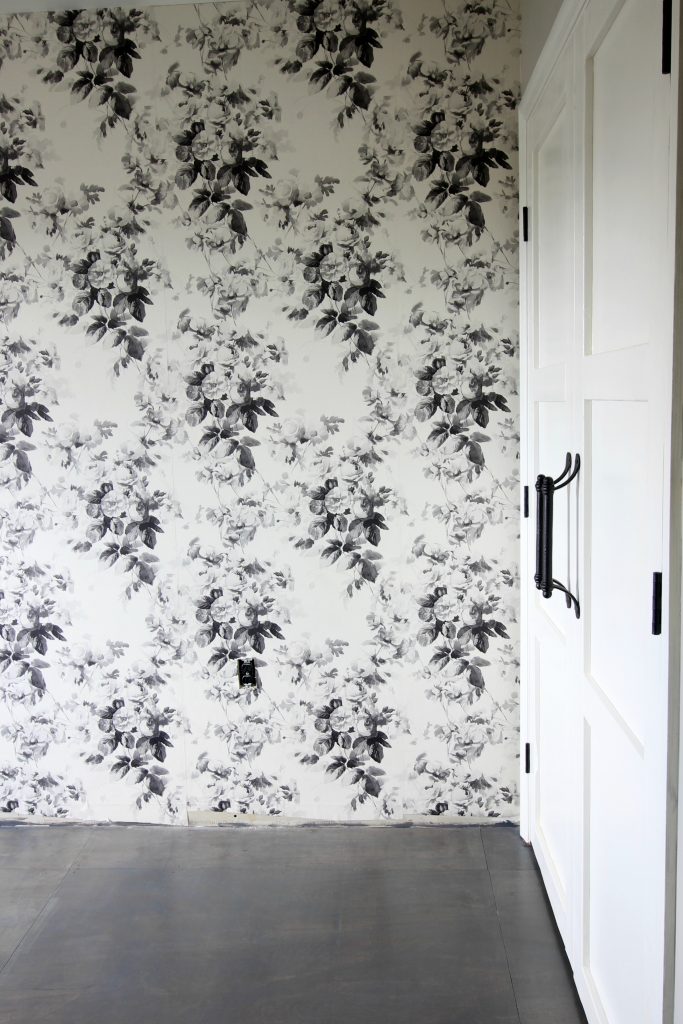
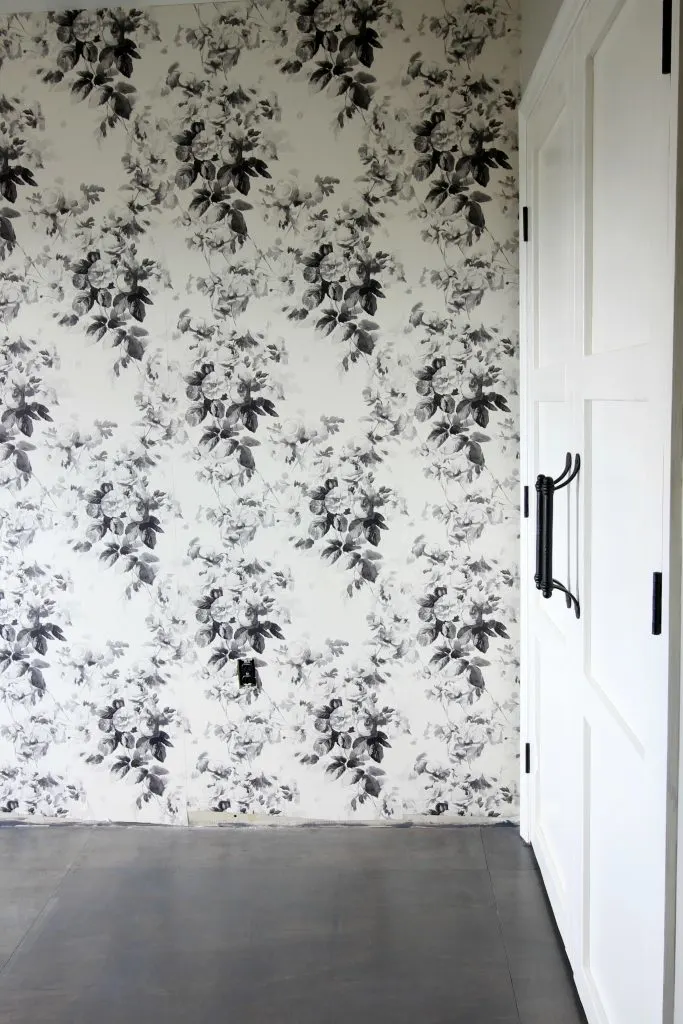
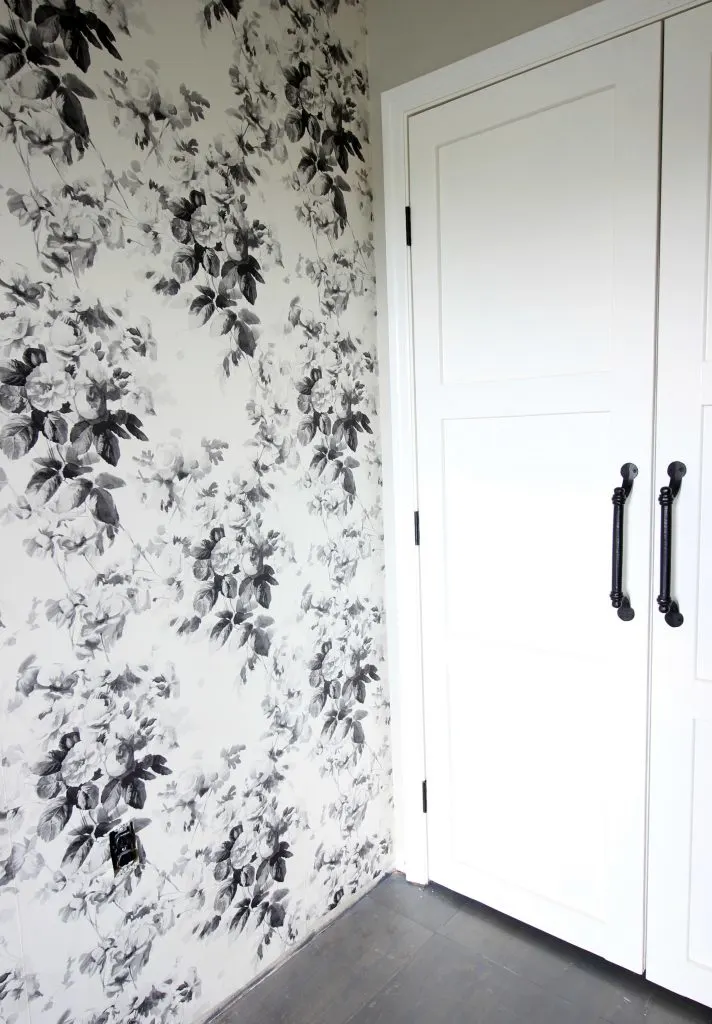
I finished the wallpaper in my home office, and I’m thrilled with how it turned out. So, I thought this might be a good time to share my best wallpaper hanging tips
This post contains affiliate links. Please see my full disclosure statement.
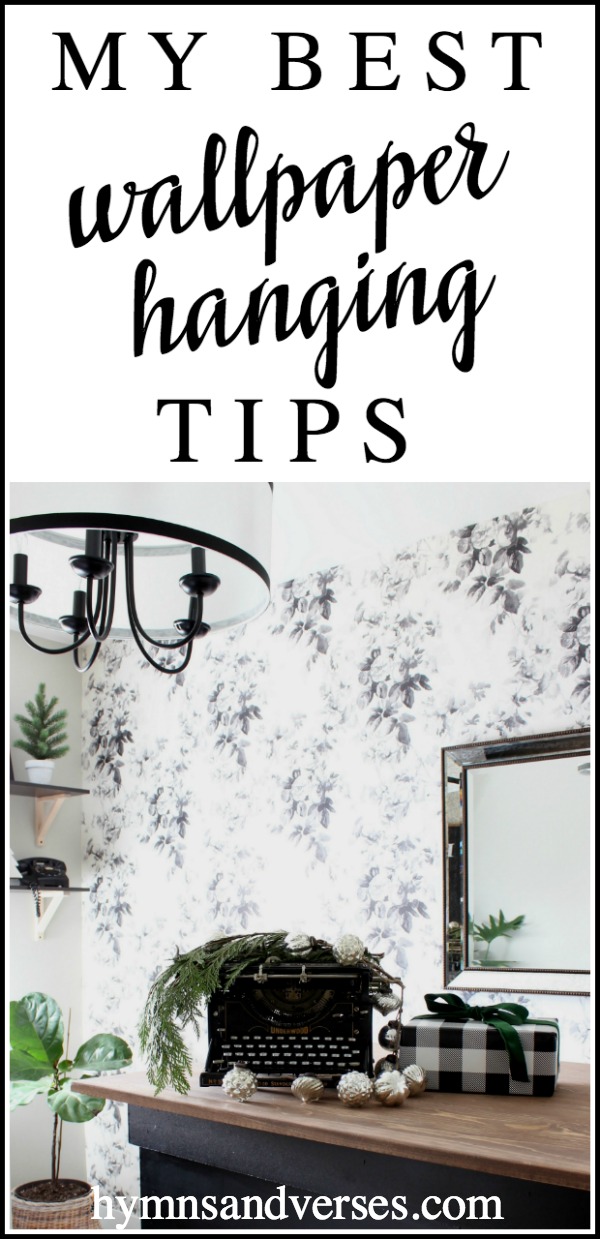
My Best Wallpaper Hanging Tips
Choose a Quality Wallpaper
The wallpaper I chose for my office is House of Hackney London Rose, from Wallpaper Direct. I just love the smokey gray tones and classic rose pattern of this paper. In terms of quality, this paper is top notch. I’ve hung a lot of wallpaper over the years and a quality wallpaper makes such a difference in your finished project.
Measure Twice
Wallpaper comes in double rolls, which can be confusing if you aren’t familiar with this. A double roll is just one large roll – not two rolls of wallpaper. Once you understand that, measure your space not once, but twice. Make sure you account for matching the pattern and the size of the repeat in the pattern. A pattern with a smaller repeat is always better because you’ll have less waste. If you’ve never wallpapered, I’d have someone else check your measurements too. I always have Mark double check mine.
KNOW THE DIFFERENT TYPES OF WALLPAPER
There are basically two types of wallpaper and ways they are hung. Pre-pasted wallpaper has a glue already on the back of the paper that is activated with water. To be honest, I think pre-pasted wallpaper is a mess to work with because of dripping water! I honestly prefer the paper that isn’t pre-pasted. This is a more traditional type of wallpaper. For this type, you apply wallpaper paste to the wall or the paper. I feel like I have more control and it’s way less mess. You can either apply paste to the wall or apply paste to the paper itself. I think there’s less mess when you paste the wall. And, I just measure the space and paste an area for one strip at a time.
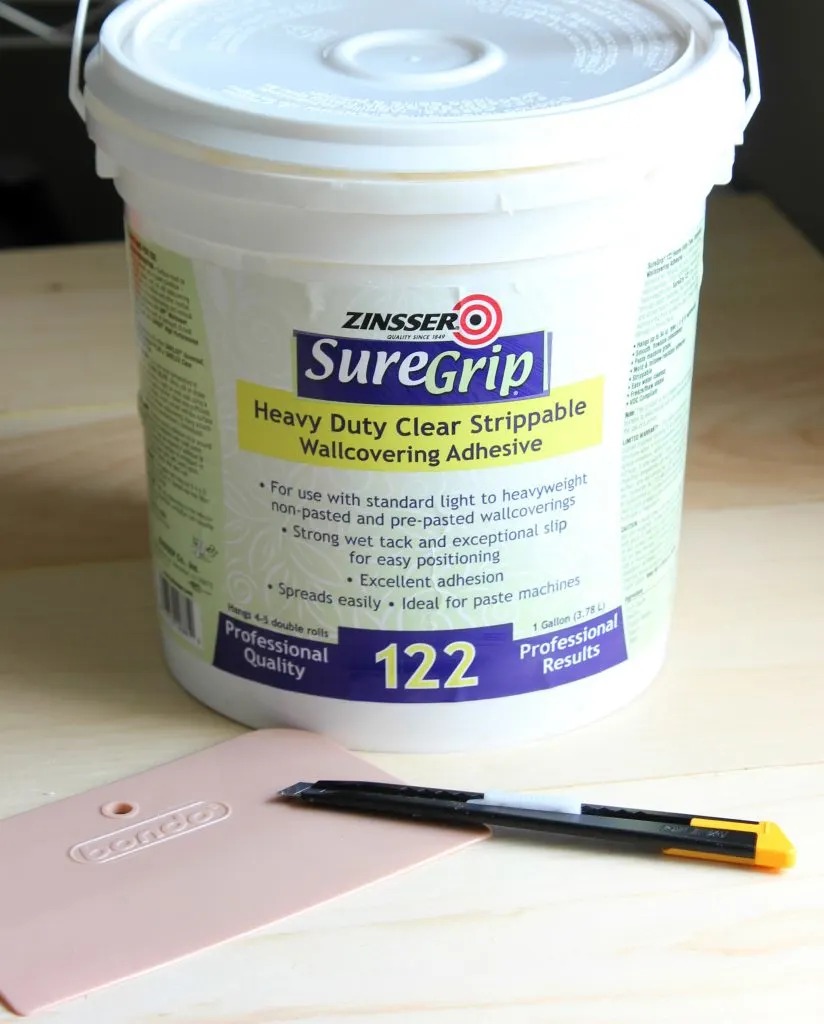
Have the Right Tools
So, I just talked about wallpaper paste. I got this from my local hardware store for under $15. I’ve also used wallpaper paste that I purchased at Lowe’s in the past. The person helping me at the hardware store did tell me that they sell a paste that is specifically for the pre-pasted paper that I mentioned above, so I guess you could use this kind of paste and skip the water part for pre-pasted papers. You need scissors to cut your lengths of paper, a level to make sure your pattern stays straight, a damp washcloth to wipe up any glue, a plastic smoother, and a sharp snap-off blade to trim along corner and ceiling joints.
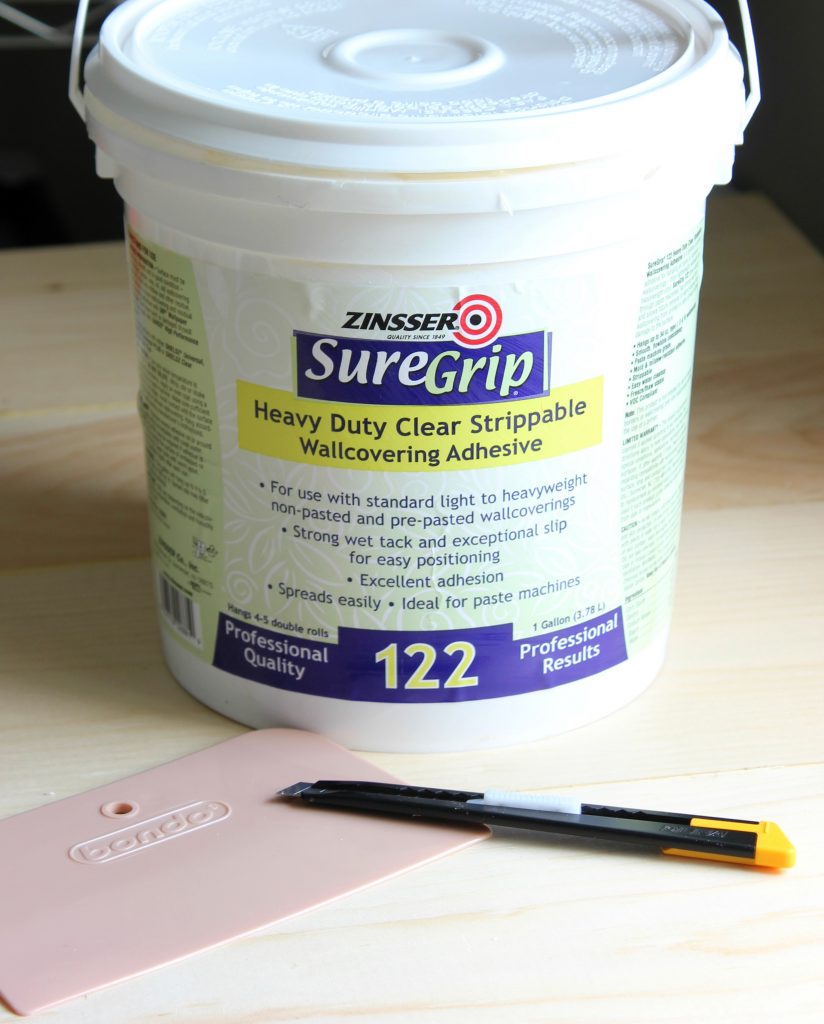
This cutting tool with snap off blade is invaluable. You must have a sharp blade to get a clean cut. If your blade isn’t sharp enough, you’ll get a snagged edge or tear. I snapped off the end of the blade after each wallpaper section. These tools are inexpensive, so I don’t hesitate to snap off the end of the blade after each use. It’s worth it to me to insure a smooth cut.
The other little tool that I love using is this Bondo plastic smoother. They come in a set of three and I typically use the medium one when I wallpaper. They are perfect for smoothing out any air bubbles. I first use my hand to smooth down the paper and then use this little tool to go back over and make sure I’ve gotten every air bubble out. If you are getting lots of air bubbles, make sure you’re using enough wallpaper paste. And, sometimes if you have a lot of bubbles, it’s easier to slowly pull the wallpaper up and reapply it to the wall.
Apply Each Length of Paper a Little at a Time
Don’t apply paste to the entire length of the wall. After I measure the length of paper that I need top to bottom, I start at the top and apply paste about 15 inches down the wall. If you get the top of the paper level and lined up, you’re golden! Continue by pasting further down the wall a bit at a time. Take time to make sure your seams line up and all bubbles and extra paste are smoothed out before moving on. Also, make sure you don’t have any gaps in the paste on the wall or you may get air bubbles.
Don’t Overlap Your Seams
Don’t overlap your seams! Just but them up against each other. And, make sure the seams are adhered well to the wall.

Take Your Time
This one is sooooo important. Don’t be in a rush when you wallpaper because you will make a mistake – trust me on this one! Take breaks if you get frustrated or tired. This is often the case when working with a busy pattern or when you’re working in a space with lots of intricate cuts or even a small space. I definitely took breaks when I wallpapered my tiny powder room. You can see it HERE. But, the finished product made it all worth it!
I hope these wallpaper hanging tips will help you out on your next wallpaper project! You can do it!

Here are a few more wallpaper posts you might enjoy!
My Favorite Shades of Gray Paint - Hymns and Verses
Wednesday 8th of August 2018
[…] My Best Wallpaper Hanging Tips […]
Wood Wallpaper Gives the Look of a Real Wood Wall - Hymns and Verses
Tuesday 7th of August 2018
[…] My Best Wallpaper Hanging Tips […]
Sarah
Monday 6th of November 2017
That Wallpaper! I absolutely love it! What a great choice.
Ruth
Monday 30th of October 2017
Biggest tip - don't over-work the paper. Push and pull gently. You get split seams when you push and stretch too much. Don't obsess over the bubbles. The small ones will disappear. Don't forget to wash the wall after each strip or two. There's always paste on the front. I find that watering down the paste and priming the wall help immensely in hanging the paper; it will glide much better and also helps for a smoother removal when that time comes.
Doreen Cagno
Tuesday 31st of October 2017
Yes - great tips, Ruth! Thanks for sharing with everyone!
Gwen
Saturday 28th of October 2017
Wallpaper like you chose is just fun and beautiful. I think your entire makeover is going so well. Long ago and for many years I wallpapered. Always with water. Warm water worked better. But those days are over. I think oh I know how to do my accent wall😂. So instead I admire your choices and anticipate what your next surprise will be !