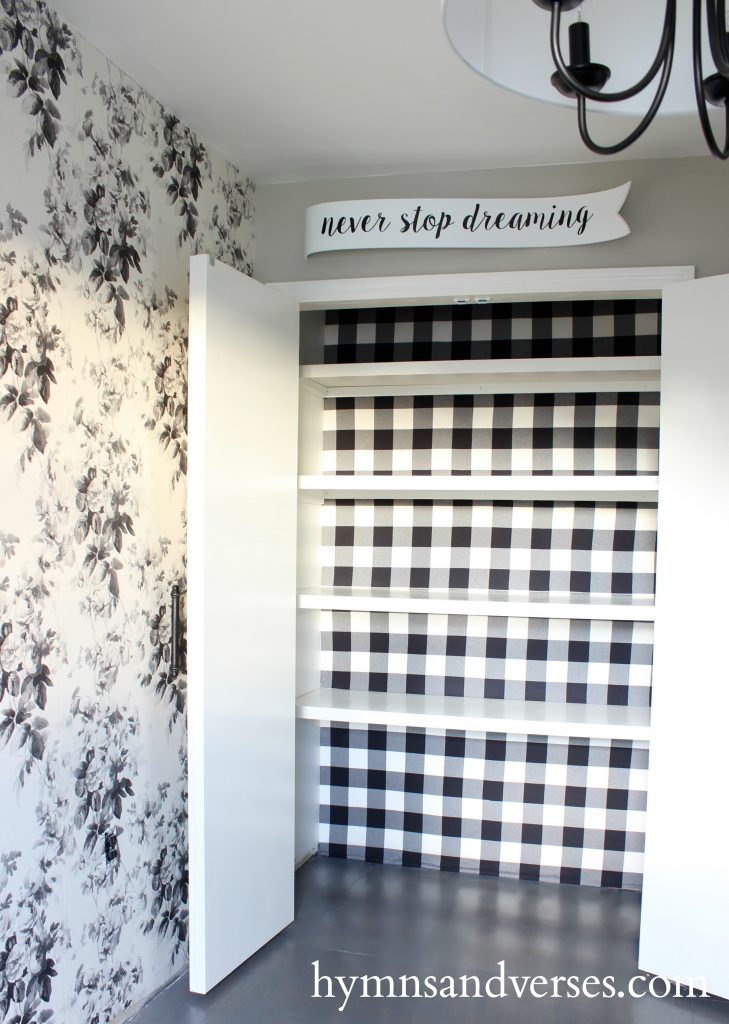
I’m really late to post this One Room Challenge update. I’m still trying to maneuver around a very cramped space – we’ve moved a lot of my decor and supplies into the room, but I’m still working on the space where they will be stored!!! And, I’m also trying to figure out the lighting in this new space for my photography, so please excuse the not so great photos! But, I did want to share a technique that I’ve been dying to try somewhere in my house – using fabric as a wallpaper! I’ve seen this done by other bloggers, but the first time I saw it was the one that made an impact! It was this space by Marian of Miss Mustard Seed. Isn’t it stunning! So, I got the idea to give this technique a try in a small space – the storage closet in my new office. I had some extra buffalo check fabric just waiting for a project, so I decided to give this fabric material wallpaper idea a try!

Now, in a perfect world, I would have applied the fabric to the wall before installing the shelving. But, guess who didn’t get this idea until after the shelves were already in place – me!!! Yes, I could have asked the hubs to remove the shelves, but I didn’t have the heart to do that to him. So, I determined that I could do this with the shelving in place. Of course, I could have chosen a subtle pattern that would have been easy, but no, I had to choose my favorite buffalo check, which was a bit of a challenge to get lined up. Again, this would have been much simpler without the shelves in place!
For this fabric material wallpaper technique, here’s what you need:
Home Decor Fabric
Foam Paint Roller & Tray
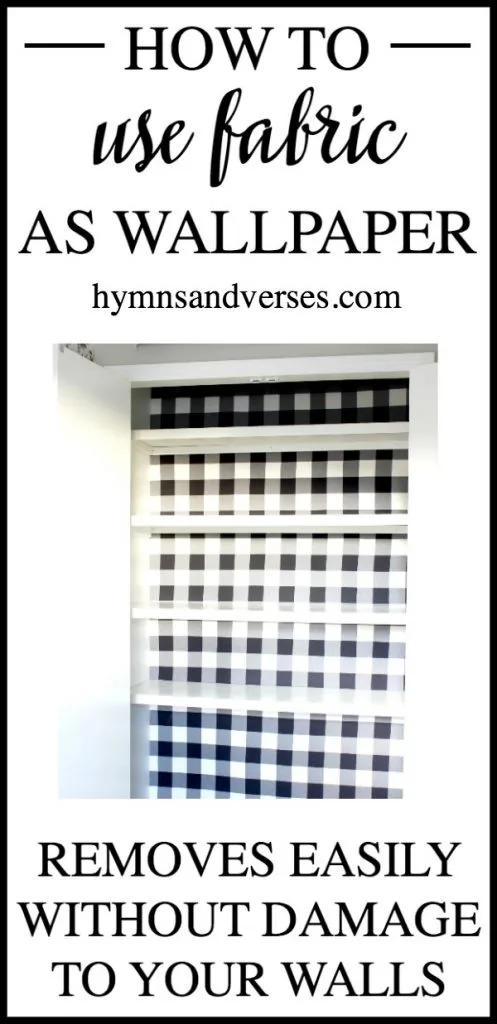
Because I was working in a small space with small pieces that I measured and cut to approximate sizes, I didn’t need any extra help. But, if you are applying a full width panel of fabric to a wall from ceiling to floor, you will likely need a helper. The first thing you need to do is measure and cut your fabric. Make sure your scissors are sharp. Add a little extra to your measurement to allow for slight shrinkage. Add some liquid starch to your paint tray and use a foam roller to roll the liquid starch onto the wall section that you are going to cover. Since I was working in a small space, I just used a small foam roller. With the wall wet with liquid starch, begin at the top and press the fabric onto the wall. Make sure the fabric pattern is level. You may want to have some thumb tacks on hand to help hold the fabric in place at the very top. Now, just work your way down the wall smoothing the fabric onto the wall. Once your fabric is up, you will roll more liquid starch over the entire surface. This will really secure the fabric to the wall. Once one panel is up, just repeat the process as you would with wallpaper. Match your pattern, try not to overlap your seams and leave a bit of extra at the top and bottom of the wall. Once the starch is dry, use a snap off knife with a sharp blade to trim off any extra from the top and bottom of the wall. For a full tutorial for this process, click HERE.
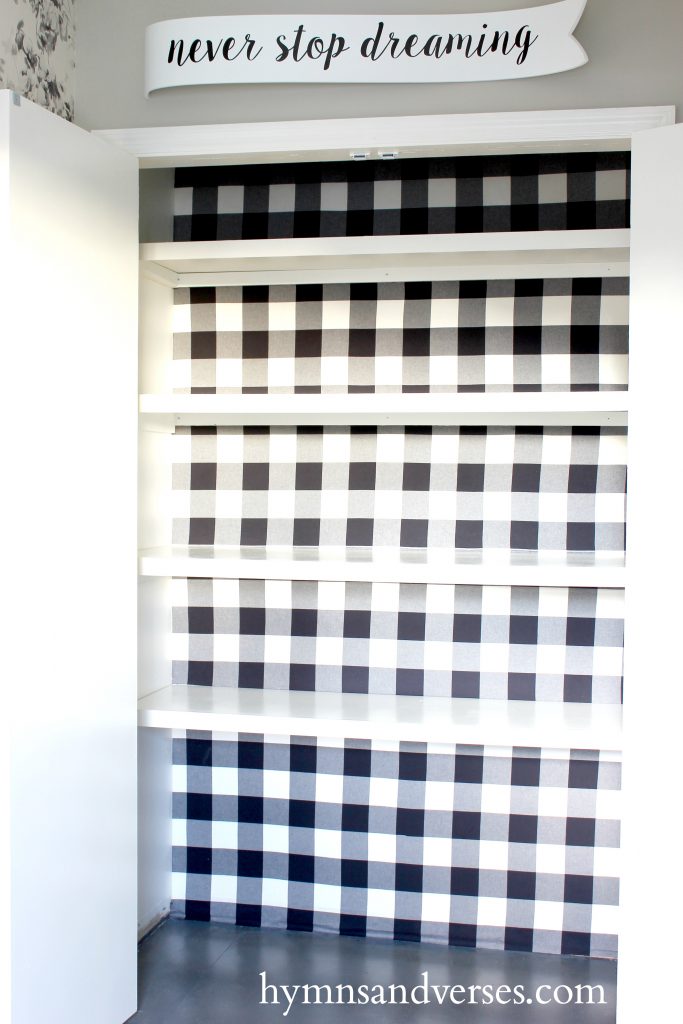
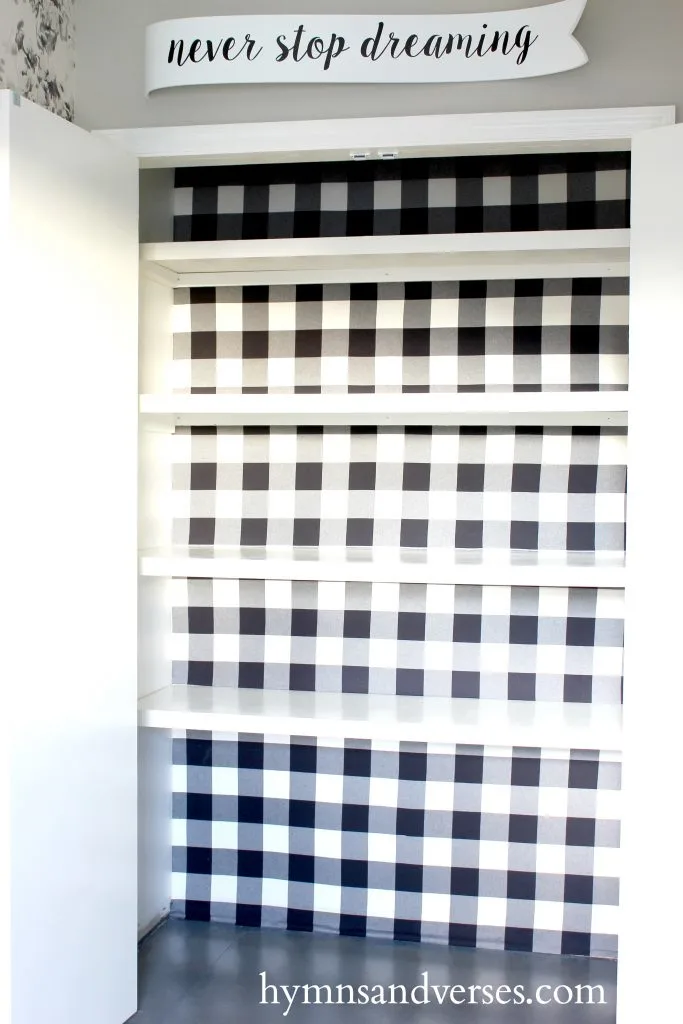
I know the fabric looks like it doesn’t match in some areas, but it does. It’s just an illusion from the sunlight coming in through the window and the shadows it was casting.
I have to say, that this is something that I would consider doing again. What I love is the fact that this does not do any damage to your walls because it just peals off. And, we all know how removing wallpaper can go. You would need to clean the wall surface to remove any starch residue, but that’s it. All in all, I love the outcome! It’s just fun to have that bold black and white check inside the closet! And how about the cute banner sign I found at HomeGoods! It’s just perfect above the closet!

So, have you heard of using fabric material wallpaper? And, would you consider giving this project a try in your home?
Below are the links to my other One Room Challenge posts!
the overall plan and design board
diy closet doors
installed french closet doors
wallpaper feature wall
Don’t forget to visit the other Week 5 One Room Challenge Guest Participants to see their progress! Next up in the office are the floors, baseboard, and sharing the light fixture (a little peek above) with some tweaks!


My Homepage
Friday 23rd of July 2021
... [Trackback]
[...] Informations on that Topic: hymnsandverses.com/buffalo-check-fabric-material-wallpaper/ [...]
My Best Wallpaper Hanging Tips - Hymns and Verses
Tuesday 14th of August 2018
[…] Buffalo Check Fabric as Wallpaper […]
Black and White Tile Wallpaper - Powder Room - Hymns and Verses
Tuesday 14th of August 2018
[…] Buffalo Check Fabric Wallpaper […]
Wood Wallpaper Gives the Look of a Real Wood Wall - Hymns and Verses
Tuesday 7th of August 2018
[…] Buffalo Check Fabric Wallpaper […]
Rowena Fengel
Thursday 9th of November 2017
I lined all of my kitchen cabinet shelves with liquid starched fabric 18 years ago when my whole house was straw yellow, red and cream French Country. There was no red shelf liner available anywhere. Worked great. Looked fabulous. I use fabric over thin masonite boards cut to fit the backs of bookcases too in decorating. Then just pop them into the back and decorate the shelves. Great way to add color without painting.