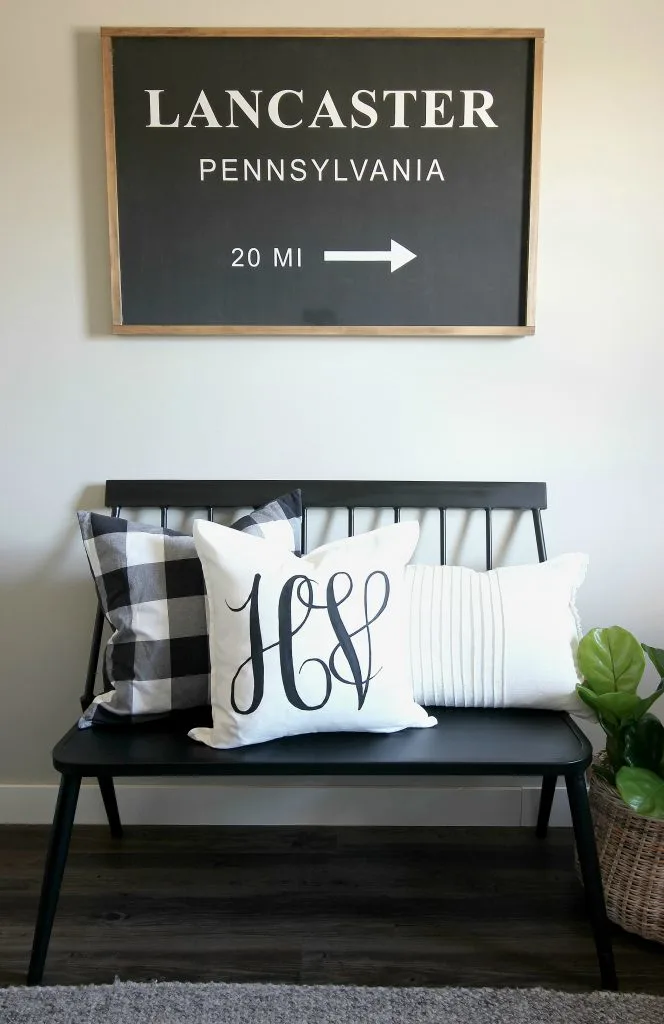
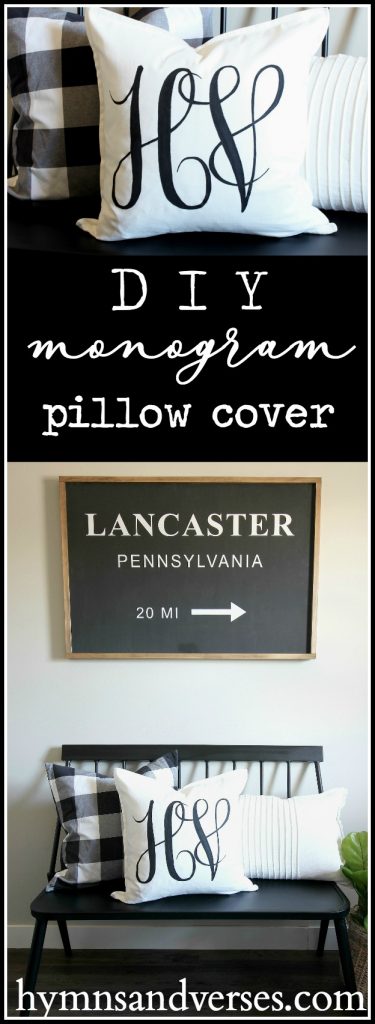
Hi, Friends! The sun is shining today and boy does it make me smile! We’ve had our share of cloudy and rainy days lately! Lack of sunshine also makes it a bit more difficult to photograph projects that I’m working on for the blog, so I’ll be busy today taking lots of pics! Before I get busy with that, I wanted to share a project I recently completed for a DIY monogram pillow cover for my office. I love monograms and think they are a classic in jewelry, accessories, and home decor. On my wish list is an embroidery sewing machine so I can monogram napkins, pillow covers, towels, pillow cases, etc. How fun would that be! But, for now, I found a way to make my own monogramed pillow cover with just a pencil, a paint pen, and some craft paint!
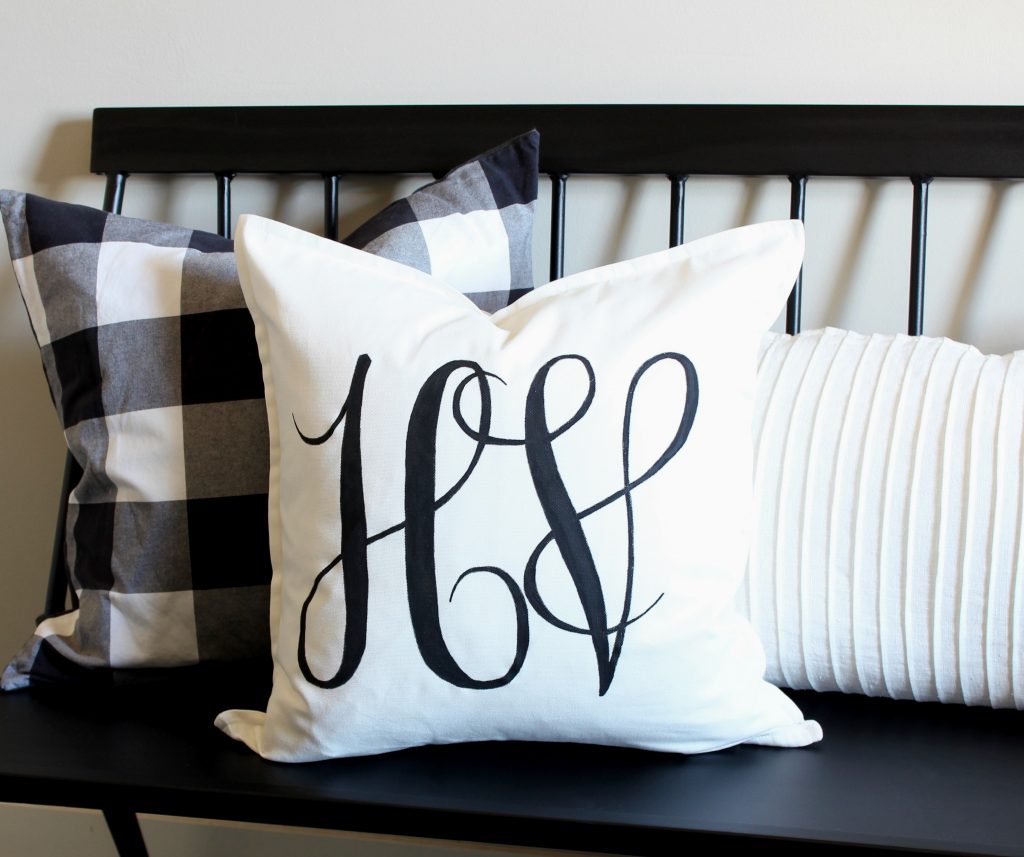

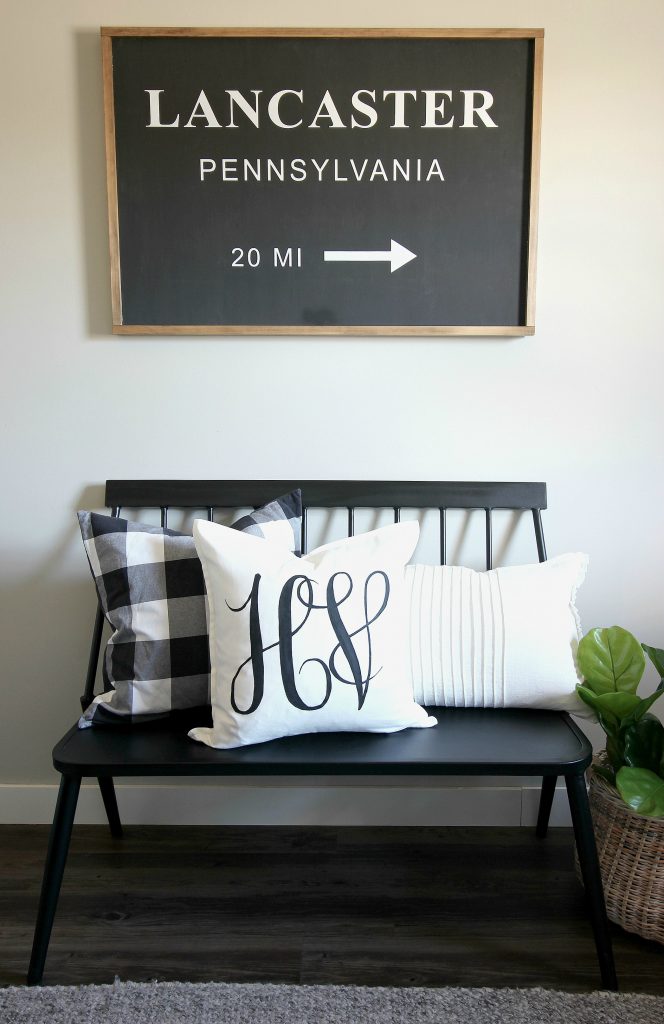
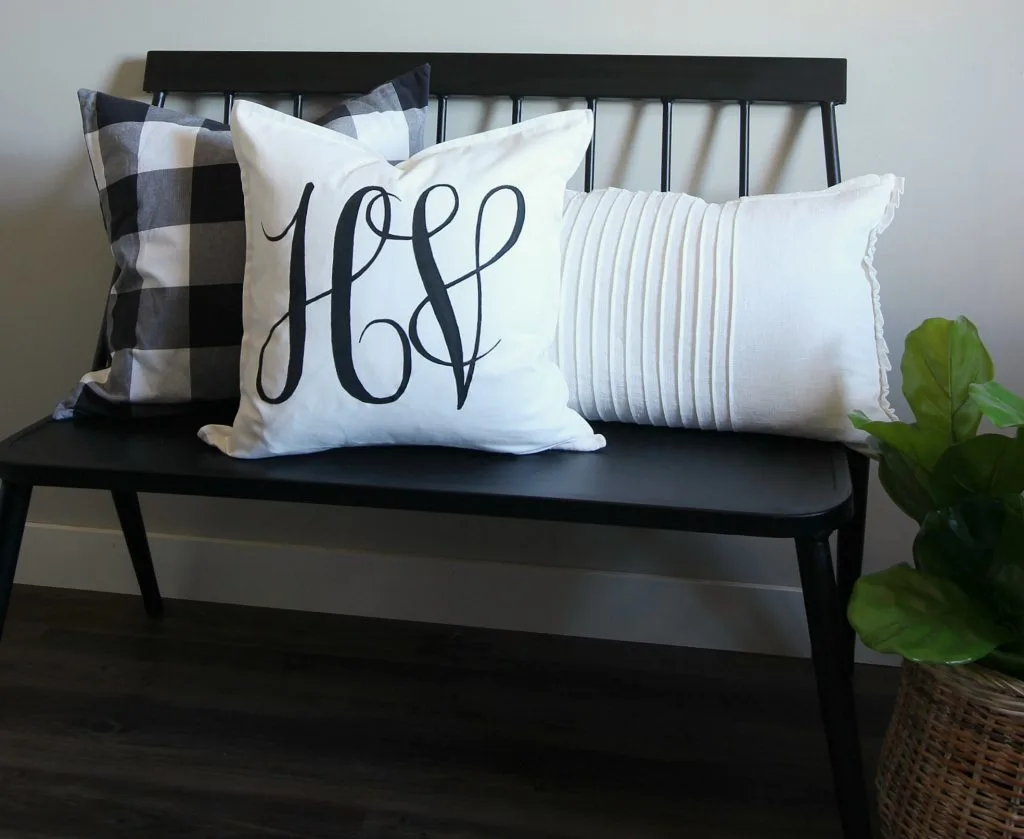
I thought it would be fun to have an HV monogram for here in my office. Funny story – I showed hubs my completed pillow and he says “I like it, but what does HV stand for? He preceded to guess things like “Happy Valentine” and some other hillarious guesses until I finally said, “it’s for Hymns & Verses, DUH!” He said he never thought of that because there was no “and”!. Okay, so maybe I’m the only one who will get it, but I like it! Now, here’s how you can make your own Monogram pillow for your home.
This post contains affiliate links for your convenience. Please see my full disclosure at the bottom of this page.
What you will need to make a monogram pillow:
- a pillow cover. I chose white. White or light Beige will work best for this process. These cotton canvas pillow covers are excellent quality!
- install a monogram font on your computer. You can download the monogram font that I used HERE. It’s FREE!
- pencil, fine to medium tip paint marker, and craft paint.
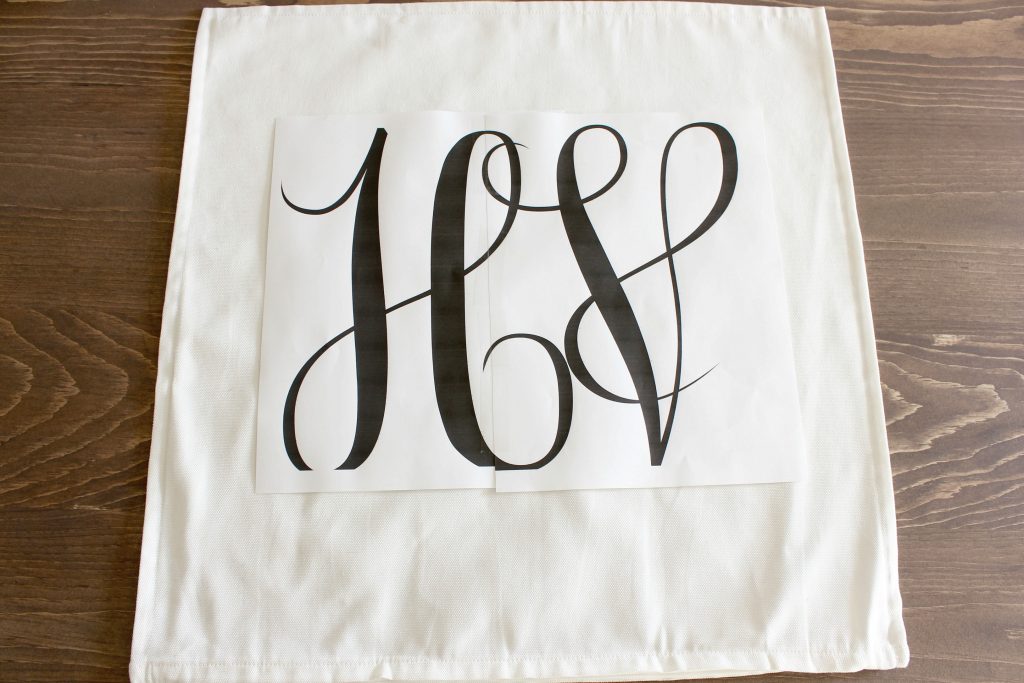
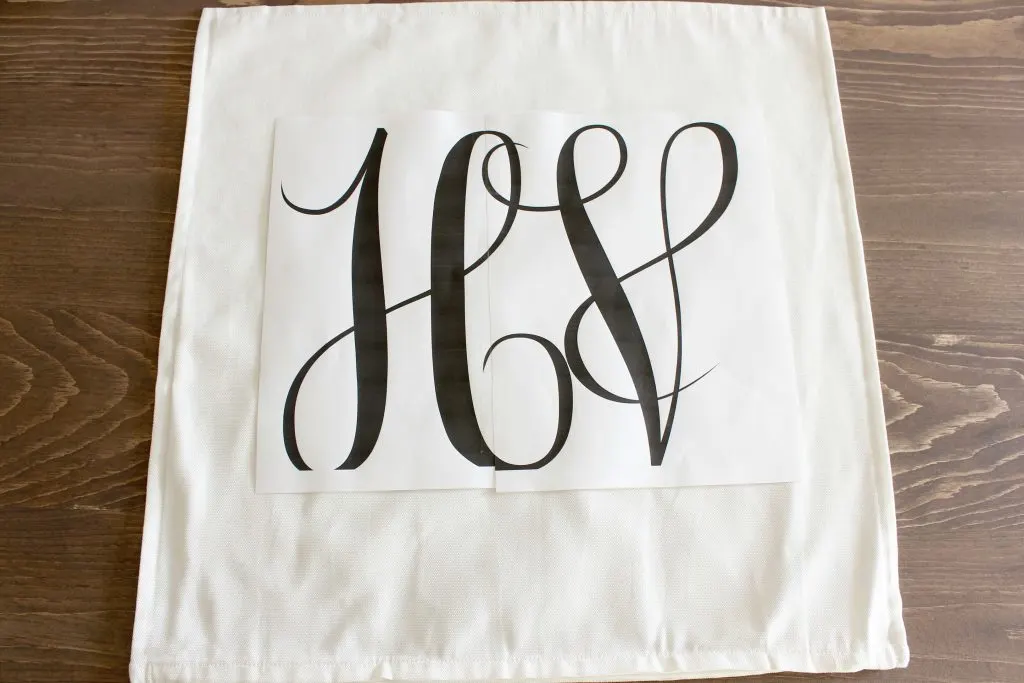
Download the monogram font to your computer. Then, use a word processing program to make your monogram. I wanted my monogram to be large, so I made each letter the size of a full 8.5×11″ letter piece of paper. Once I had both letters the size I wanted them, I printed each one out on my home printer. I wanted my letters to overlap, like a monogram, so I did some cutting and taping to get the look I wanted. If you make a smaller monogram that will fit onto one piece of paper, you won’t have to do this.
Now, slip your printed paper monogram inside the pillow cover, face up. You will be able to see the bold letters through the fabric.
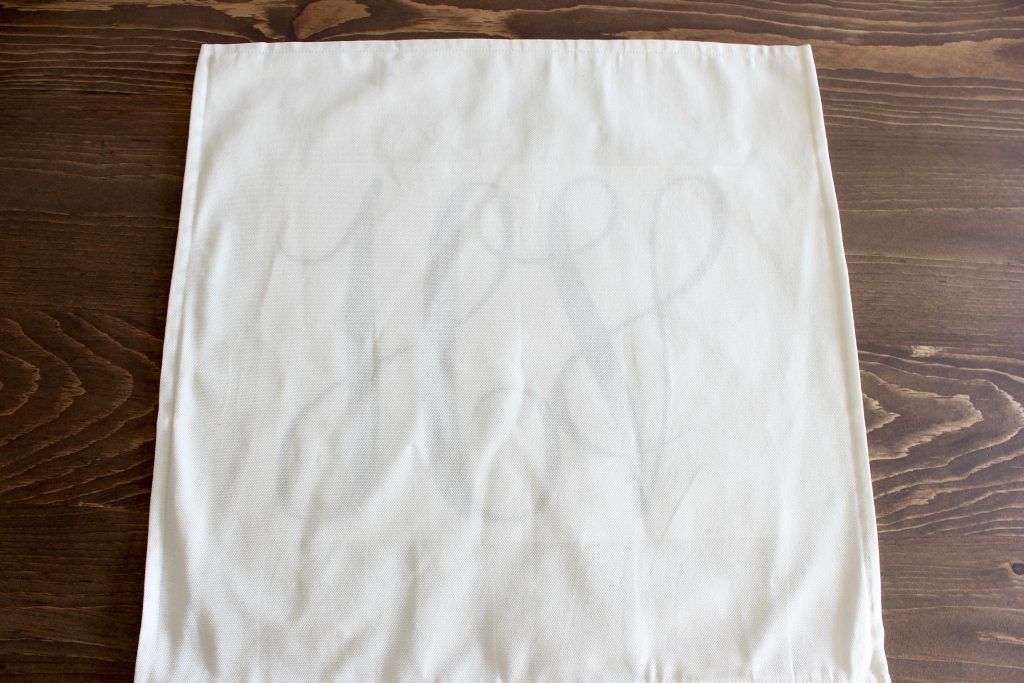
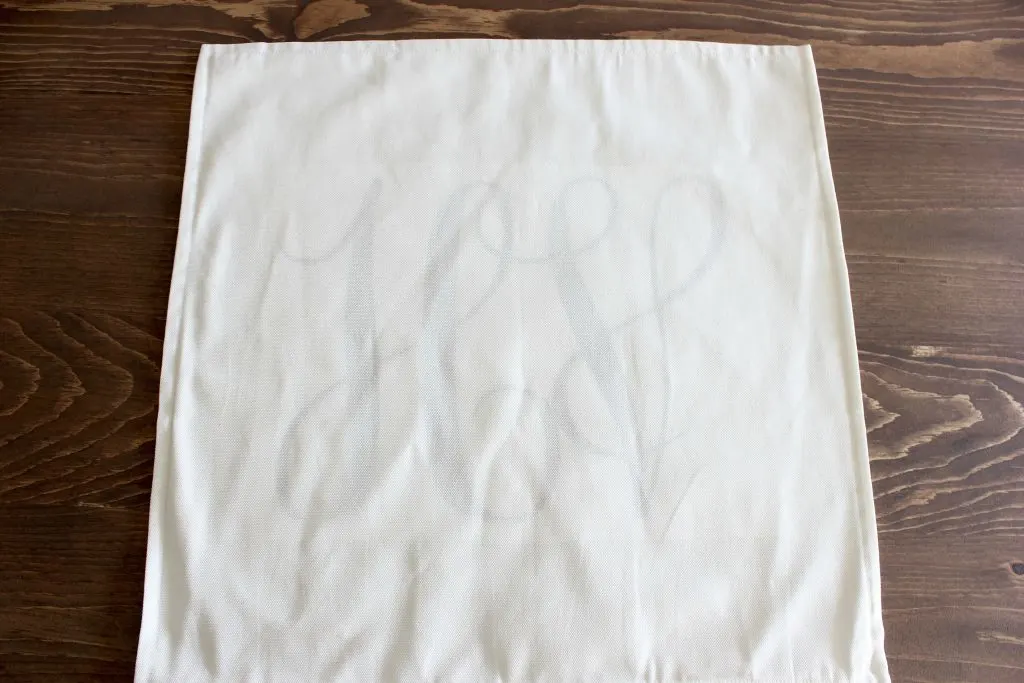
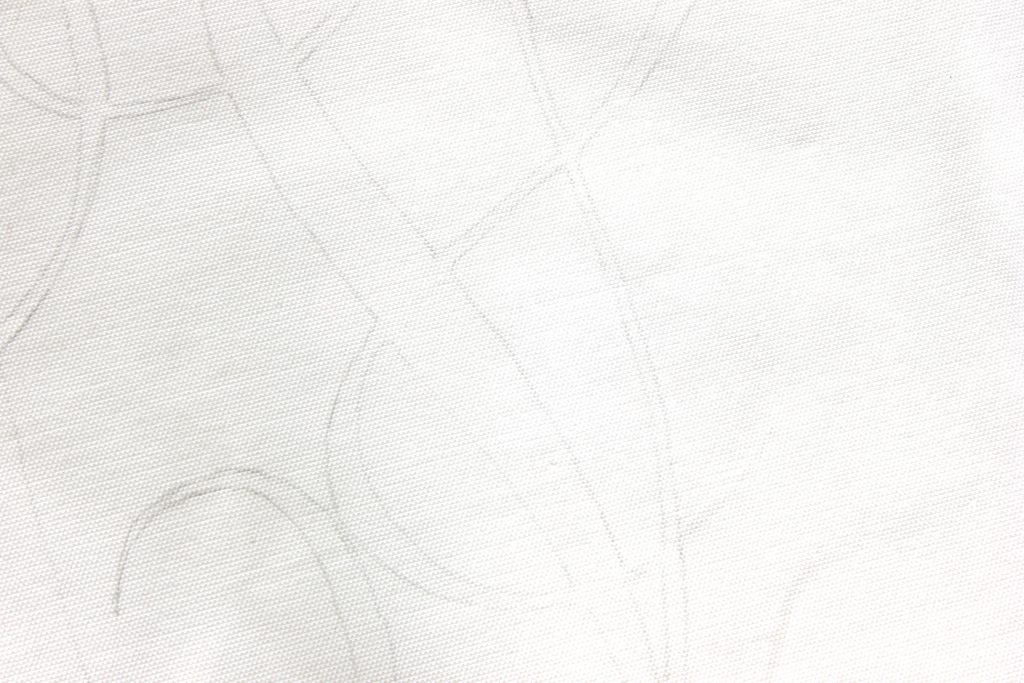
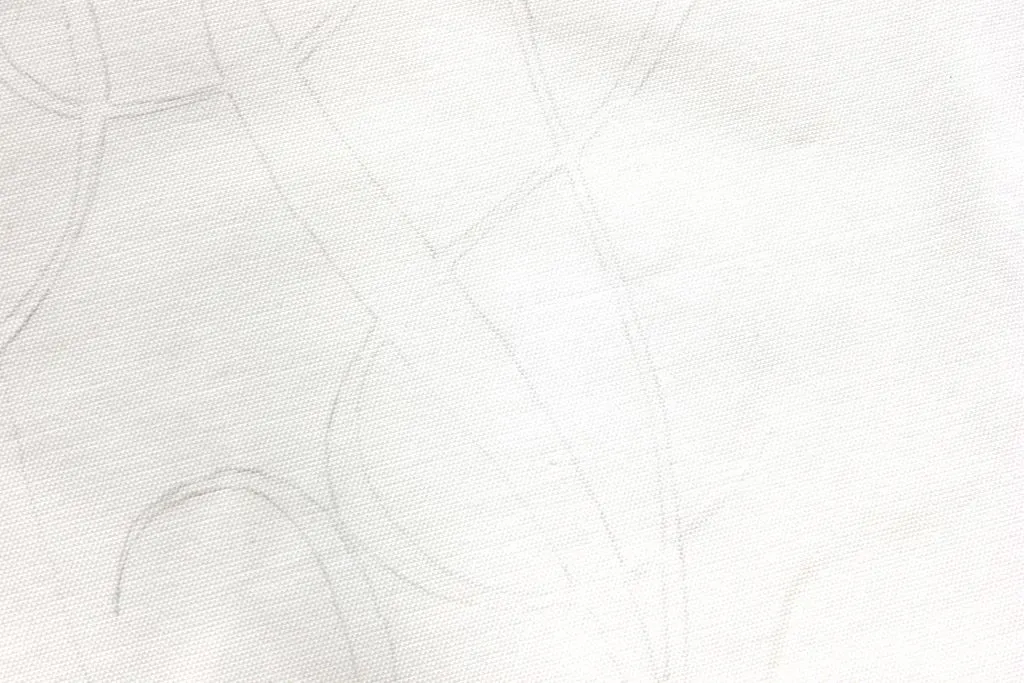
Now, just use a pencil to carefully trace the outer edge of the printed monogram onto the pillow.
Now, just use a paint pen or marker to go over your traced lines. This creates a boarder for you that you will fill in with craft paint. I used a black marker and black craft paint. Make sure you have a few good paint brushes for this project – a fine tipped brush and a really flat tipped brush work well for filling in the design with paint. Unfortunately, I did these two steps late at night and I don’t have pics. But, it’s easy if you just take your time. You could also just use a paint marker to fill in the design.
To set your design so it is washable, you need to use a hot iron on the reverse of the pillow or throw it into the dryer. The heat will set the paint. If you use a paint pen or marker, check the packaging to see if it is washable. This is a fun crafting project for a spring rainy day! I hope you’ll give it a try, because every home needs at least one monogram!

Click HERE to see a DIY bunny tail pillow cover for spring!
Click HERE to see my Top 10 DIY projects for Easter!

DIY Monograms for Every Room in Your House | The Turquoise Home
Friday 3rd of May 2019
[…] I’m a sucker for plenty of pillows, I can’t help but throw in this gorgeous pillow project by Hymns and Verses. So […]
Carolyn
Thursday 1st of March 2018
I love your choice of font. I would love this for my home
Norma Rolader
Wednesday 28th of February 2018
Oh my my how adorable and thank you so much for sharing with us
Cindy
Wednesday 28th of February 2018
I love this!! It looks great with your other pillows! And thanks for sharing the font too!!😊
Lynda Kay
Tuesday 27th of February 2018
Great directions. Great font, too.