Painting wood is a great way to give it an antique look and feel. With the right paint, you can create a brass-like finish on your woodwork. In this post we will be discussing how you can turn any ordinary, boring looking wood fixture into a beautiful, eye catching antique brass colored fixture that won’t cost you an arm and a leg.
It’s a “get the look for less” kind of project!
Working with my hands on a project like this is so relaxing. When I began, I was basically experimenting with what I thought might give me the look of antique brass.
And, I’m pretty happy with the result. Plus, there is something so satisfying about giving something that little extra dazzle to bring a smile to your face without having to buy something new or break the bank with a home makeover project.
THE INSPIRATION
Have you seen these small drink or cocktail tables? The first one that I noticed was at Target a while ago and I really wish I had gotten one before it was discontinued! These little tables are perfect for using in small spaces where there isn’t much room. They can easily be tucked beside a chair or sofa to hold your drink, whether a cocktail or a cup of tea!

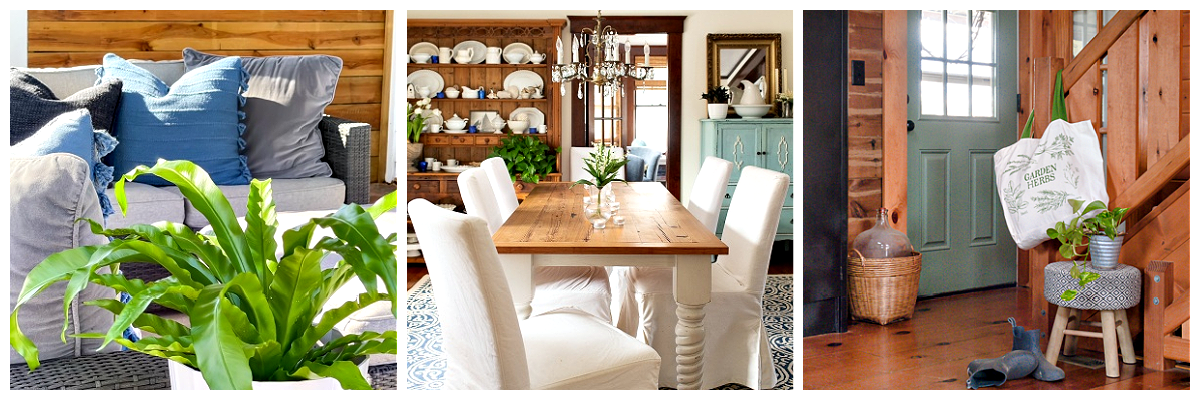
More recently I’ve seen them popping up at Pottery Barn, West Elm and more. Here are a few examples.
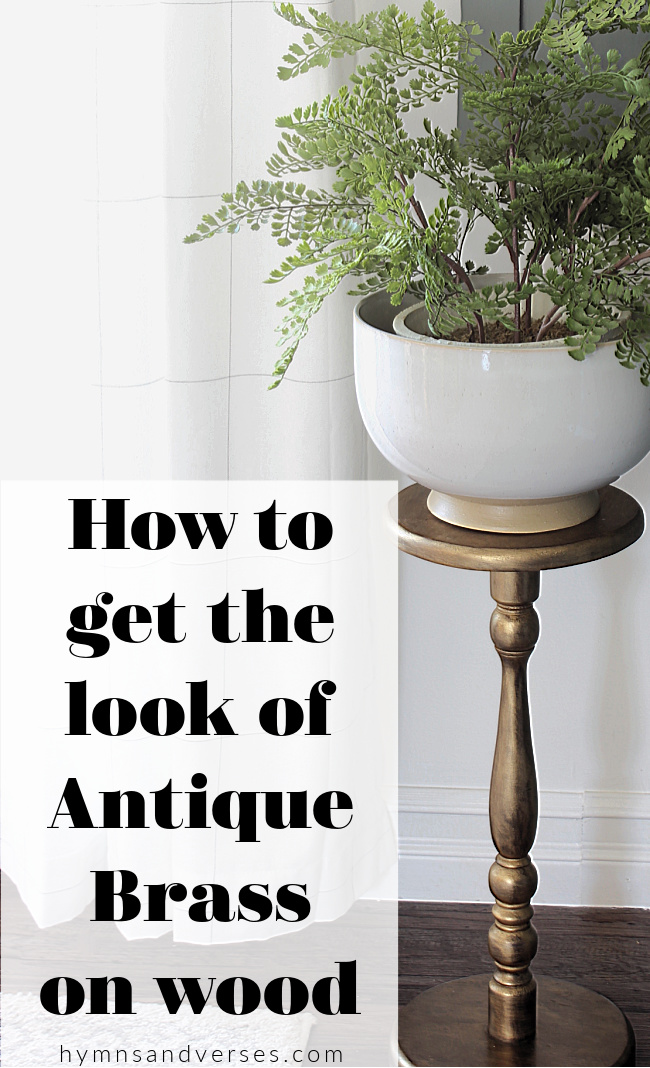
If you checked any of the prices on the tables shown above, you’ll see why I really wish I had gotten the one from Target! But, then one day I was browsing Facebook Marketplace and saw a vintage wooden plant stand that was just $10. So, I decided why not! Even if I just use it as a plant stand, it does have a similar look to the pricey cocktail tables. Except, it was wood and not in great condition! So, I decided it needed a little makeover with an antique brass finish!
How to get the look of antique brass on wood
While you could definitely go down the road of using antique brass spray paint or using some gold metallic brass spray paint, I just don’t feel like they would give that antique look that I was going for.
Even with good quality spray paints, I wanted to get that antique, been sitting around for years on years, kinda weathered look, that I really felt using a good Rub N Buff could help me achieve.
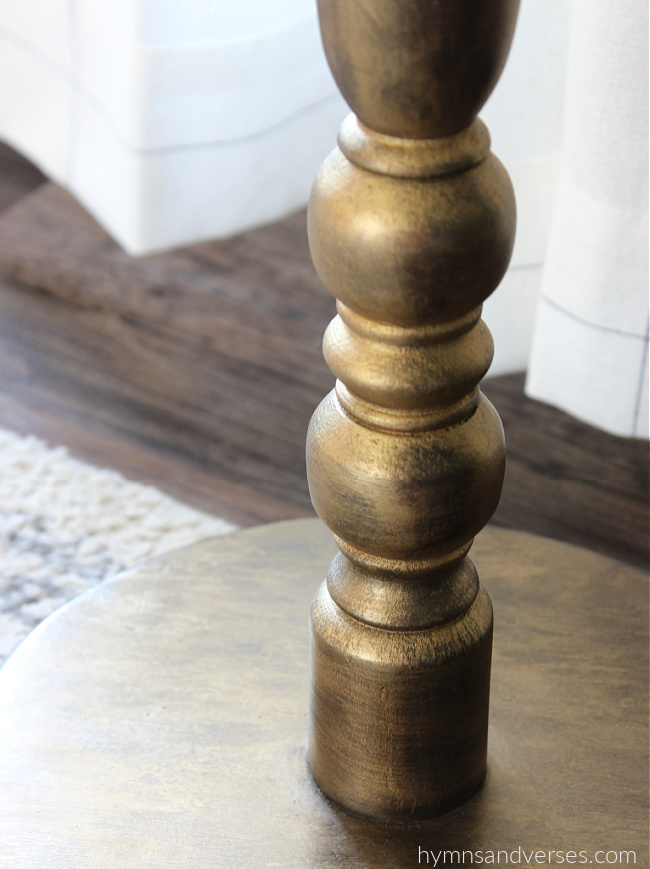
I used two different shades of Rub N Buff to achieve the antique brass look that I was going for. First, I applied my favorite gold shade, “Gold Leaf”. For this piece, I used a stiff bristle stencil brush to apply the Rub N Buff. The brush made it easy to get into all the grooves.
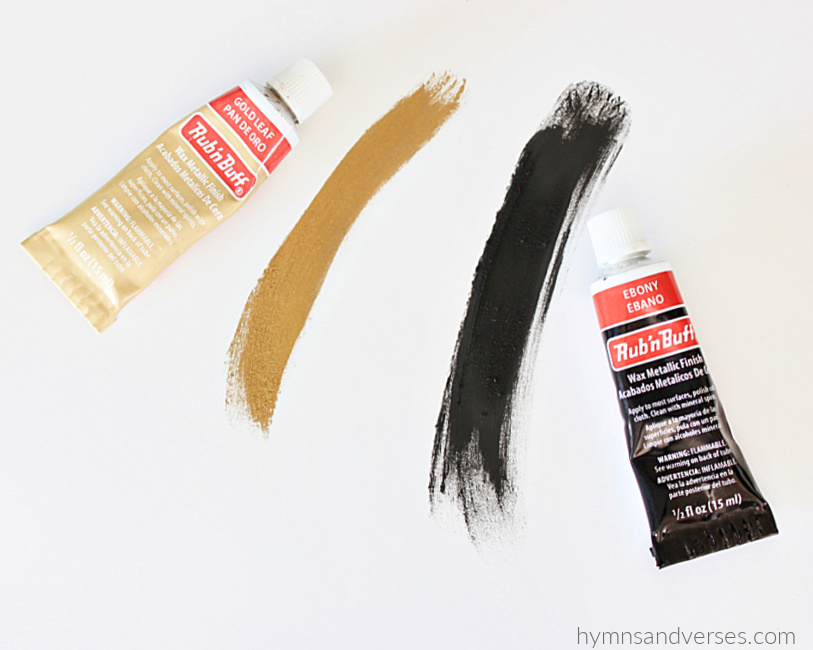
If you’ve never used Rub N Buff, you simply do what the name says: rub and buff. So, after the initial application of the “Gold Leaf” shade, I brushed on the “Ebony” shade sparingly.
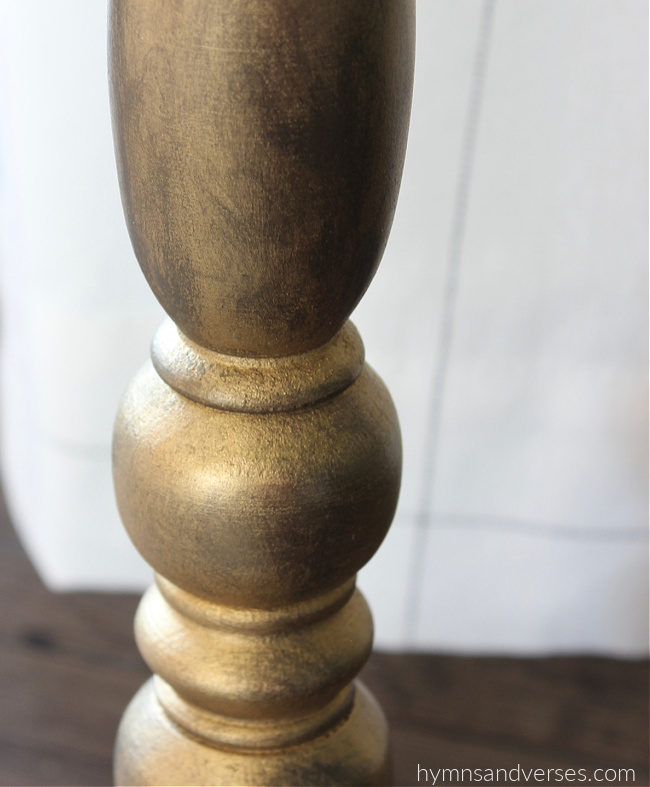
If I got too heavy in an area, I just went over that area again with the “Gold Leaf” shade. The result is what I would call the look of antique brass! You can tailor your color choices to make yours a darket brass tone or have your piece feature warmer brass tones. Below is a close up of my choice.
How to Use Rub N Buff
Using the Rub N Buff is simple and takes no time at all. You simply get a small piece of cloth and rub it on the object in a circular motion, making sure to apply an even coat around your entire object.
After that, you just let it sit for a few minutes and then buff it with a new clean cloth. For best results, make sure you are using a new, dry cloth. Depending on the colors you chose and the final look you are going for, you may need a second coat.
The end result is a beautiful, antique brass look that can really bring life back into something that was dull or not the style you were going for before.
It’s incredibly simple to work with this material and tends to be a little less messy than using spray paint.
Can I just use regular paint?
Regular paint won’t give you the same finish as using Rub N Buff to create the antique brass look. Regular paint will stick to the wood but won’t give you that subtle, aged look that antique brass can provide.
So while it may be possible to get a similar look, it won’t match the same level of detail and depth of color you would get from using the Rub N Buff colors.
So if you’re after that vintage feel, then using the Rub N Buff to create an antique brass look is definitely your best bet for achieving it.
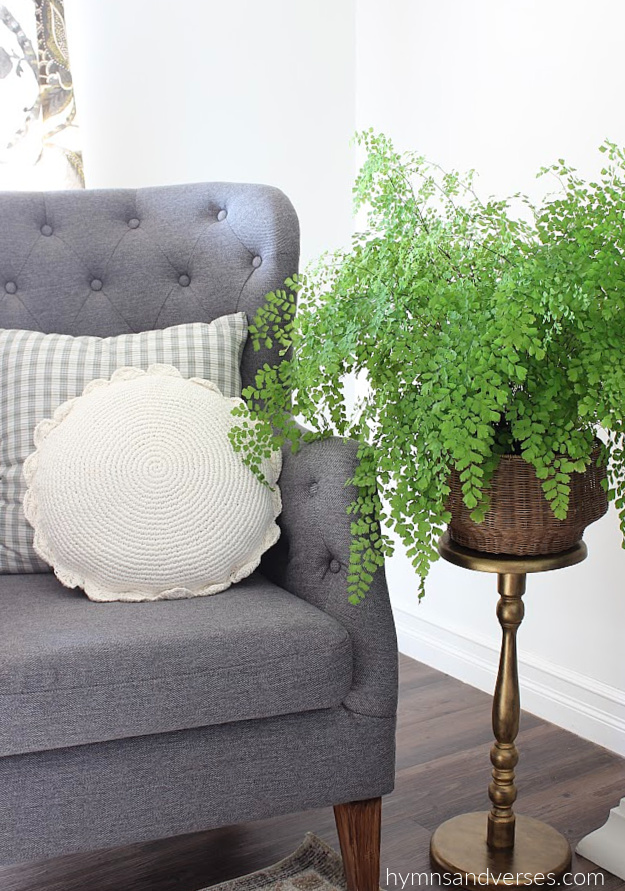
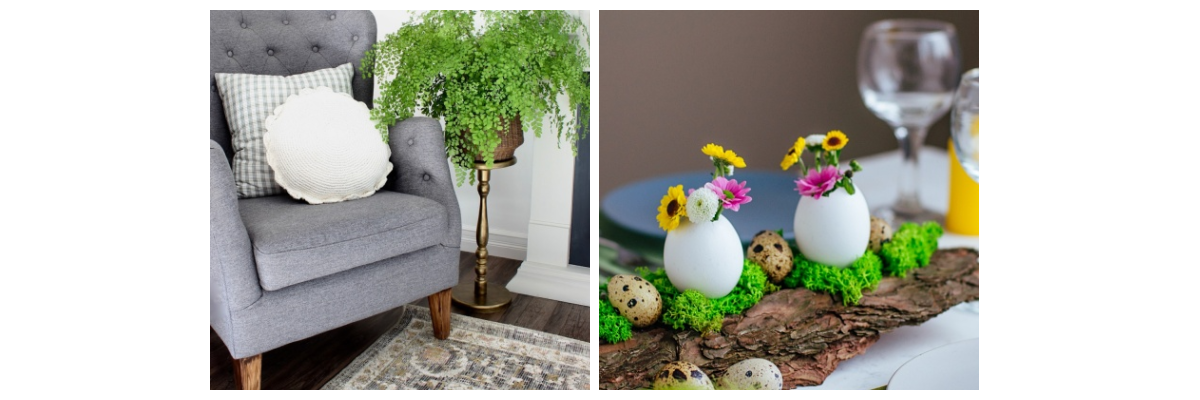
The “Ebony” Rub N Buff definitely toned down the “Gold Leaf” and really gave the piece that aged brassy finish I was looking for! For $10 plus the cost of two tubes of Rub N Buff, I’m pretty happy with my little DIY. I don’t think it’s stable enough to use as a cocktail table.
But, it’s a cute little plant stand with a similar look that I can use in so many different places around my home! So, I’ll just keep searching for an affordable brass cocktail table!
Other items that you could transform into brass antique looking pieces:
- End tables
- Coffee tables
- Night stand tables
- Dining room hutch, small table, etc.
- Outdoor tables or small poolside tables (would need a good weather-resistant coating if keeping it for outdoor use)
- You could even try this on some light fixtures, depending on the material that they are made of. Although, some materials may benefit from using a premium spray paint or gold paints on them rather than using a Rub N Buff mixture.
Tips for prepping your items for gorgeous looking transformations
- Be sure to wipe down the wood item and let it dry before you start to use your Rub N Buff. If it is dirty enough that it needs a thorough cleaning, be sure to do that before you start working with it. Give it plenty of time to dry as well.
- I always suggest wearing some inexpensive crafting gloves, latex gloves or non latex gloves if you have an allergy or sensitivity so you don’t get any of the Rub N Buff on you. If you are worried about your clothing, you could wear an art smock, apron, or just wear old clothes you don’t mind getting a little dirty or stained up.
- Remember that this is like an art project, start with light coats of each color until you get it exactly how you want it. It may take more of one color and less of another, or a good even combination of the two (or more). Don’t be afraid to mess up as you can easily fix it.
- You may want to sand down some of your items if your finishes aren’t exactly how you want them to start with. And, you may want to stand down your painted project if you feel like you need to change the texture, it’s all about personal preference here.
- It may be necessary to spray your creation with a protective coating depending on your plans for using this newly colored item.
- I like to take a good before picture in good lighting so you can see the original color and look of the piece that I am working with. Then, I always need a good after photo so I can really see the transformation blossom and come to life.
Another idea is, if you just want to create an accent piece on a wood frame, or other wood object that you are DIY-ing, you could use your Rub N Buff to create just an accent to the piece, not cover the whole thing with it.
This is great if you are working with a framed mirror, or maybe even a door frame. It would bring another nice, new dimension and depth to your piece that you just couldn’t achieve with spray paint.
With Rub N Buff, you can create a new look with an old piece of furniture in no time at all. Plus, it really helps to mix things up and make something that is truly unique and special. It’s so easy to use, no matter what the project is. So don’t be afraid to try it out on your next project – you won’t regret it!
If you like how this DIY to get the look of antique brass turned out, be sure to PIN it!
Now, let’s see what my Cozy Living friends are sharing for the month of March!
Houseplant Tips / Decorating with Lily of the Valley / Favorite Spring Paint Color
Danielle
Thursday 10th of March 2022
Wow! What an amazing transformation! I would have thought that was aged brass!
laura at duke manor farm
Saturday 5th of March 2022
oh my goodness, looks like the real thing. i have never used rub and buff but may see what I can get my hands on to try it on. Hope you are doing well!
Rebecca Payne
Saturday 5th of March 2022
Great makeover. Great job!
Jennifer @ Town and Country Living
Saturday 5th of March 2022
I'm filing this away for future reference, Doreen. I have a few old mirrors I'd like to do this to. What a great tutorial!
Teddee Grace
Saturday 5th of March 2022
Looks great. Interestingly, I have both a fern stand in dark wood like yours only taller as well as a real brass cocktail table that I purchased at Goodwill at least five years ago for a song. Nice when one's personal taste comes into "style" again.