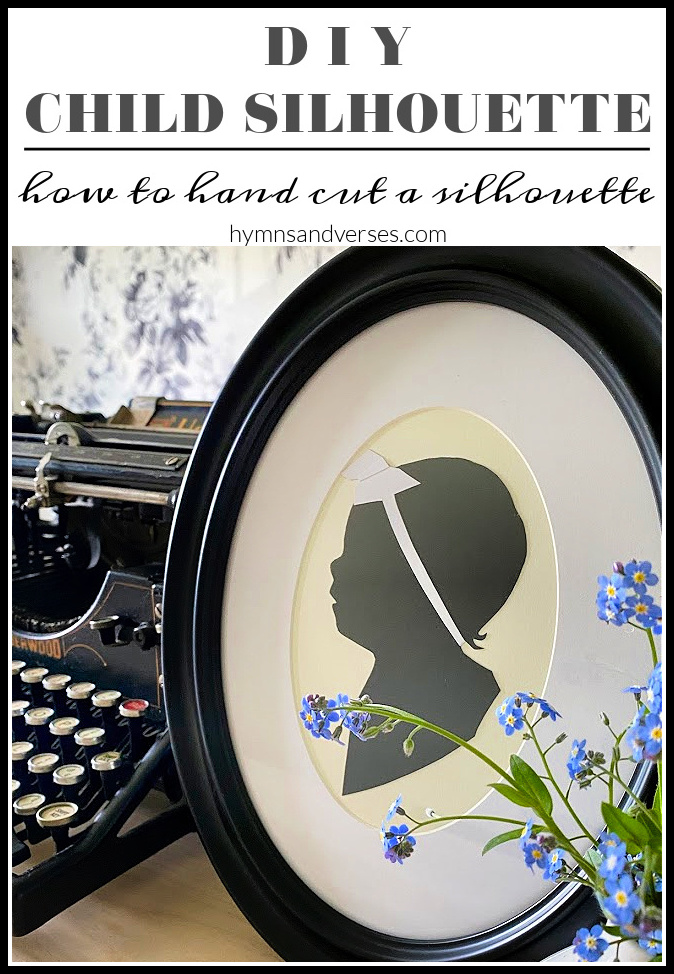
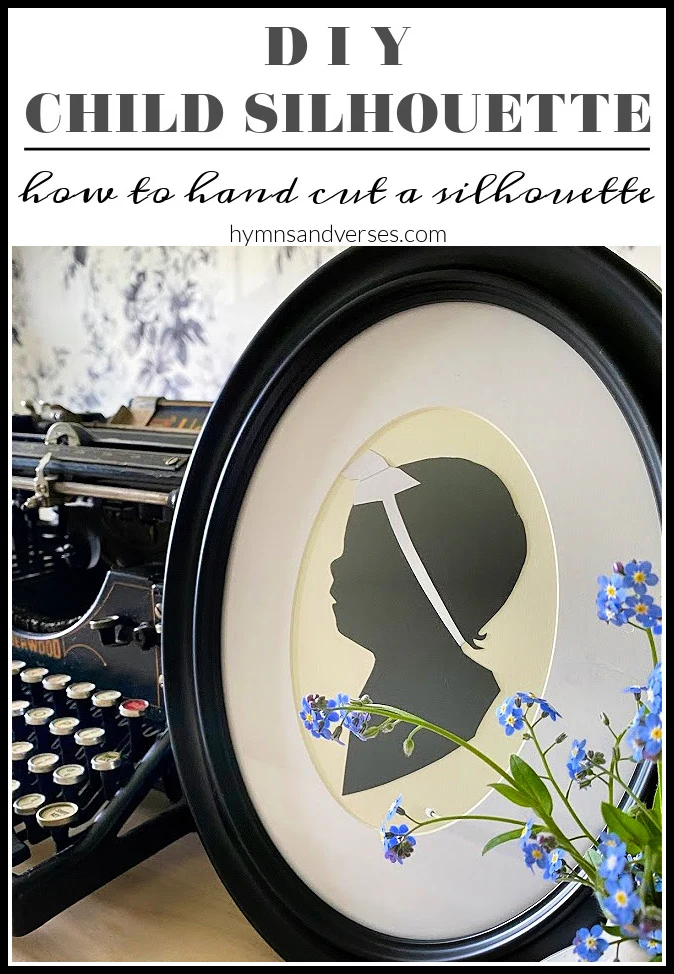
Today I want to show you how to make a baby or child silhouette. This project would make a great Mother’s Day gift for a mom or grandmother.

Today’s post is part of the monthly Cozy Living Series hosted by Jennifer at Town and Country Living. At the end of today’s post, you’ll find links to all of the cozy living ideas for May!
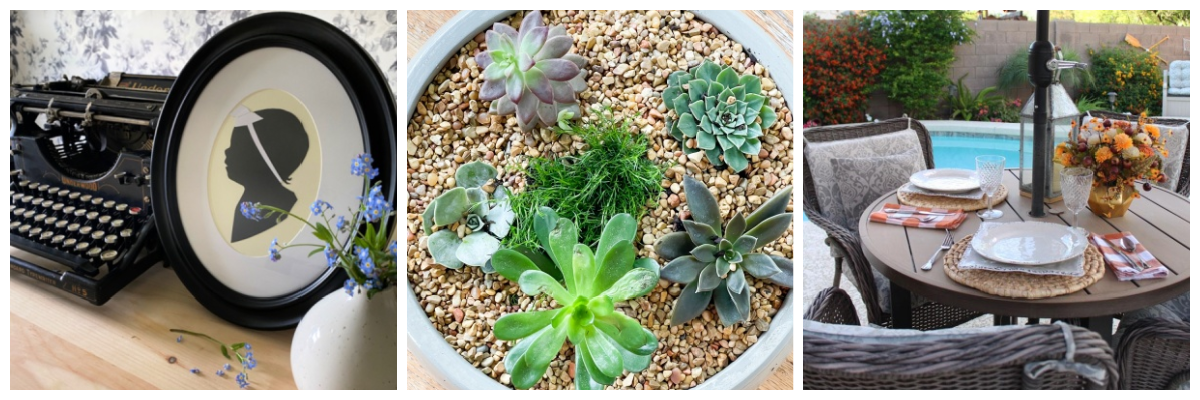
How to Make a Baby or Child Silhouette
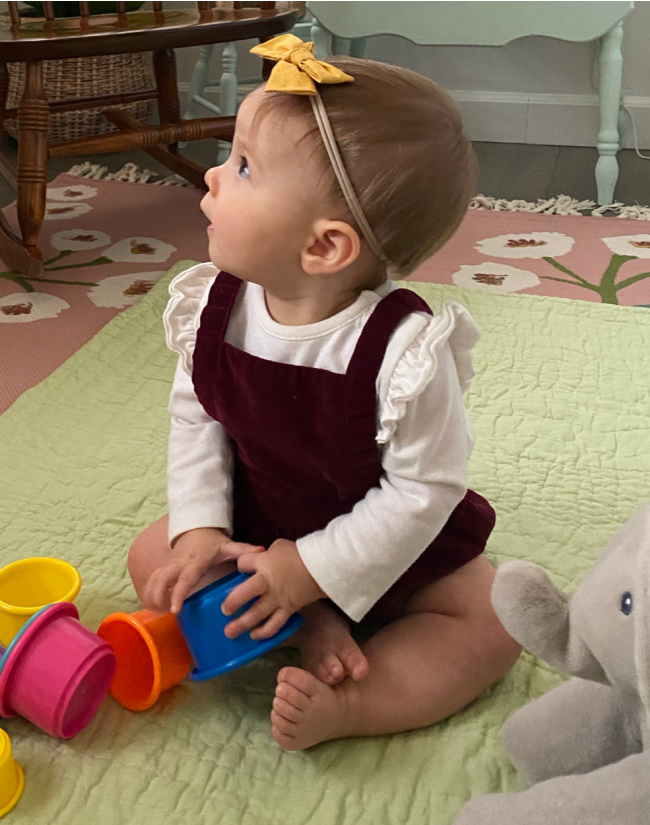
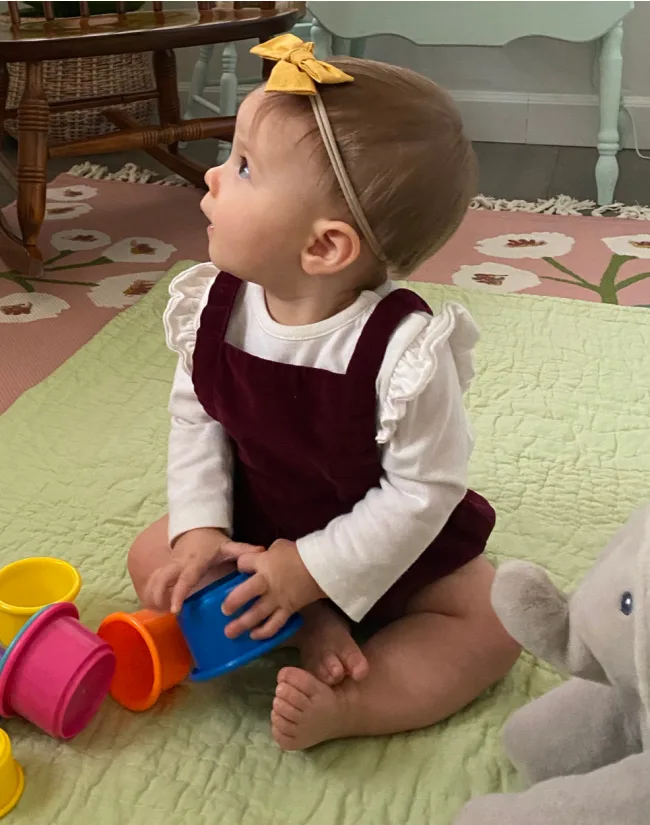
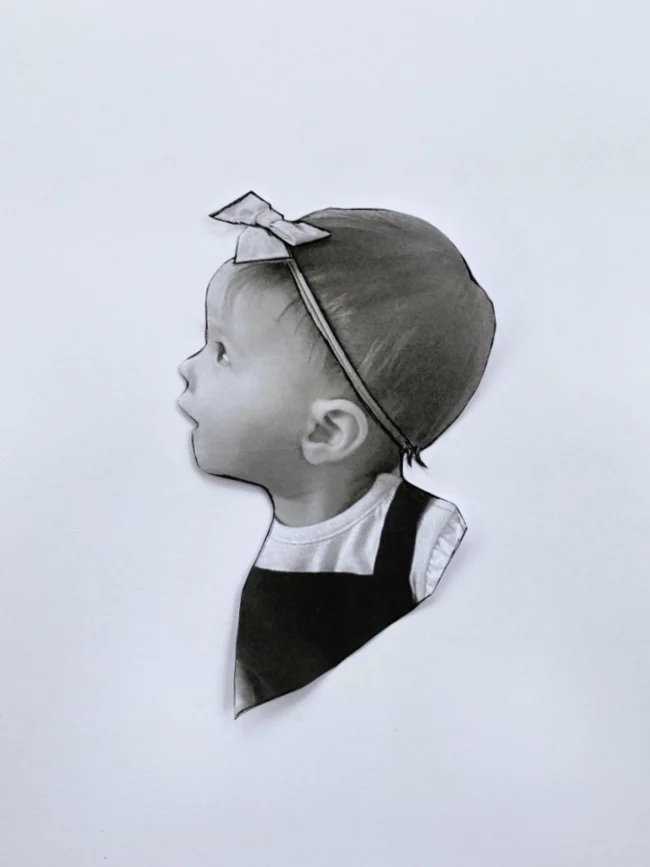
I made my first silhouette of Daphne as a gift for Sarah at Christmastime. The most important thing that you need is a profile photo of the baby or child. It doesn’t have to be great quality and could even be a pic that was posted on Facebook or Instagram. Here’s the photo that I used.
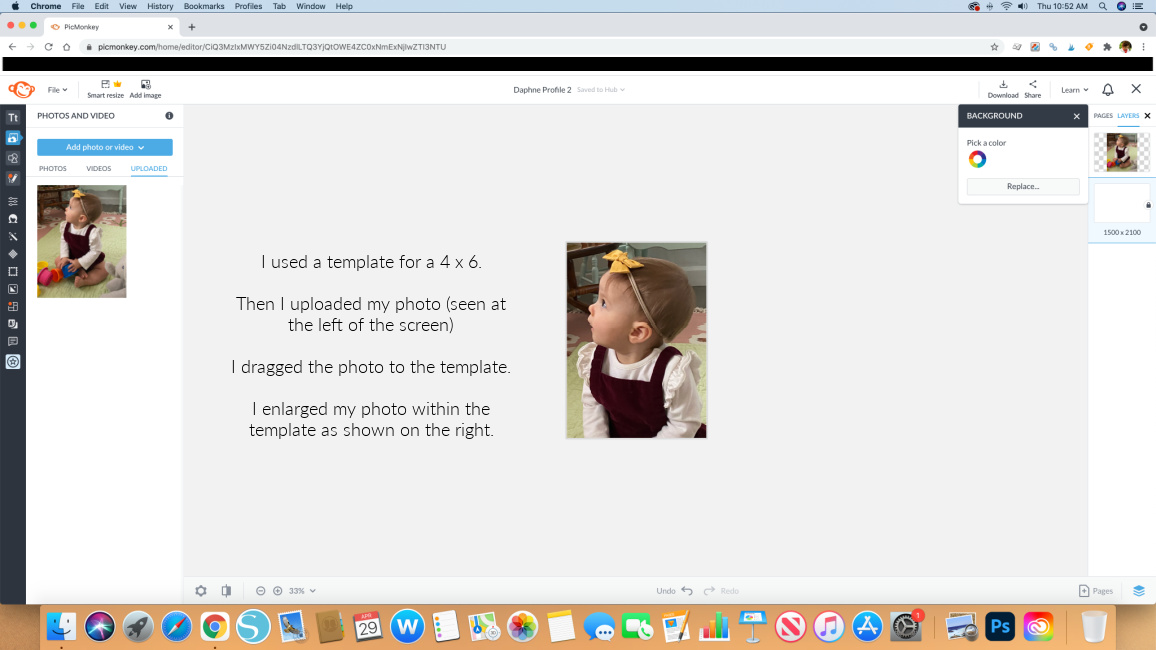
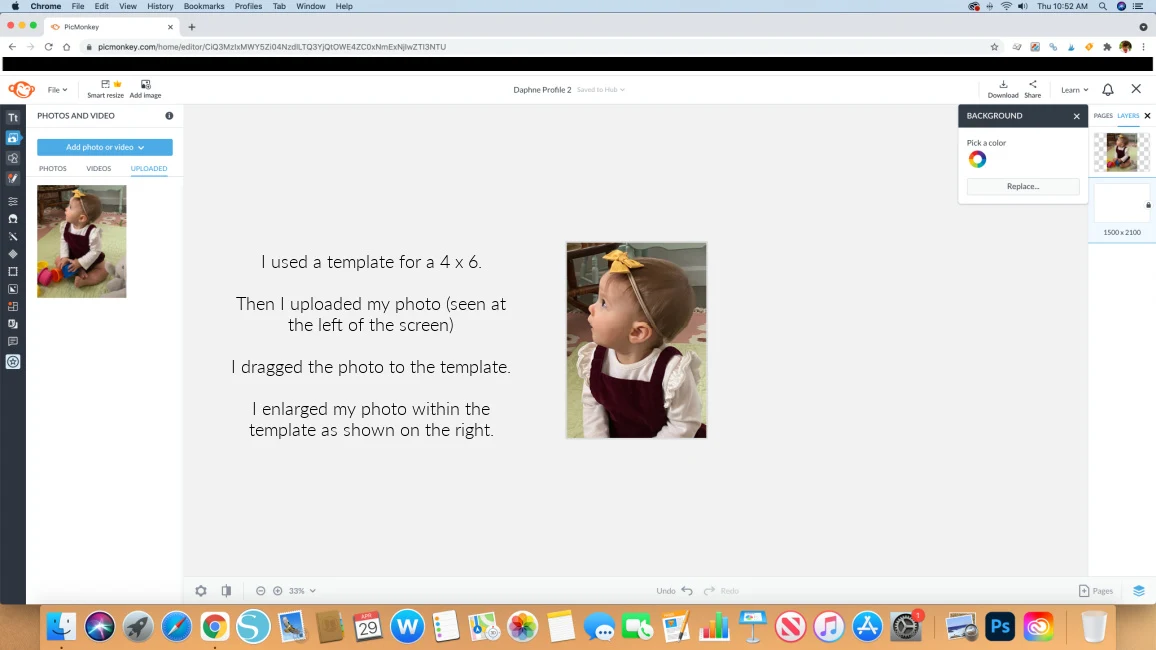
Next, you need to know what size frame you are going to use. I found these 5″ x 7″ black oval frames with a white mat at Walmart. So, I sized my photo accordingly in Picmonkey. I’m sharing a screenshot from Picmonkey to help you see how I did this.
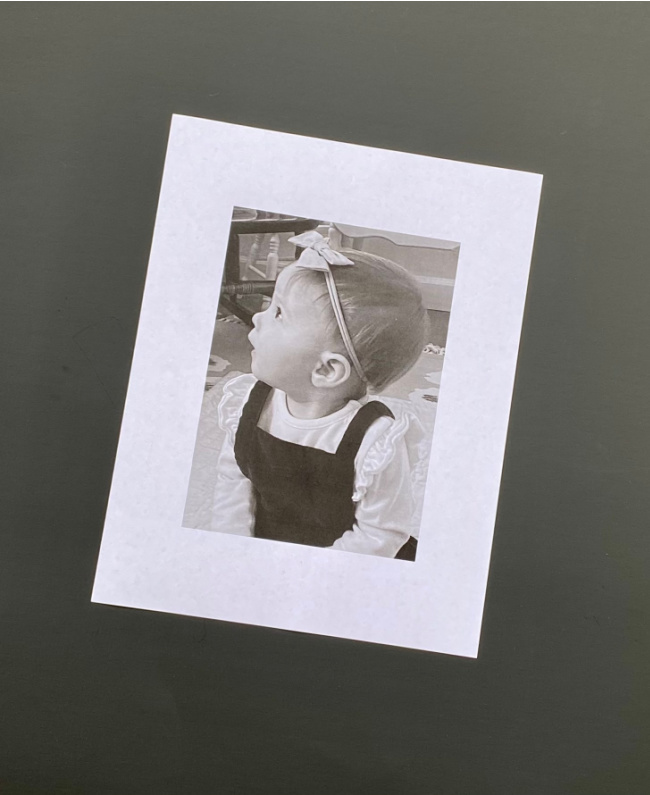
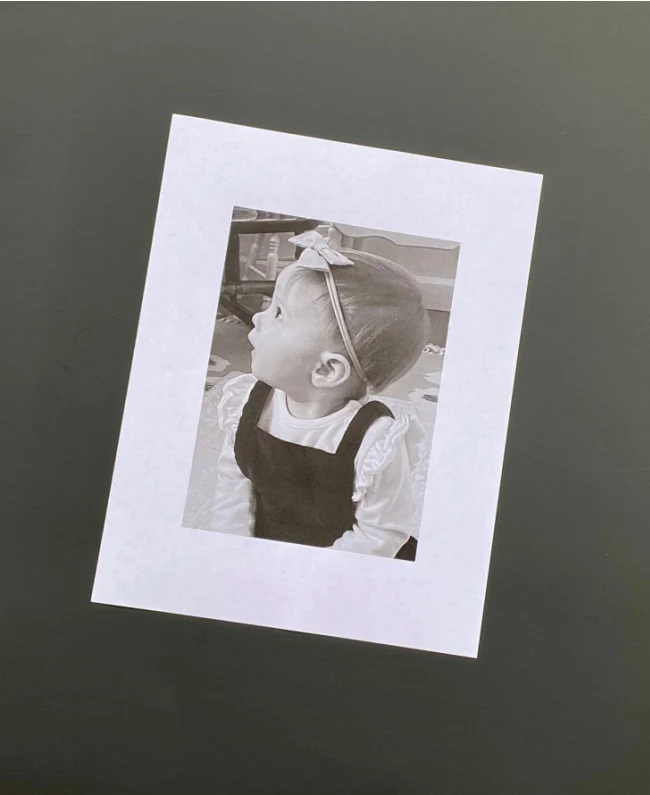
Once you have your photo correctly sized, you can print it on your home printer. I printed mine as a black and white just to save ink.
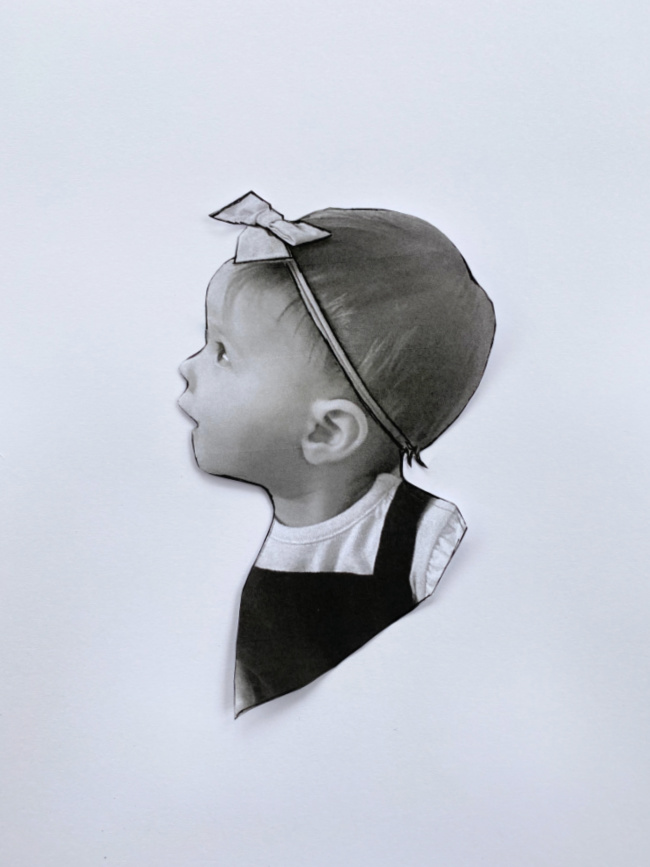
Next, use a sharp pencil to outline around the profile. I like to do this to create a defined line for cutting purposes. Now, it’s time to cut! I used these Fiskars micro-tip detail scissors and they worked really well. You definitely need a smaller scissor for this project to cut the profile details.
Here’s what the photo looked like once it was cut out.
Next, take the cut out image, turn it upside down and place it onto a piece of black card stock. Now, trace around it with a fine tip pen or pencil. You will need a fine tip to capture all the details. I turned the image upside down so the trace lines will be on the reverse side once it’s cut out. I outlined and cut out the bow in Daphne’s hair separately using white card stock.
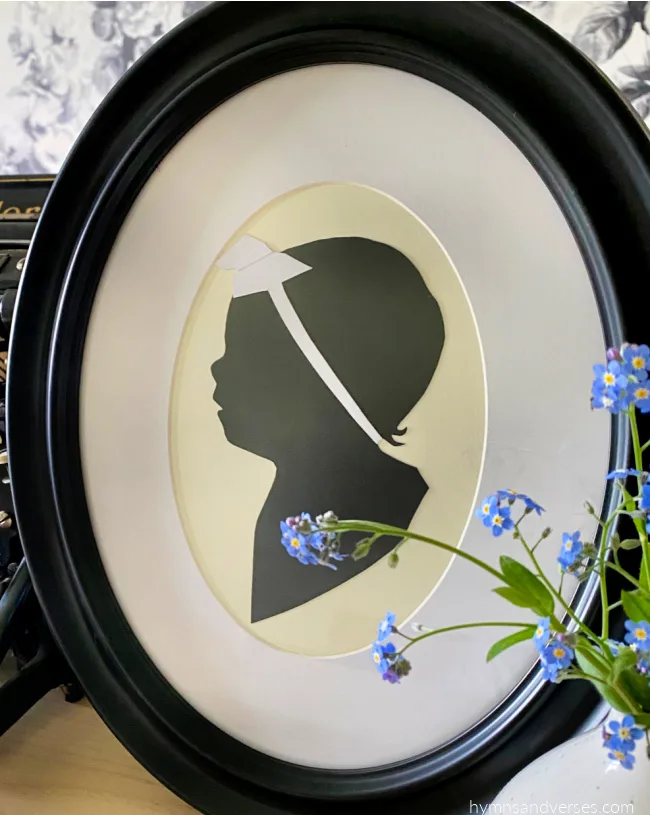
framed silhouette

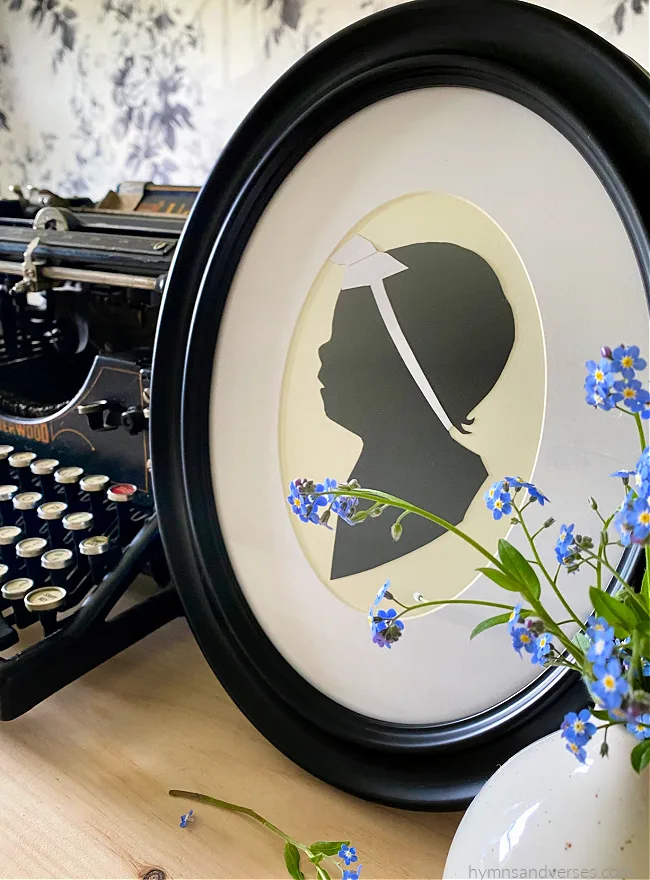
I think these silhouettes are so charming and would look amazing included in a family gallery wall! And, what an amazing keepsake! Now, I’m going to be completely honest and say this isn’t necessarily the easiest DIY project! Why? Because you really want your child silhouette to look like the child (ha, ha)! Seems obvious, right! But, it’s all in the cutting details! I’d be completely lying if I told you I cut this one time and TA – DA it was done! Nope! I cut this little silhouette probably ten times. I think this is is the kind of project that the more you do it, the better you become at controlling the scissors. There are definitely ways to digitally produce a silhouette, but I wanted to do this the old fashioned way! And, overall, I’m happy with the way it turned out!
Now let’s see what the rest of the Cozy Living Team is sharing for the month of May!
Hymns and Verses / Duke Manor Farm / A Stroll Thru Life

Creative Cain Cabin / Finding Silver Pennies / Vinyet Etc. / Town and Country Living


Dawn
Sunday 9th of May 2021
What a wonderful, handmade gift for mothers. It sure brings back memories. My kindergarten teacher made these for all the students to give out on mothers day many moons ago. I'd forgot all about it until I read your post.
Marty
Saturday 1st of May 2021
What a fun project. I love this. Thank for the tutorial
Danielle
Saturday 1st of May 2021
I adore silhouettes and this is the perfect keepsake for Mother's Day! So sweet!
Paula@SweetPea
Saturday 1st of May 2021
I love this project idea and yours is absolutely charming. This would be a wonderful and much-appreciated Mother's Day gift for a mom or grandmother.