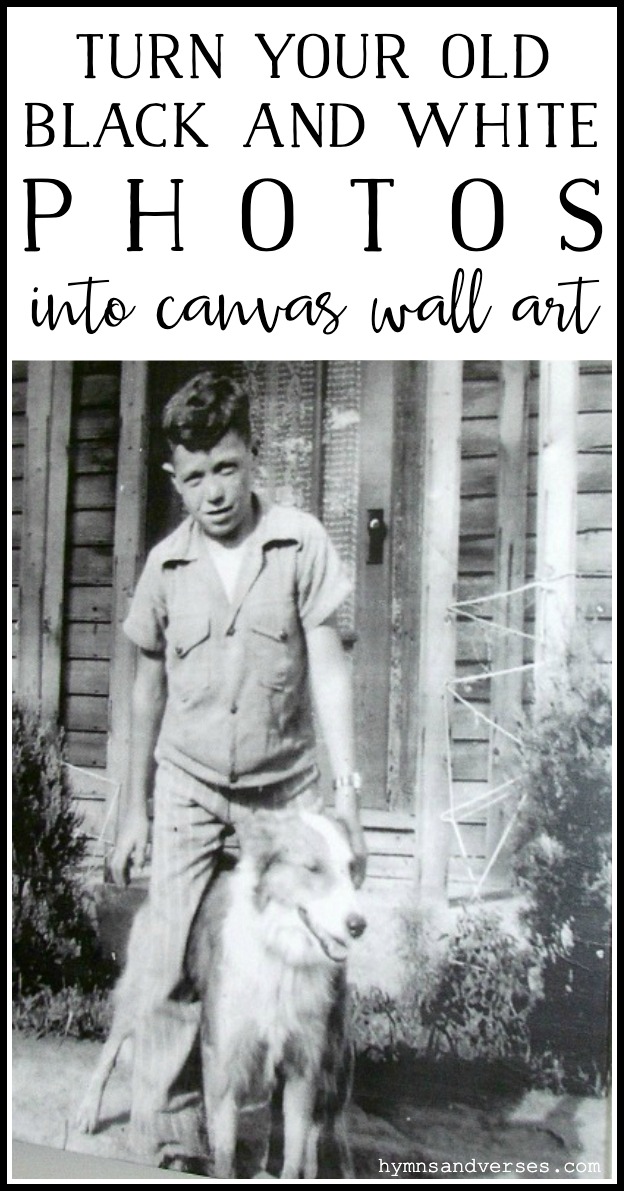
Do you have any old black and white photos from your family and you don’t know what to do with them. Today, I want to show you the easy steps I used to turn an old photographs into art by learning how to modge podge pictures to canvas.
In just a few simple steps, you’ll be able to transform an old picture into a piece of wall art to display in your home for everybody to enjoy. Keep reading to follow the step-by-step guide to make a beautiful DIY photo canvas.
SUPPLIES NEEDED
Photo enlargement from office supply store
How to Modge Podge Pictures to Canvas
The first step is to have your favorite photo enlarged. I have a scanner, so I scanned the photos to my computer and saved them as jpeg files.
However, if you just have your old photos and cannot save them as a jpeg on your computer, you can still do this project.
Or, you can take the photo to your local office supply store and have them scan and save the image for you.
I do not recommend using regular printer paper and a home printer. You want a good quality photo on photo paper. You can easily get this when you have your images printed out at the store, but if you have a good photo printer at home, you may want to consider printing your own images and resizing your own images at home.
Choose the size canvas you will be using. For this project, I used an inexpensive 16″ x 20″ canvas. But really any canvas size will work as long as you have the photo printed at the correct corresponding size.
You can get your canvas from your local craft store, online, and even some Dollar Stores are carrying art canvas that you can use for this project.
Now that you know the finished product size, you can order the appropriate size engineering print or smaller copy from the office supply store. I like to do as much at home and order my prints online from Office Max.
Or, you can have them shipped to you or pick them up in store. Now that you have your 18″ x 24″ enlargement, pour some Modge Podge into your mini roller tray.
Start at the top of the front of the canvas and apply an even layer of Modge Podge down about two inches from the top.
Carefully place your print onto the Mod Podge and smooth out any air pockets.
Once you have smoothed out any wrinkles and air bubbles and pockets all the way out to the edges of the canvas, you can apply two more inches of the Modge Podge to the canvas and continue slowly working your way down the canvas, smoothing and removing air pockets as you go.
Pro Tip: If you are struggling to get rid of any air bubbles, you can use a credit card to scrape out any excess air trapped between the canvas and the back of the image.
I learned by trial and error that you get way too many wrinkles and air pockets when you Modge Podge the entire canvas at once and then apply the print. It is nearly impossible to get out all the wrinkles and air pockets when you do it that way.

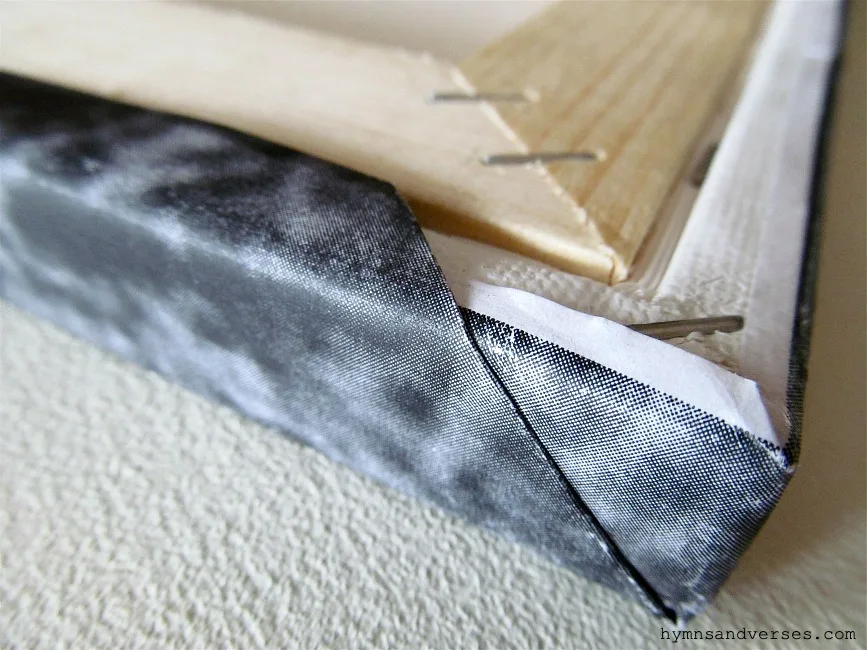
For the top and bottom, I wrapped the print like a present by folding over the two sides and then wrapped the print over the canvas and used more Modge Podge to attach the wrapped print edge to the frame.
Try not to get any Modge Podge on the back of the canvas.
Pro Tip: If you are in a hurry and need your layers of Modge Podge to dry faster, you can use a hair dryer to blow hot air over the entire thing to help it dry faster and finish your project quicker.
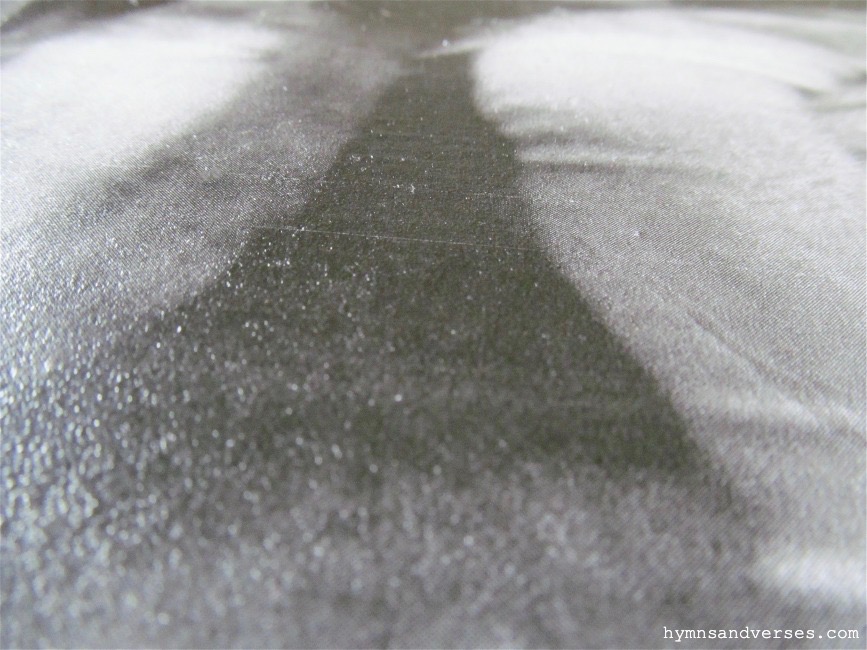
I did one layer, but if you want more texture; you could apply a second or even third Mod Podge layer – letting the Mod Podge dry between each application.
While I have not chosen to do this to any of my own projects, I saw someone who was making their own DIY photo canvas and to give their image a textured look, they mod podged some white tissue paper to the canvas and didn’t focus too much on pushing the air bubbles out the the edge of the canvas.
Pro Tip: If you do not want to use a mini or small foam roller for this product, you could use a foam brush.

how to display your art
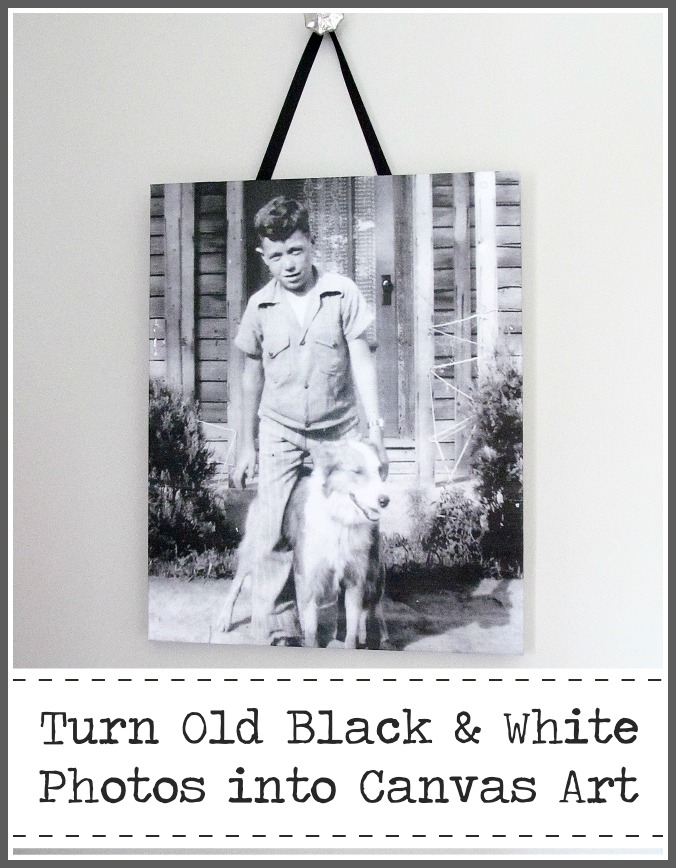
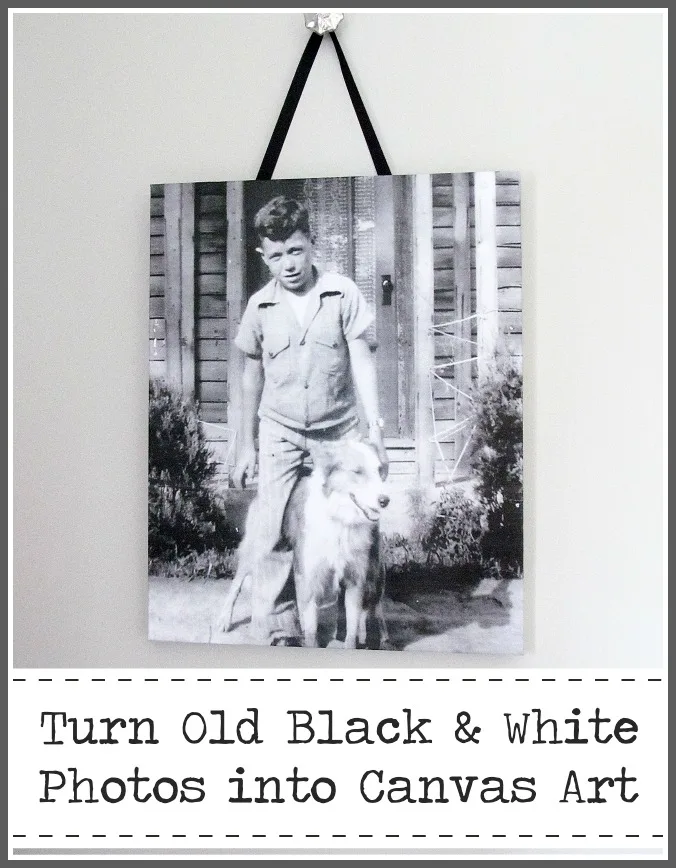
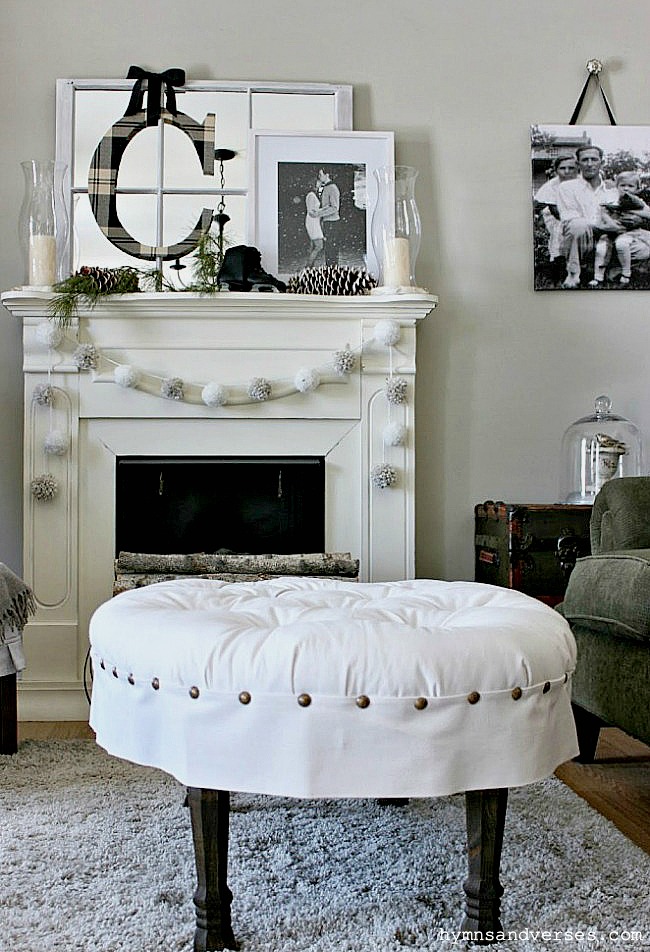
Here’s one of the finished pieces that I have hanging in my home. I originally shared this project way back in 2013 and I still have this piece hanging in my home!
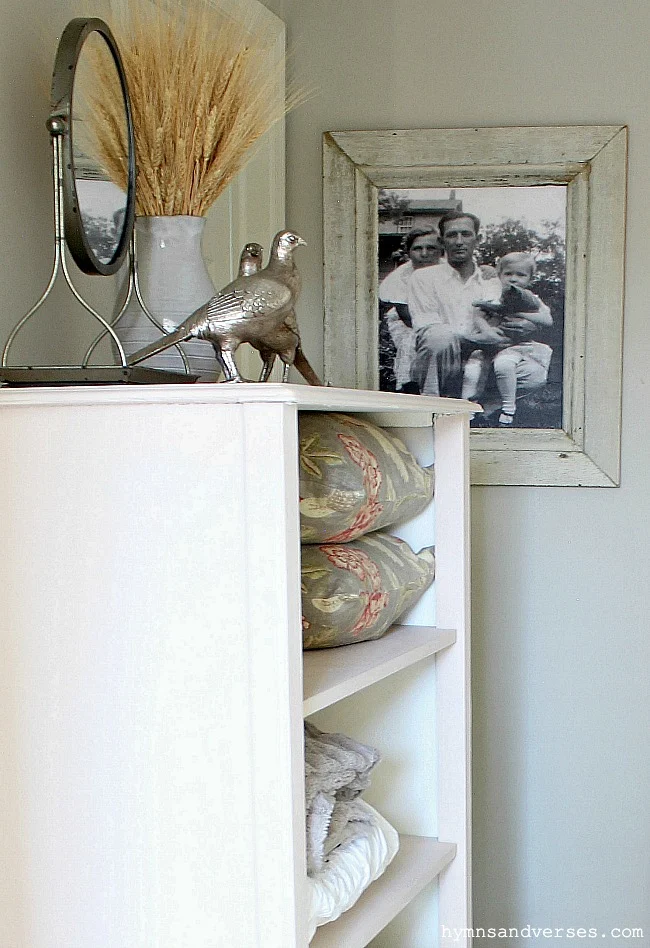
The image above is from 2013 and I used a black ribbon to hang it in my living room! The image below is a more current shot of this canvas in a barnwood frame in my upstairs hallway.
This is a photo of my mom with her parents and she’s holding a cat! Which is so appropriate, because she grew up to be a crazy cat lady! And, I think she passed that on to me!
You can hang them up as you would any of your store bought canvas prints. Or you can add your canvas to any of your extra wooden frames sitting around.
You can do these with any photos on printed photo paper. This is a great way to make a homemade gift for a friend or family member with just a blank canvas, a couple coats of mod podge and your picture of interest.

I hope that you enjoyed this easy DIY. Of course, you could also order a photo canvas of an old black and white photo, but it wouldn’t include the texture and slight imperfections that this tutorial provides. For that reason, I like the finished product using this method over a printed canvas.
This has become one of my favorite projects as it’s a relaxing way to knock off some of my DIY projects all while displaying meaningful images around my home.
I really love that I can make a few great gifts for friends and family that will really bring a smile to their face and be functional, not give them just another knick knack or trinket to sit around.
I hope that you found this tutorial helpful and gave it a try. Enjoy!
Tag someone in the comments below who loves to do DIY projects! And don’t forget to share your creation with us on social media by tagging us- we can’t wait to see what amazing projects you come up with!


Cristina
Sunday 29th of March 2020
What a great way to bring those old memories back to life. And hey, great family gifts.
Lori J Leeper
Sunday 29th of March 2020
I love this!! I've already thought of some photos I want to try this with! What a great and thrifty way to add large photos! Thanks, Doreen!
Christy @ Our Southern Home
Saturday 28th of March 2020
Doreen, This is a really fabulous art idea! It gives vintage photos an even more special feel!
Vintage Metal Glider and Chairs - Hymns and Verses
Monday 29th of April 2019
[…] Turn Your Vintage Photos into Canvas Artwork […]
Sweet Sue
Thursday 6th of October 2016
This is awesome. I have made faux mirrors before, but this is even better. Love it. Don't you love it when you put your heart and soul into a project and your husband has a comment like your did? Mine usually says "it's nice". Disappointing when you were hoping for a cartwheel or something like it. Haha
Great job. Sue