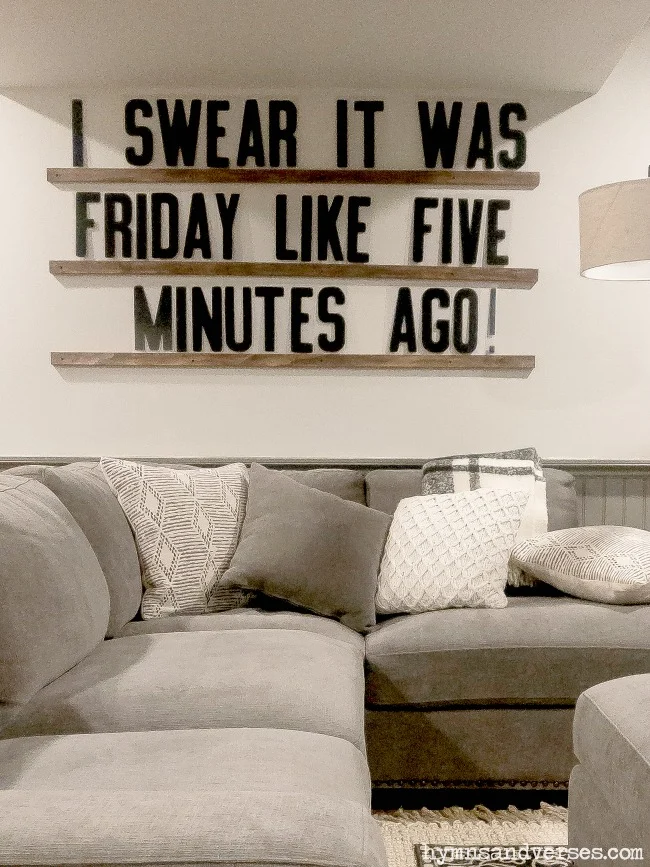
I first saw a giant letter board on Joanna Gaines’ Instagram feed the end or last year. and, I immediately wanted one! And, so did a lot of other fixer upper followers!

*This post contains some affiliate links for your convenience. Please see my full disclosure statement HERE.
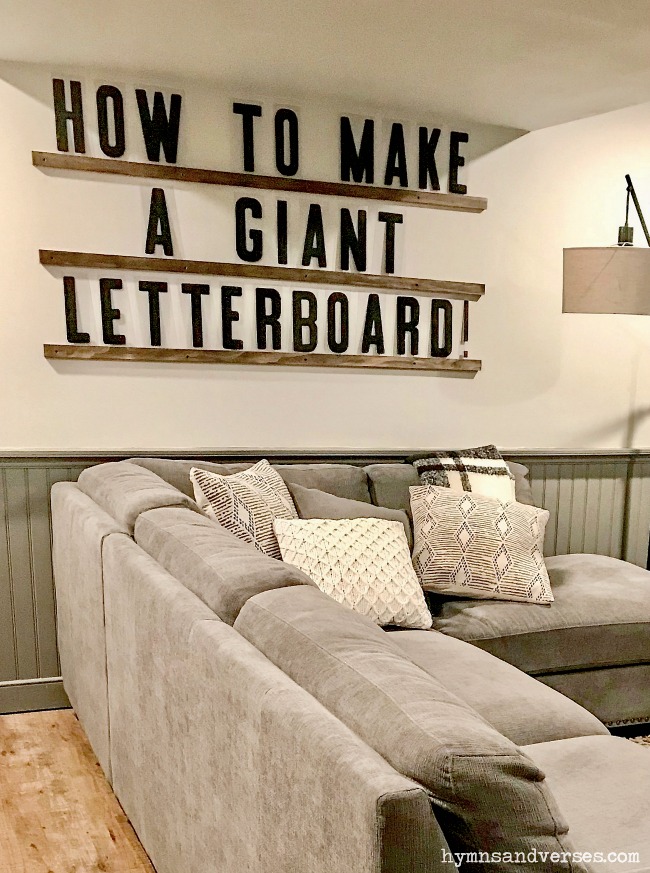
Soon, there were creative makers selling kits for these ledge-like shelves with marquee letters. The price for a giant letter board kit was pretty steep, but I knew it was a pretty easy DIY project. So, I showed Mark a few photos from Instagram and by the end of the day, we had the ledges mounted on the wall! The letters used are clear plastic marquee letters like those used for changeable outdoor signs.
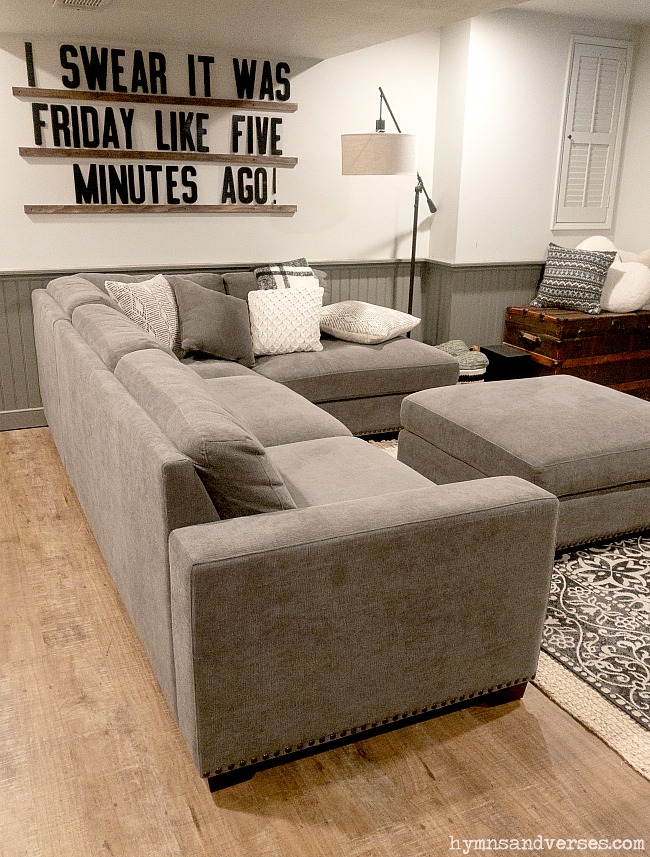
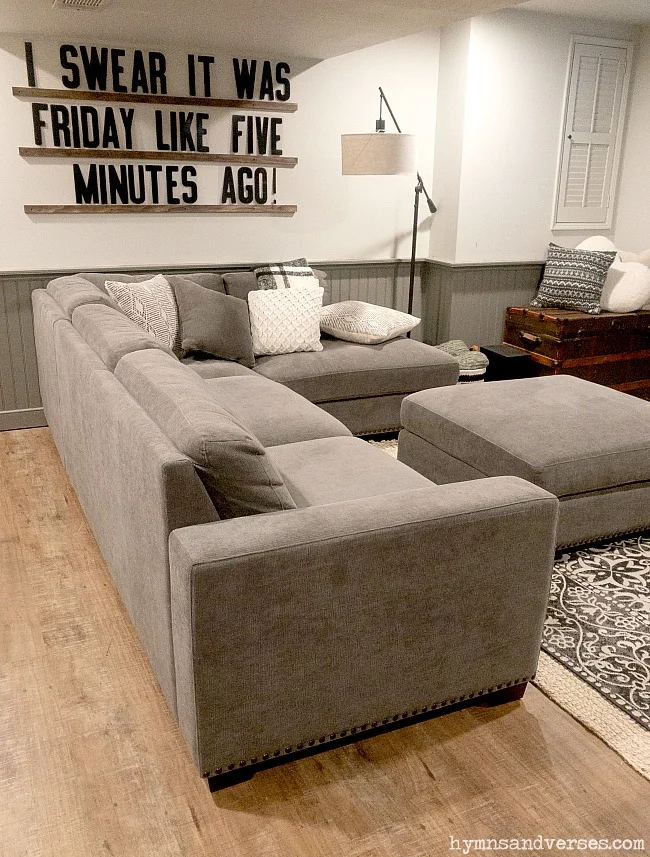
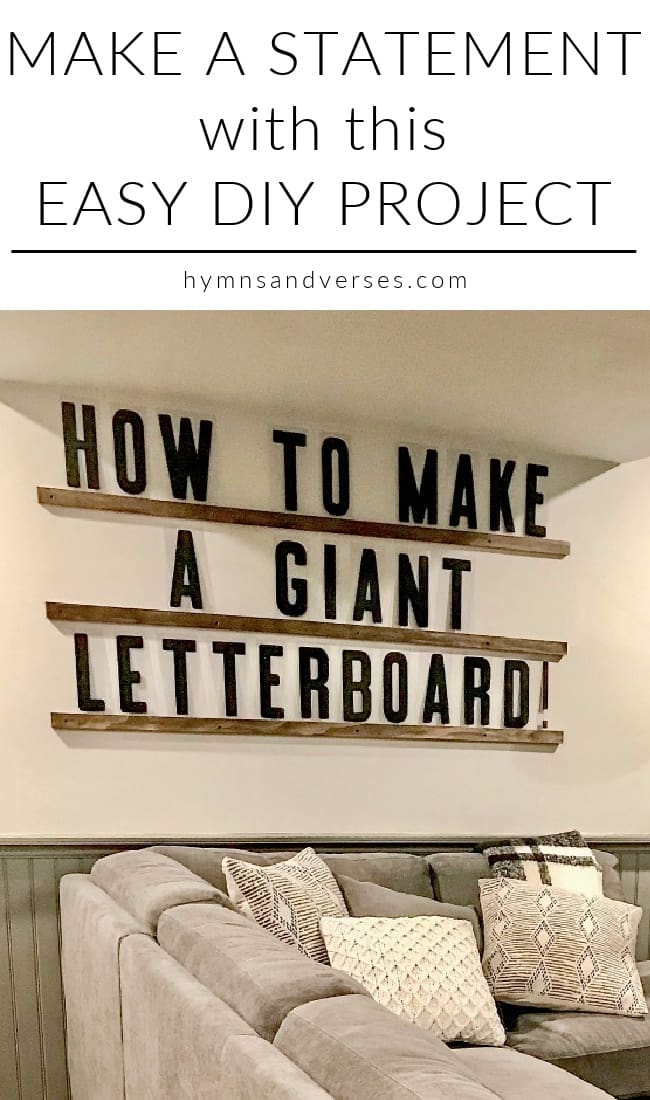
This is a giant and fun statement piece for a spot where you’re not sure what to hang there. They are great at the end of a hallway! The other place I thought about putting one was on the small wall between our kitchen and living room. But, in the end, I decided on our family room because it’s our family’s place to hang out, watch TV, and play games. It’s laid back and casual and makes it the perfect place for a fun statement piece like this giant letter board!
HERE IS WHAT YOU NEED to make one!
1 x 2″ wood for the ledges (mine are cut to 60″)
Stain (if you want)
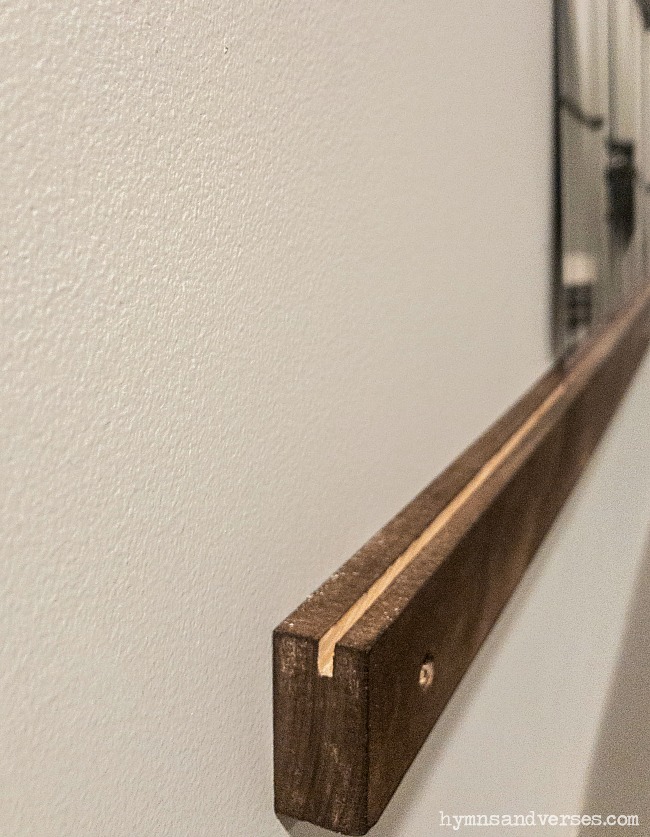
Cut your 1 x 2 wood pieces to the length you want your letter board. I made my 60″ because it looked good for this awkward dropped ceiling space in my downstairs. Next, you want to cut a groove down the middle of each of these ledge pieces. To do this, Mark set his table saw to 1/2″ deep and ran each piece through.
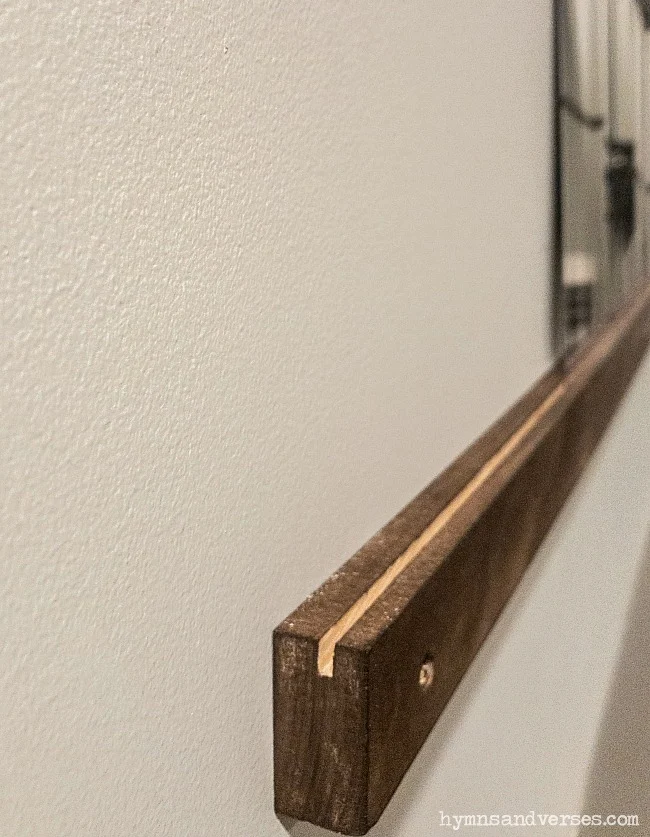
Then, I gave each piece a light sand and stained the wood with the gel stain I shared above. Because I used 8 inch marquee letters, we made the space between each ledge 10 inches. If I could do this whole project over, I’d start my first ledge down a bit more from the ceiling.


To attach the wood ledges to the wall, Mark first predrilled the holes and then used screws with drywall anchors to attach them to the wall. Of course, you need to have a level on hand to make sure each ledge is level. And, that’s really it! I saw one person who used Scotch Indoor Mounting Tape to attach the ledges. This would definitely be a “no tool” option. I would worry about removing them, because this velcro-type tape is strong and you can damage your drywall if removed the wrong way.

Have you jumped on the letter board bandwagon? Have you thought about adding a giant one like this to your home? I’ll be back later this week to share more projects from our family room! Hope your week is off to a great start! And, don’t forget to share this DIY post with your friends on Pinterest, Facebook, or Instagram!
You might also like these DIY posts:
Liberty
Tuesday 20th of August 2019
Very nice!! I like your sectional. I wish I had room for one just like it. Maybe one day.
Liberty @ B4andAfters.com
Jenn
Monday 19th of August 2019
What a fun and simple tutorial! I have followed along for years, but have previously missed your family room! Looks like a cozy spot!