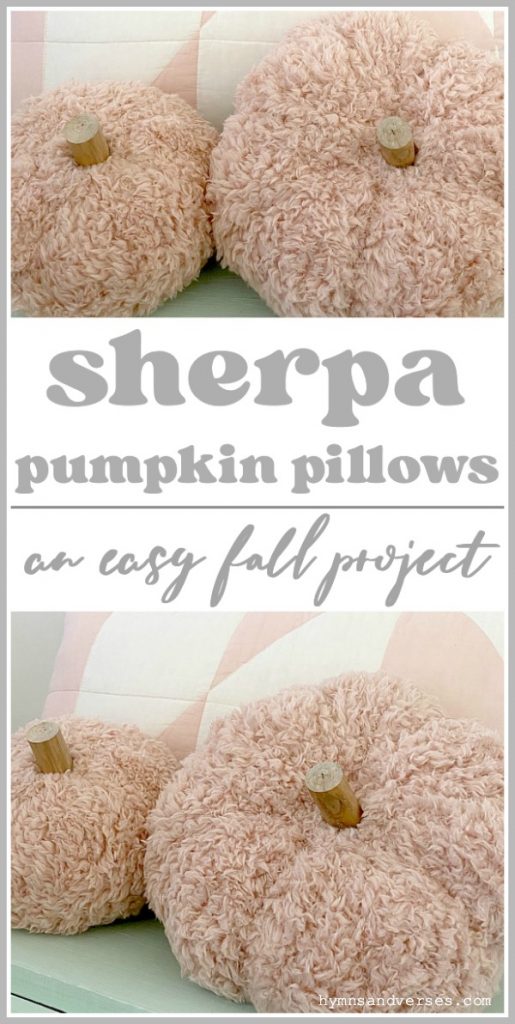
Yesterday I shared some simple fall touches I made in the nursery. One of the things I shared was a DIY pink sherpa pumpkin pillow. Today, I want to show you how to make your own pumpkin pillow!

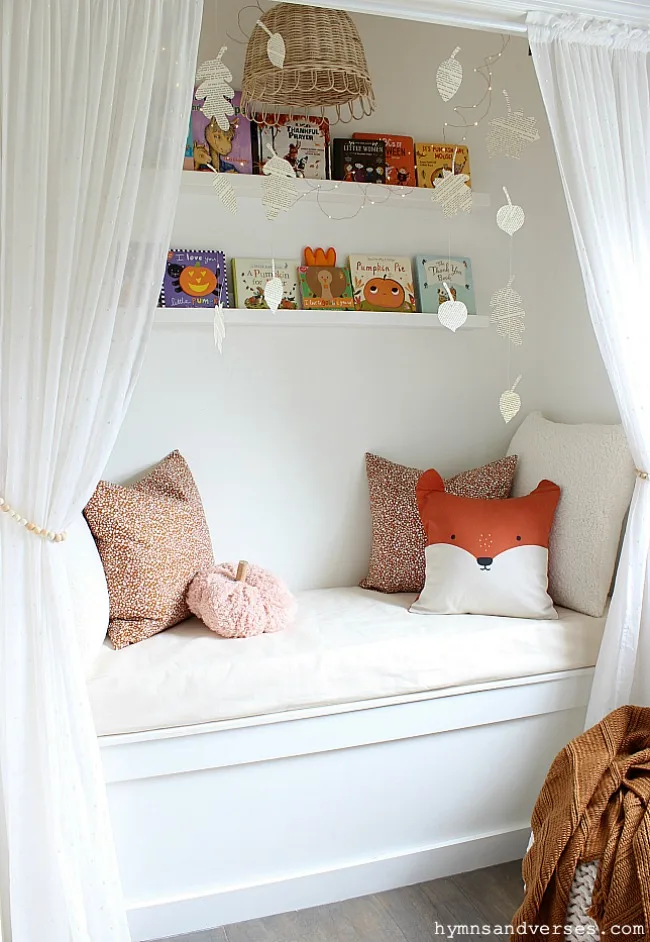
You don’t need a sewing machine to make these little stuffed pumpkins and it took about 30 minutes from start to finish!


Sherpa Pumpkin Pillow
To make a pumpkin pillow you’ll need:
Fabric – I used this sherpa throw from Walmart that was only $8
I made two of these stuffed pumpkins from this throw and have plenty fabric left over. So, I may make more! But, you could really use any soft fabric to make this pumpkin pillow!
Sewing Needle with a Large Eye
Embroidery Floss to Match the Fabric you Choose
Wood dowel rod cut to size for the stem
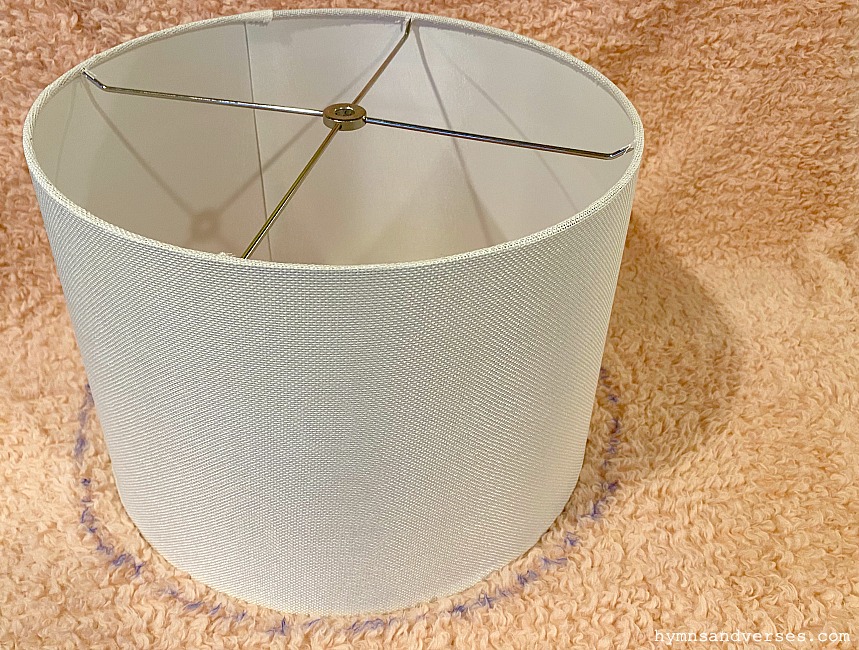
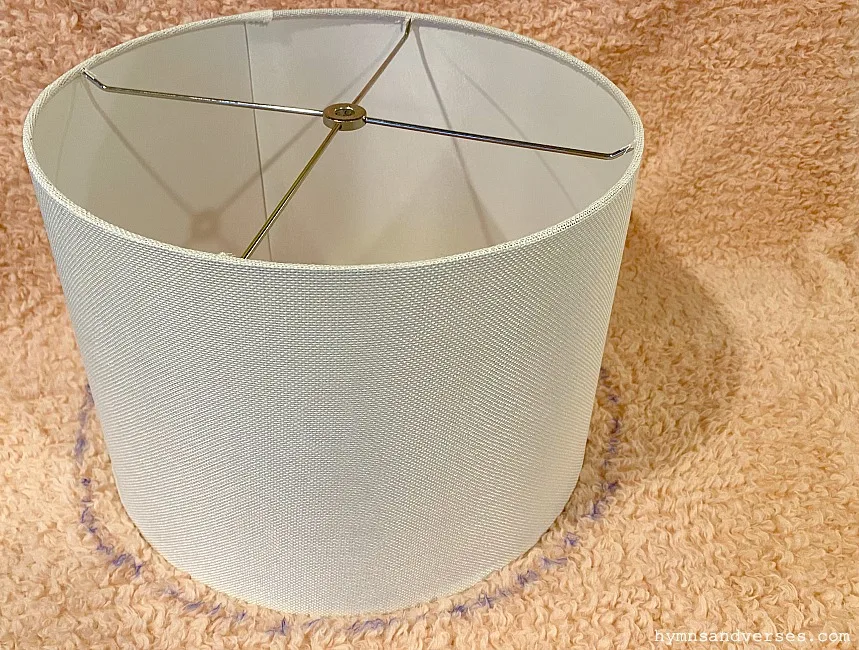
Trace a circle onto your fabric. I used a large lamp shade and traced around it! Then, cut out the fabric.
Thread your large needle with a long length of the embroidery floss and knot the end (important – leave a long enough tail after the knot for tying later). Now, sew a long running stitch around the outer edge of the fabric circle until you reach the starting point. A running stitch is simple. The photo below shows how you insert the needle from the top, take it underneath the fabric, and bring it up through to the top again. I made my running stiches about 1/2 inch long as shown below.


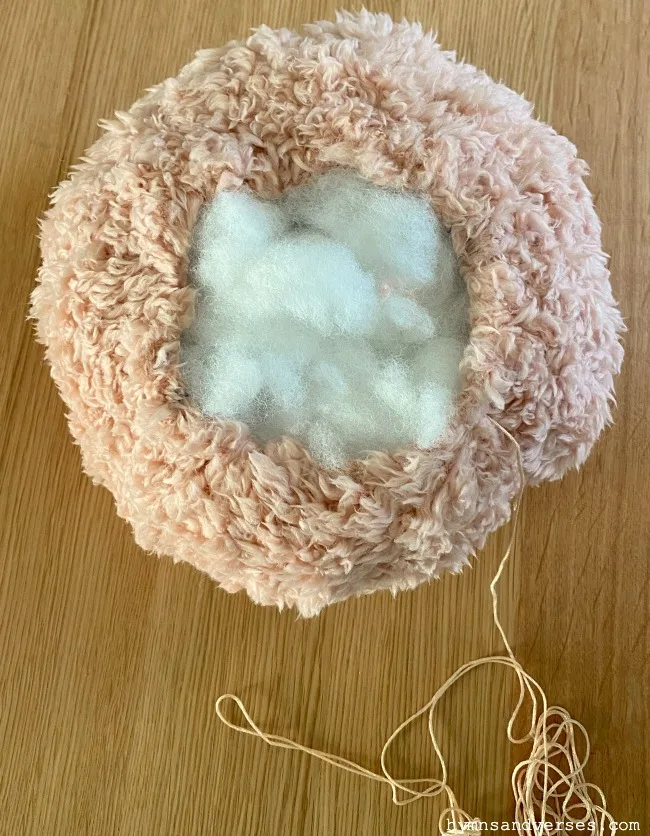
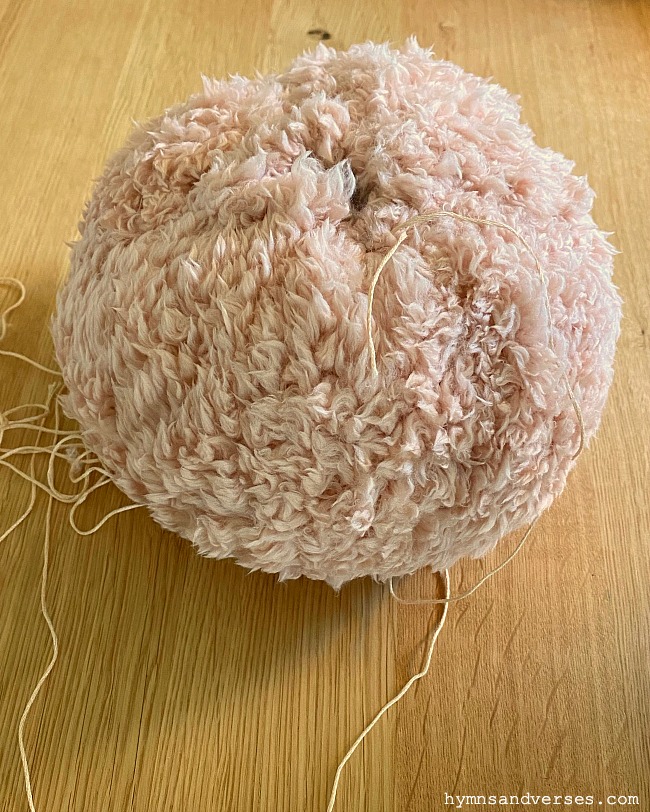
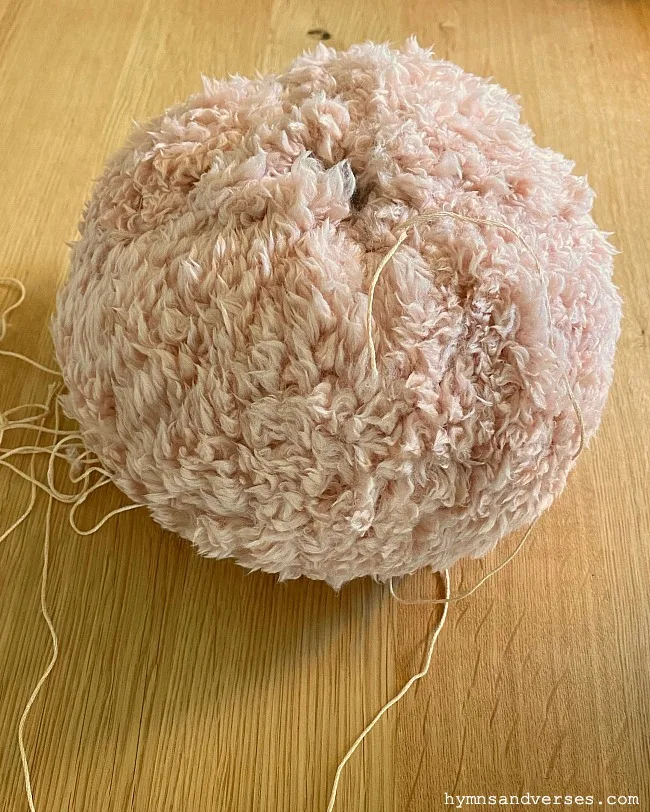
Once you get to your starting point, you can pull on the needle end of your embroidery thread and it will pull and gather the fabric. But, don’t gather it tightly just yet because you need to put stuffing into the opening. Stuff the pumpkin with the Polyfill as shown below.

Once you have the pumpkin pillow stuffed to your liking, pull on the embroidery thread and gather the top until it’s almost closed. I left an opening for the size of my dowel rod stem. Secure the thread by tying a knot with both ends of the embroidery thread. Then, use hot glue to glue the stem in place. Sew Simple!
These little pumpkin pillows are so easy to make! If you’ve seen other bloggers decorate with velvet pumpkins, they are made basically using the same method. For a more sophisticated pumpkin like that, I would use a stem taken off a real pumpkin. I hope you’ll try this little craft project for fall! It’s one that you could even do with older kids with supervision!


Marilyn
Thursday 15th of October 2020
Really cute! I'm glad Tracey asked about the pumpkin "sections."
Sherry
Wednesday 14th of October 2020
I am definitely going to be making some of these! Thanks for sharing the instructions. 💕
Michele M.
Wednesday 14th of October 2020
I ADORE those sherpa pumpkin pillows. Noticed them last visit - so glad you shared how you made them.
They are sooooooooooooooooooo cute!!!! And soft looking!!
Tracey
Wednesday 14th of October 2020
This is adorable Doreen! Did you take the thread in sections around the pumpkin too?? (To create the sections of the pumpkin) or no? I love it!!!💗💗
Doreen Cagno
Wednesday 14th of October 2020
Hi, Friend! On the large one I did do that. I didn't want to complicate the tutorial. But, after tying the knot, I didn't cut my thread. I took it from top and around to the center bottom, up through the inside back to the top, and pulled tight. Then repeated to make two more sections! It really does add more dimension to the pumpkin! Thanks for asking, Tracey!