If you are a budget conscious person like me, but want quality furniture pieces, you might need to get your hands dirty! Good quality, real wood furniture is expensive if purchased new! If you’ve got the money for that, go for it! For me, I love to find old pieces with good bones, good style, but just need a little TLC to bring them back to life!
I’ve shared before that my oldest son, Joshua and his wife, Sarah, are expecting their first baby in December! We are all so excited! I found an old dresser a few months ago that I thought might make a perfect little dresser for the baby. Thankfully, Josh and Sarah trust me, because this dresser does need some work! But, I’m confident that it will be the cutest little dresser for their baby girl! And, I thought I would take you along and show you how to refinish a dresser.
*This post contains some affiliate links for your convenience. Please see my full disclosure statement HERE.
How to Refinish a Dresser
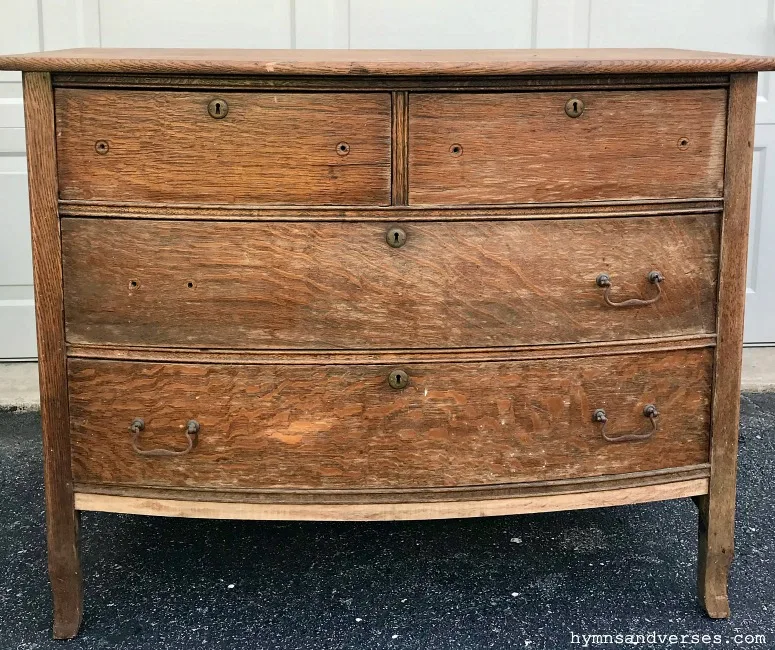
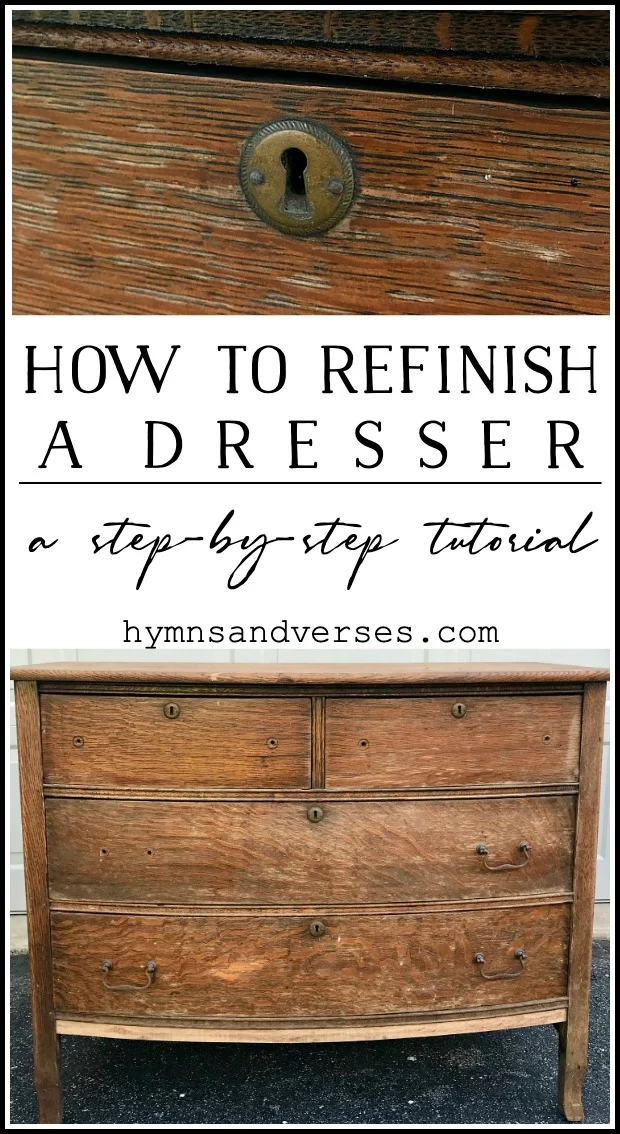
A neighbor stopped up over the weekend and she saw Mark doing some work on the dresser and said if she had seen it, she would have said throw it to the curb! So, what did I see in this piece? 1. The wood is solid (no veneer) and it is well made with dovetailed drawers. The drawers open and close easily. 2. There is some damage, but nothing that can’t be repaired easily. The drawer bottoms are in pretty bad shape, but that’s an easy fix. 3. I like the shape of this piece and the height is perfect for use as a changing table if they choose to do that.
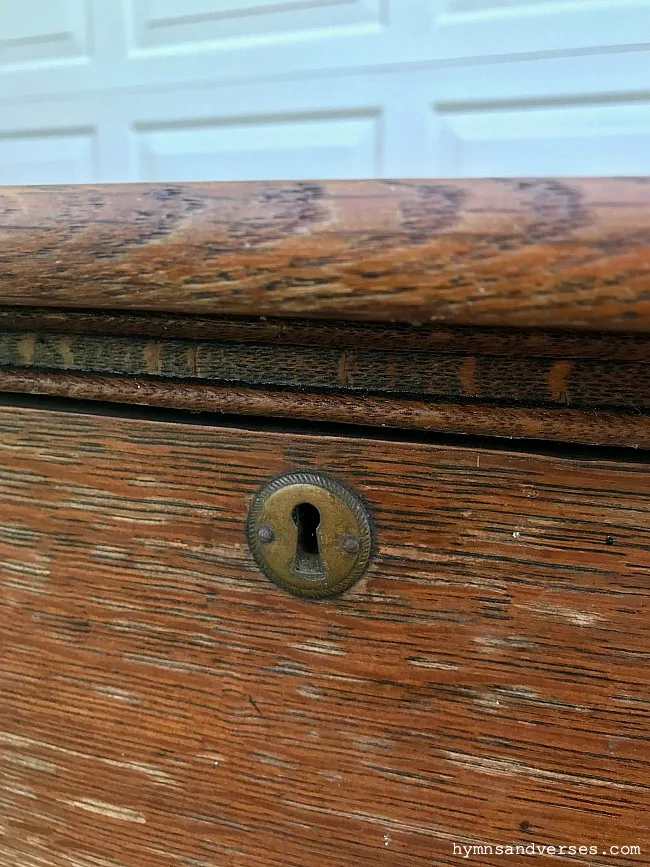
STEP 1 – CLEANING
The first step to any furniture makeover is – get it clean! I use TSP heavy duty cleaner! This stuff is the best for those dirty, crusty, farm-fresh pieces! Don’t buy the premixed stuff. Buy the box of powder and mix it yourself. I mainly used this to clean any areas that didn’t need to be sanded – like the inside of the dresser, the drawers, the legs, and underneath the bottom of the dresser. I found this dresser inside a barn shed and who knows where else it’s been, so I want to make sure it’s clean!
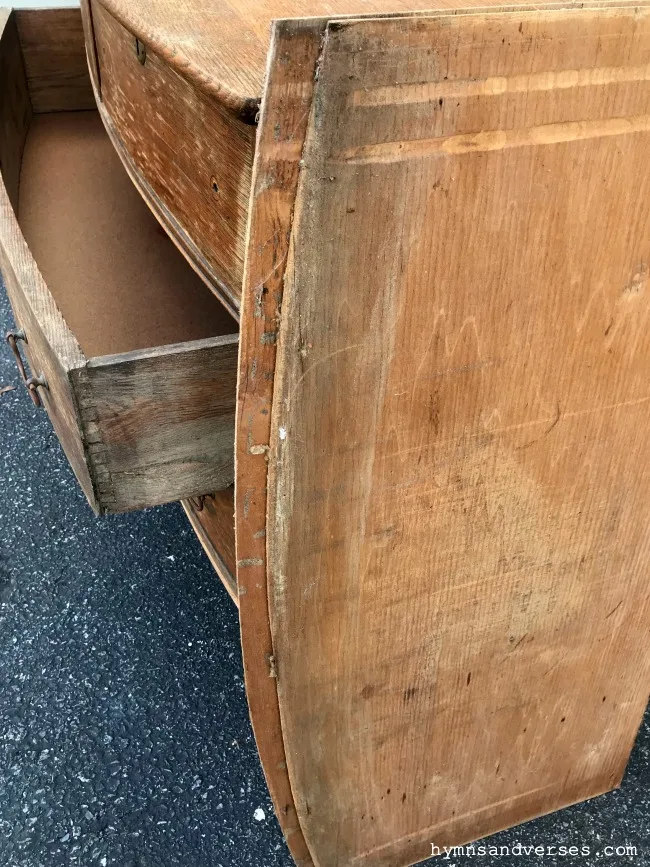
STEP 2 – MAKE REPAIRS
Next, make any needed repairs. For this piece, it mostly needed new drawer bottoms. We purchased pieces of 1/8″ masonite . The old drawer bottoms came off pretty easily and in one piece, so Mark used those pieces as a pattern to trace onto the masonite . Then he cut out the new bottoms with a jigsaw. And, they are a perfect fit!
STEP 3 – STRIP OLD PAINT OR STAIN IF NEEDED
At this point, if you are keeping the wood finish, I would use Citristrip to strip away the old varnish or stain. This product is easy to work with and does a great job stripping away varnish and paint. There are no harsh fumes and it’s even safe to use indoors. Since I’m painting this dresser, I don’t need to use this product.
STEP 4 – SANDING
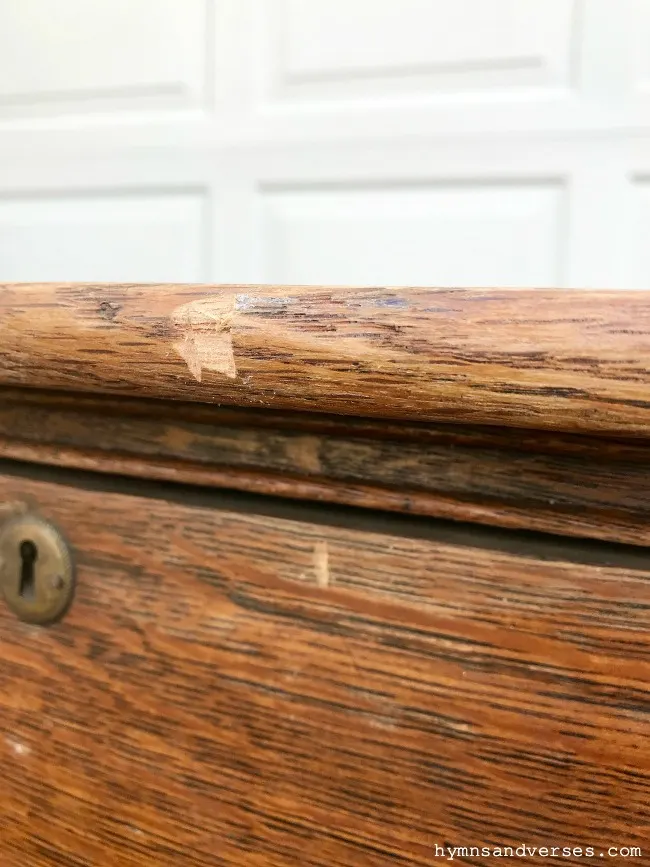
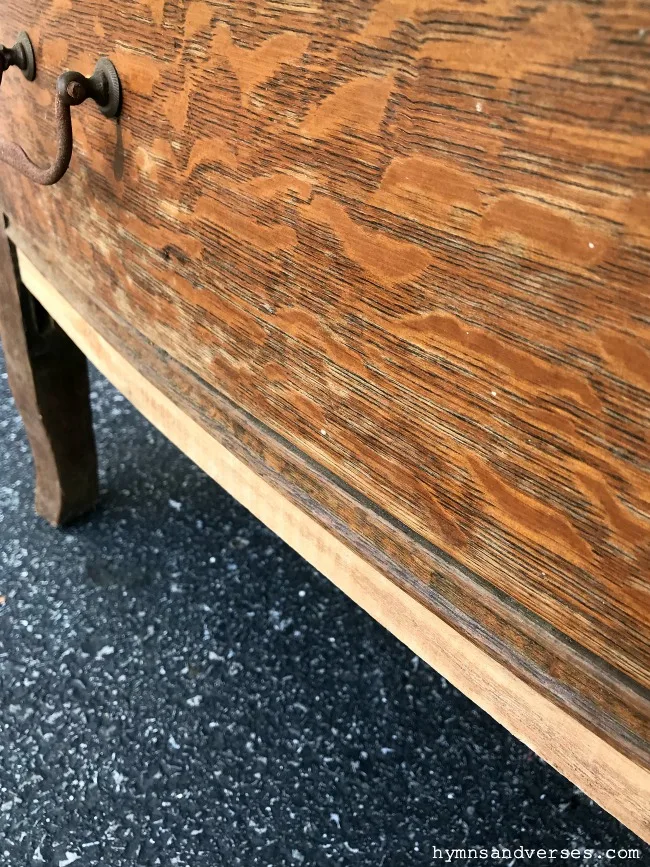
The next step is sanding away any imperfections in the wood! The main area on this piece that needed some sanding was at the bottom edge where we had to even out the wood due to some chipping. And, there was a small nick in the wood along the top edge. But, there was nothing too deep that couldn’t be fixed with a palm sander. Once you have everything sanded, wipe down the dresser to remove any residual sawdust. You don’t want any remaining sawdust when you begin painting.
I’m going to conclude here for today! But, I’ll be back to share the next steps for this how to refinish a dresser tutorial – the painting and finishing touches! In that post you’ll see the transformation of ugly duckling to beautiful swan! I’d love to hear if you’ve ever refinished a piece of furniture?
Here are a few of my previous furniture makeovers!
Trash to Treasure $1 Wardrobe Makeover
Canopy Crib Becomes a Cozy Daybed
Silver Metallic French Nightstand

Vintage Baby Dresser Reveal - Hymns and Verses
Monday 18th of November 2019
[…] few weeks ago, I shared THIS POST about how to refinish a dresser. Today, I’m back to share the vintage baby dresser […]
Gwen
Friday 8th of November 2019
I’m sure you will love this when you have it all styled!! It does have a great shape.
gyrohomestore
Sunday 3rd of November 2019
interesting.thank you for your sharing. gyrohome store
Laura
Wednesday 30th of October 2019
Hello Doreen- what a great piece! A true labor of love- looking forward to seeing the after 😊
Nan
Tuesday 29th of October 2019
Fun awaits! I HAVE refinished old furniture. Dining table, hutch, china cabinet and 6 chairs. They all came from my mother-in-law's mother. My mother-in-law sat at that table when she was a little girl. She is now deceased. The furniture is about 100 years old. I stripped and put new stain and some kind of finish on it. I think I used something called Formby. That was 37 years ago! Hard work and haven't done anything like that since. I still have all the pieces in my dining room. I change out the chair cushion/fabric every so often. That part is easy.
Look forward to seeing your finished project.