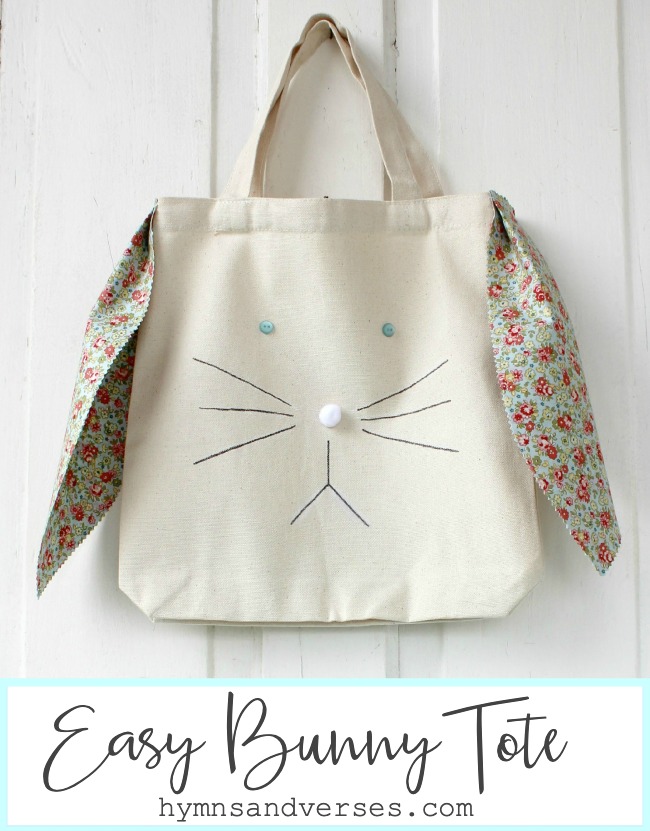
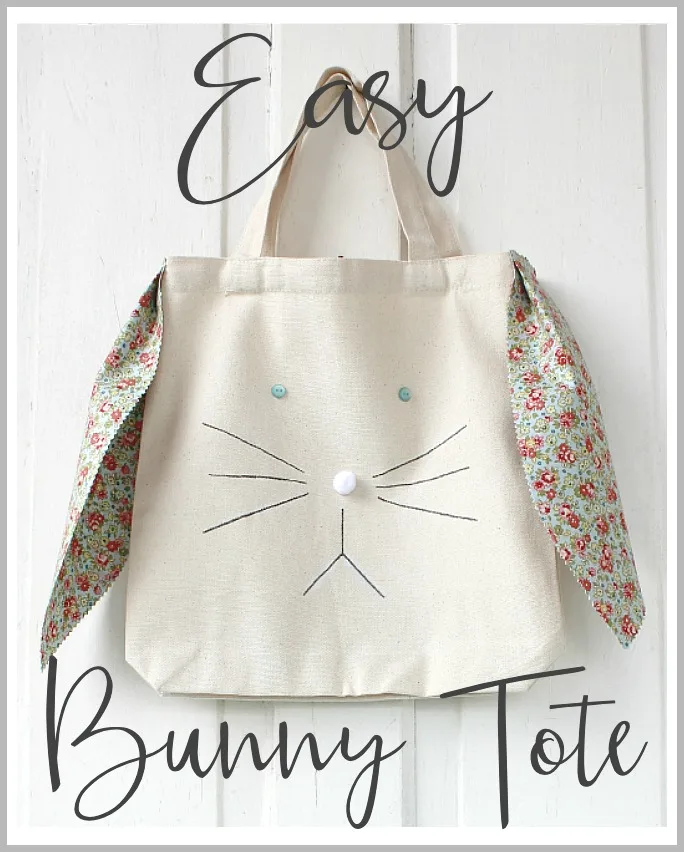
This Easy Easter Bunny Tote is so fun to make! It’s the perfect alternative to the more traditional Easter basket for the kiddos and will be a special keepsake for them!
And, now is the perfect time to get ready for the upcoming Easter holiday! You have plenty of time to gather your supplies and make this Easter Bunny Tote well before Easter!
*This post contains some affiliate links for your convenience. Please see my full disclosure statement.
Supplies
Canvas Tote – Choose a size appropriate for the child you are making this for
I used a medium sized tote – the perfect size for an egg hunt. For the bunny ears, I used an old-fashioned calico print from my fabric stash. But, you could certainly use a solid color fabric or even an unbleached canvas fabric so the ears would match the tote bag fabric.
Assemble the Bunny Tote
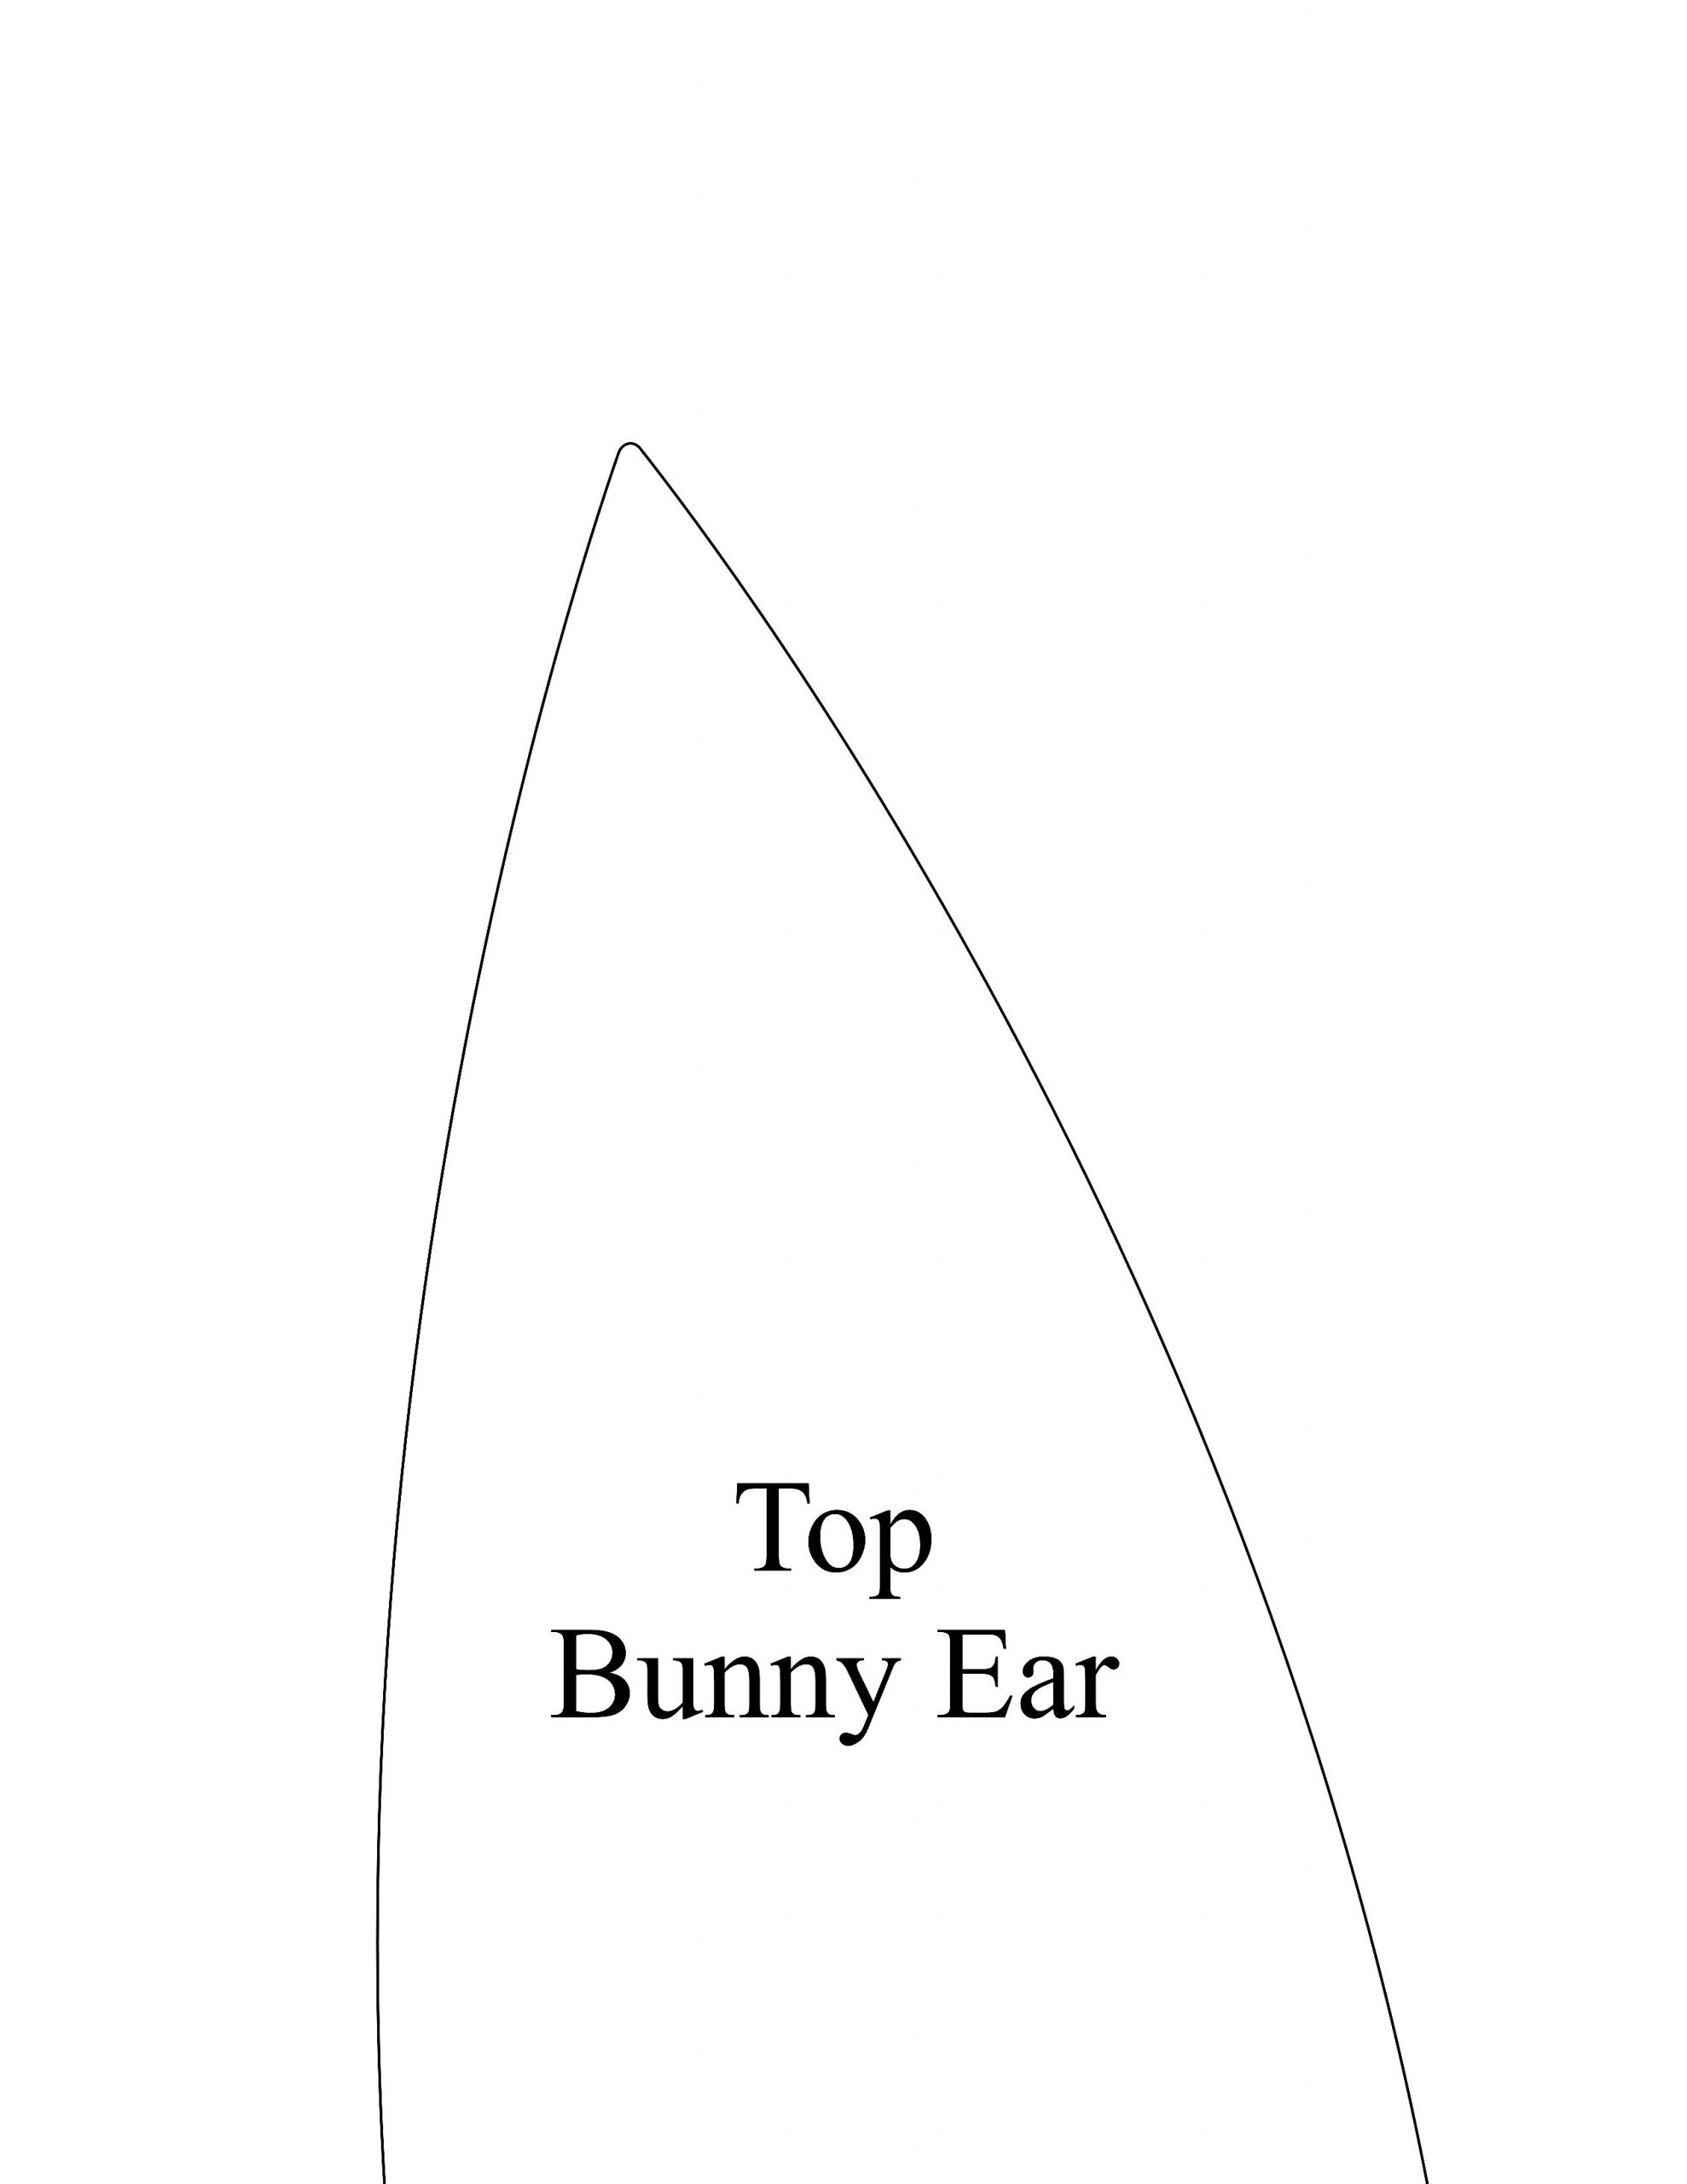
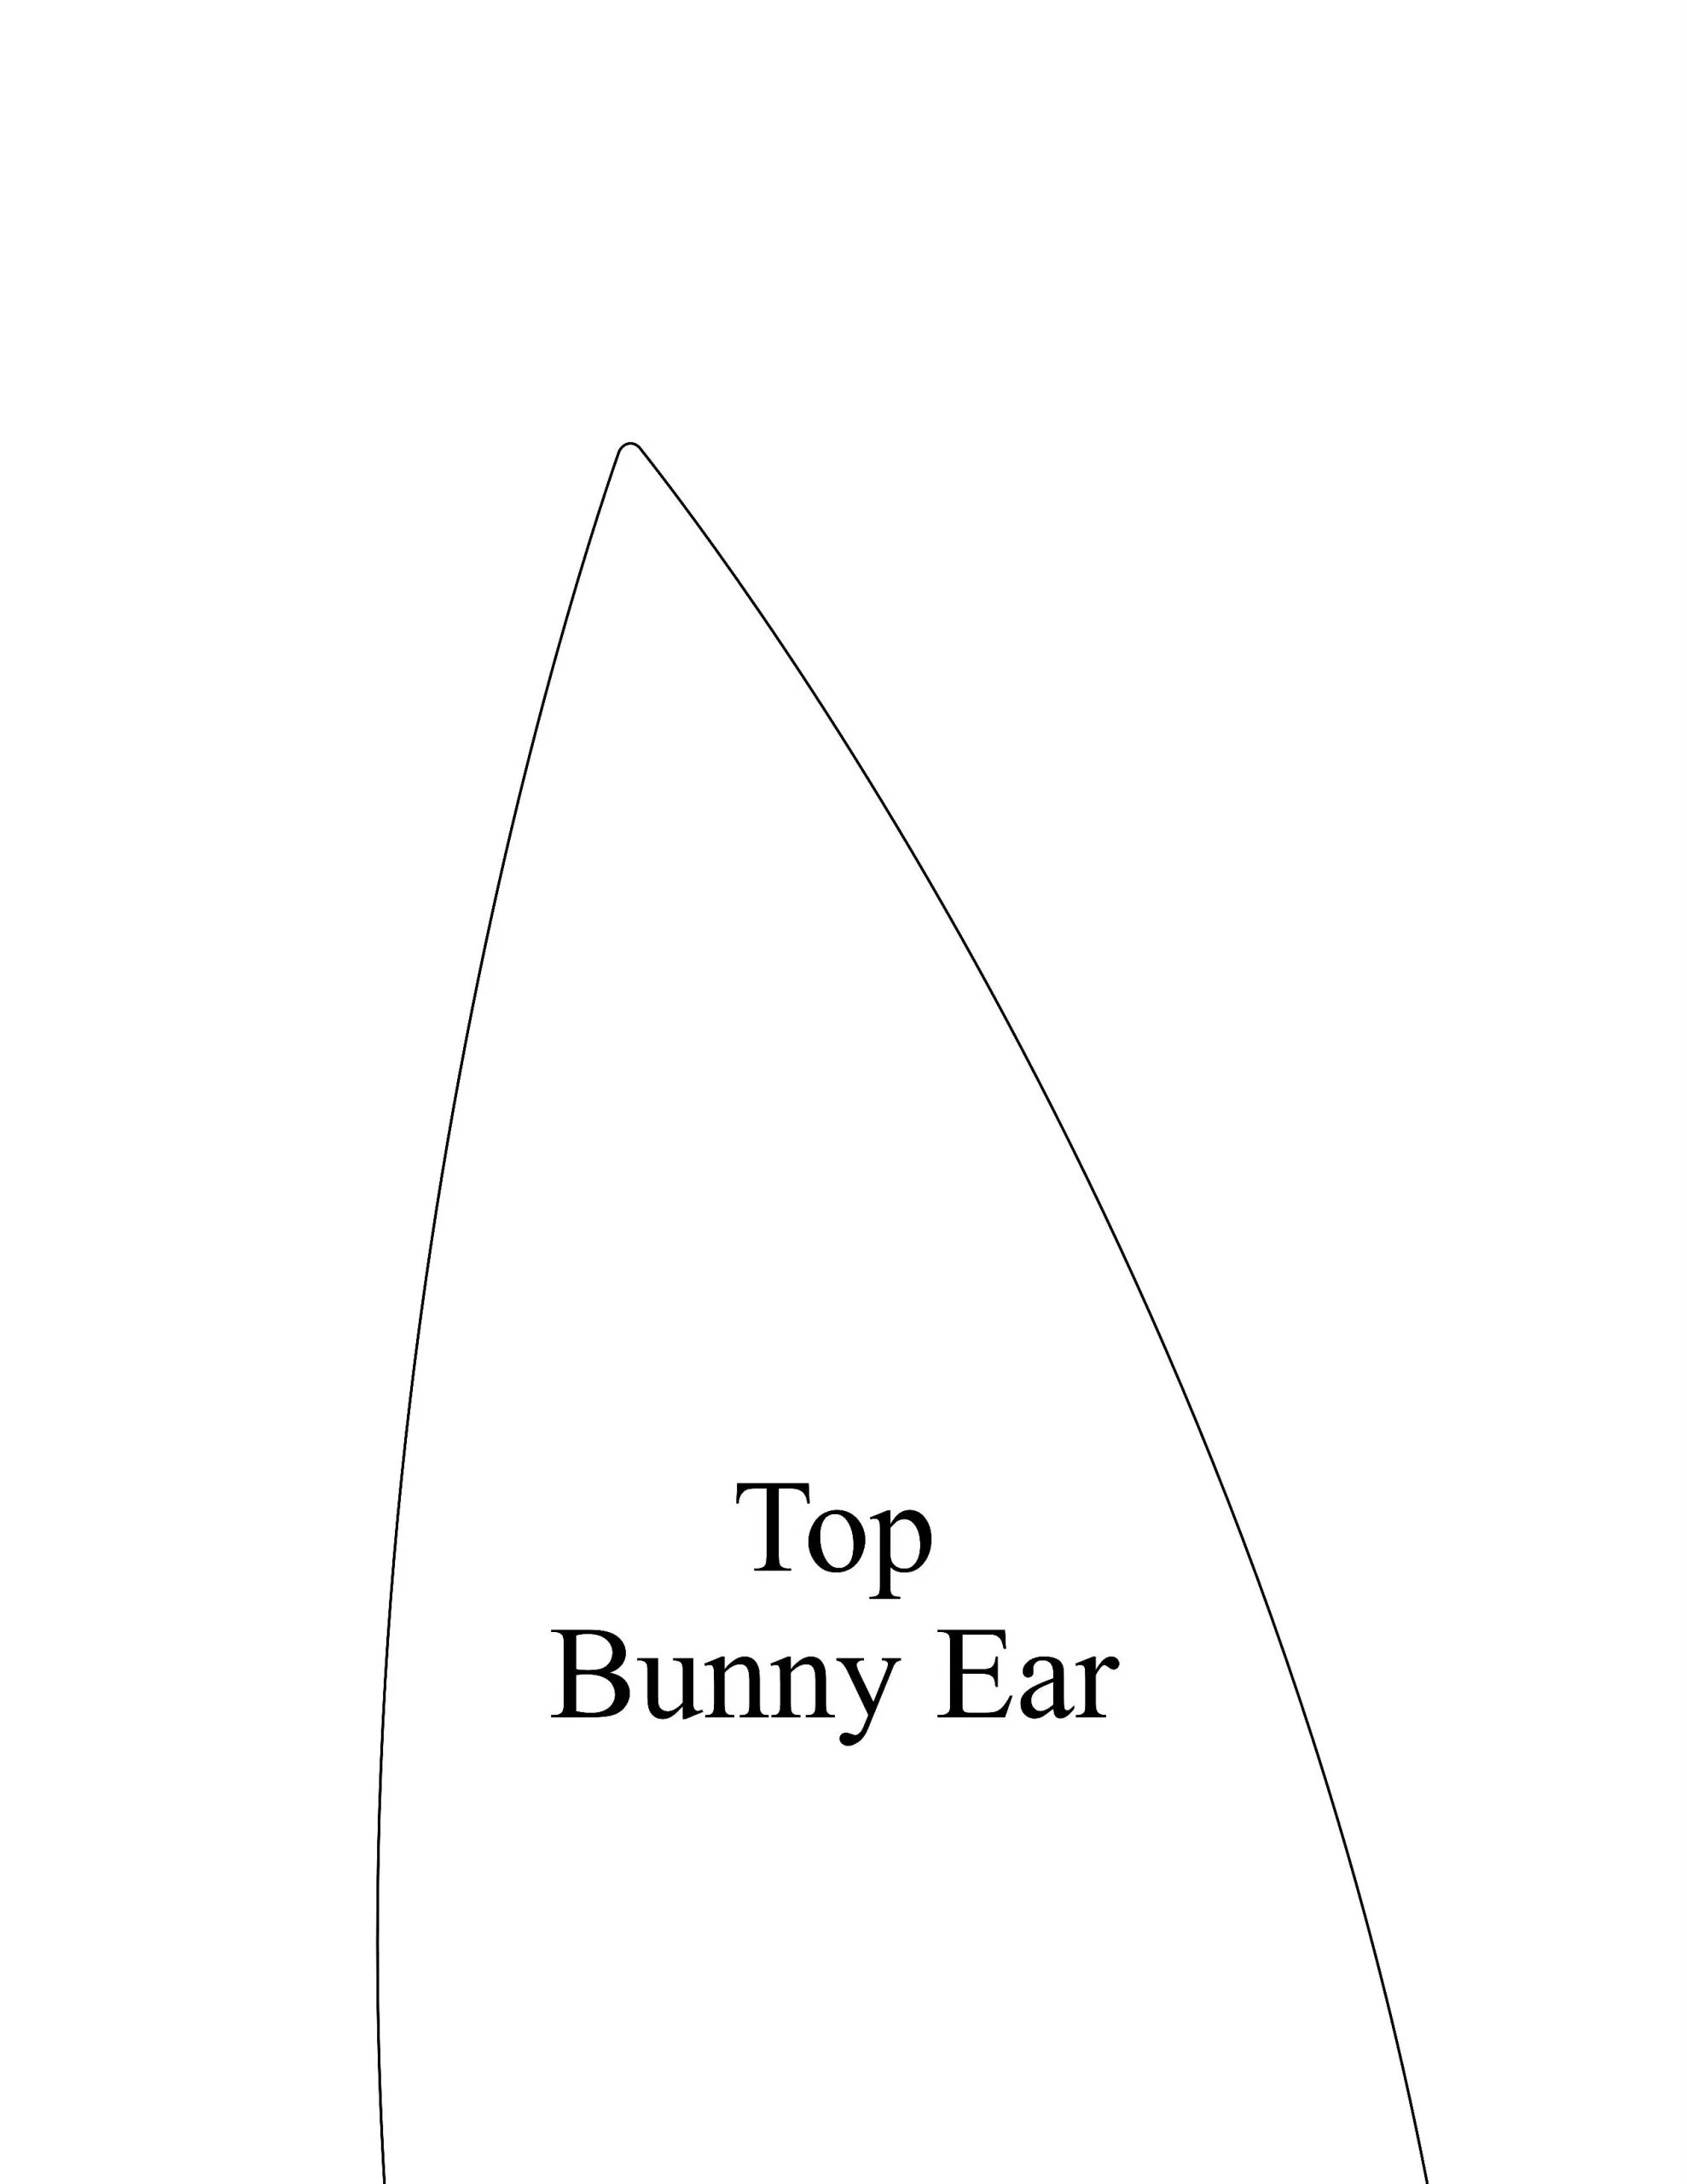
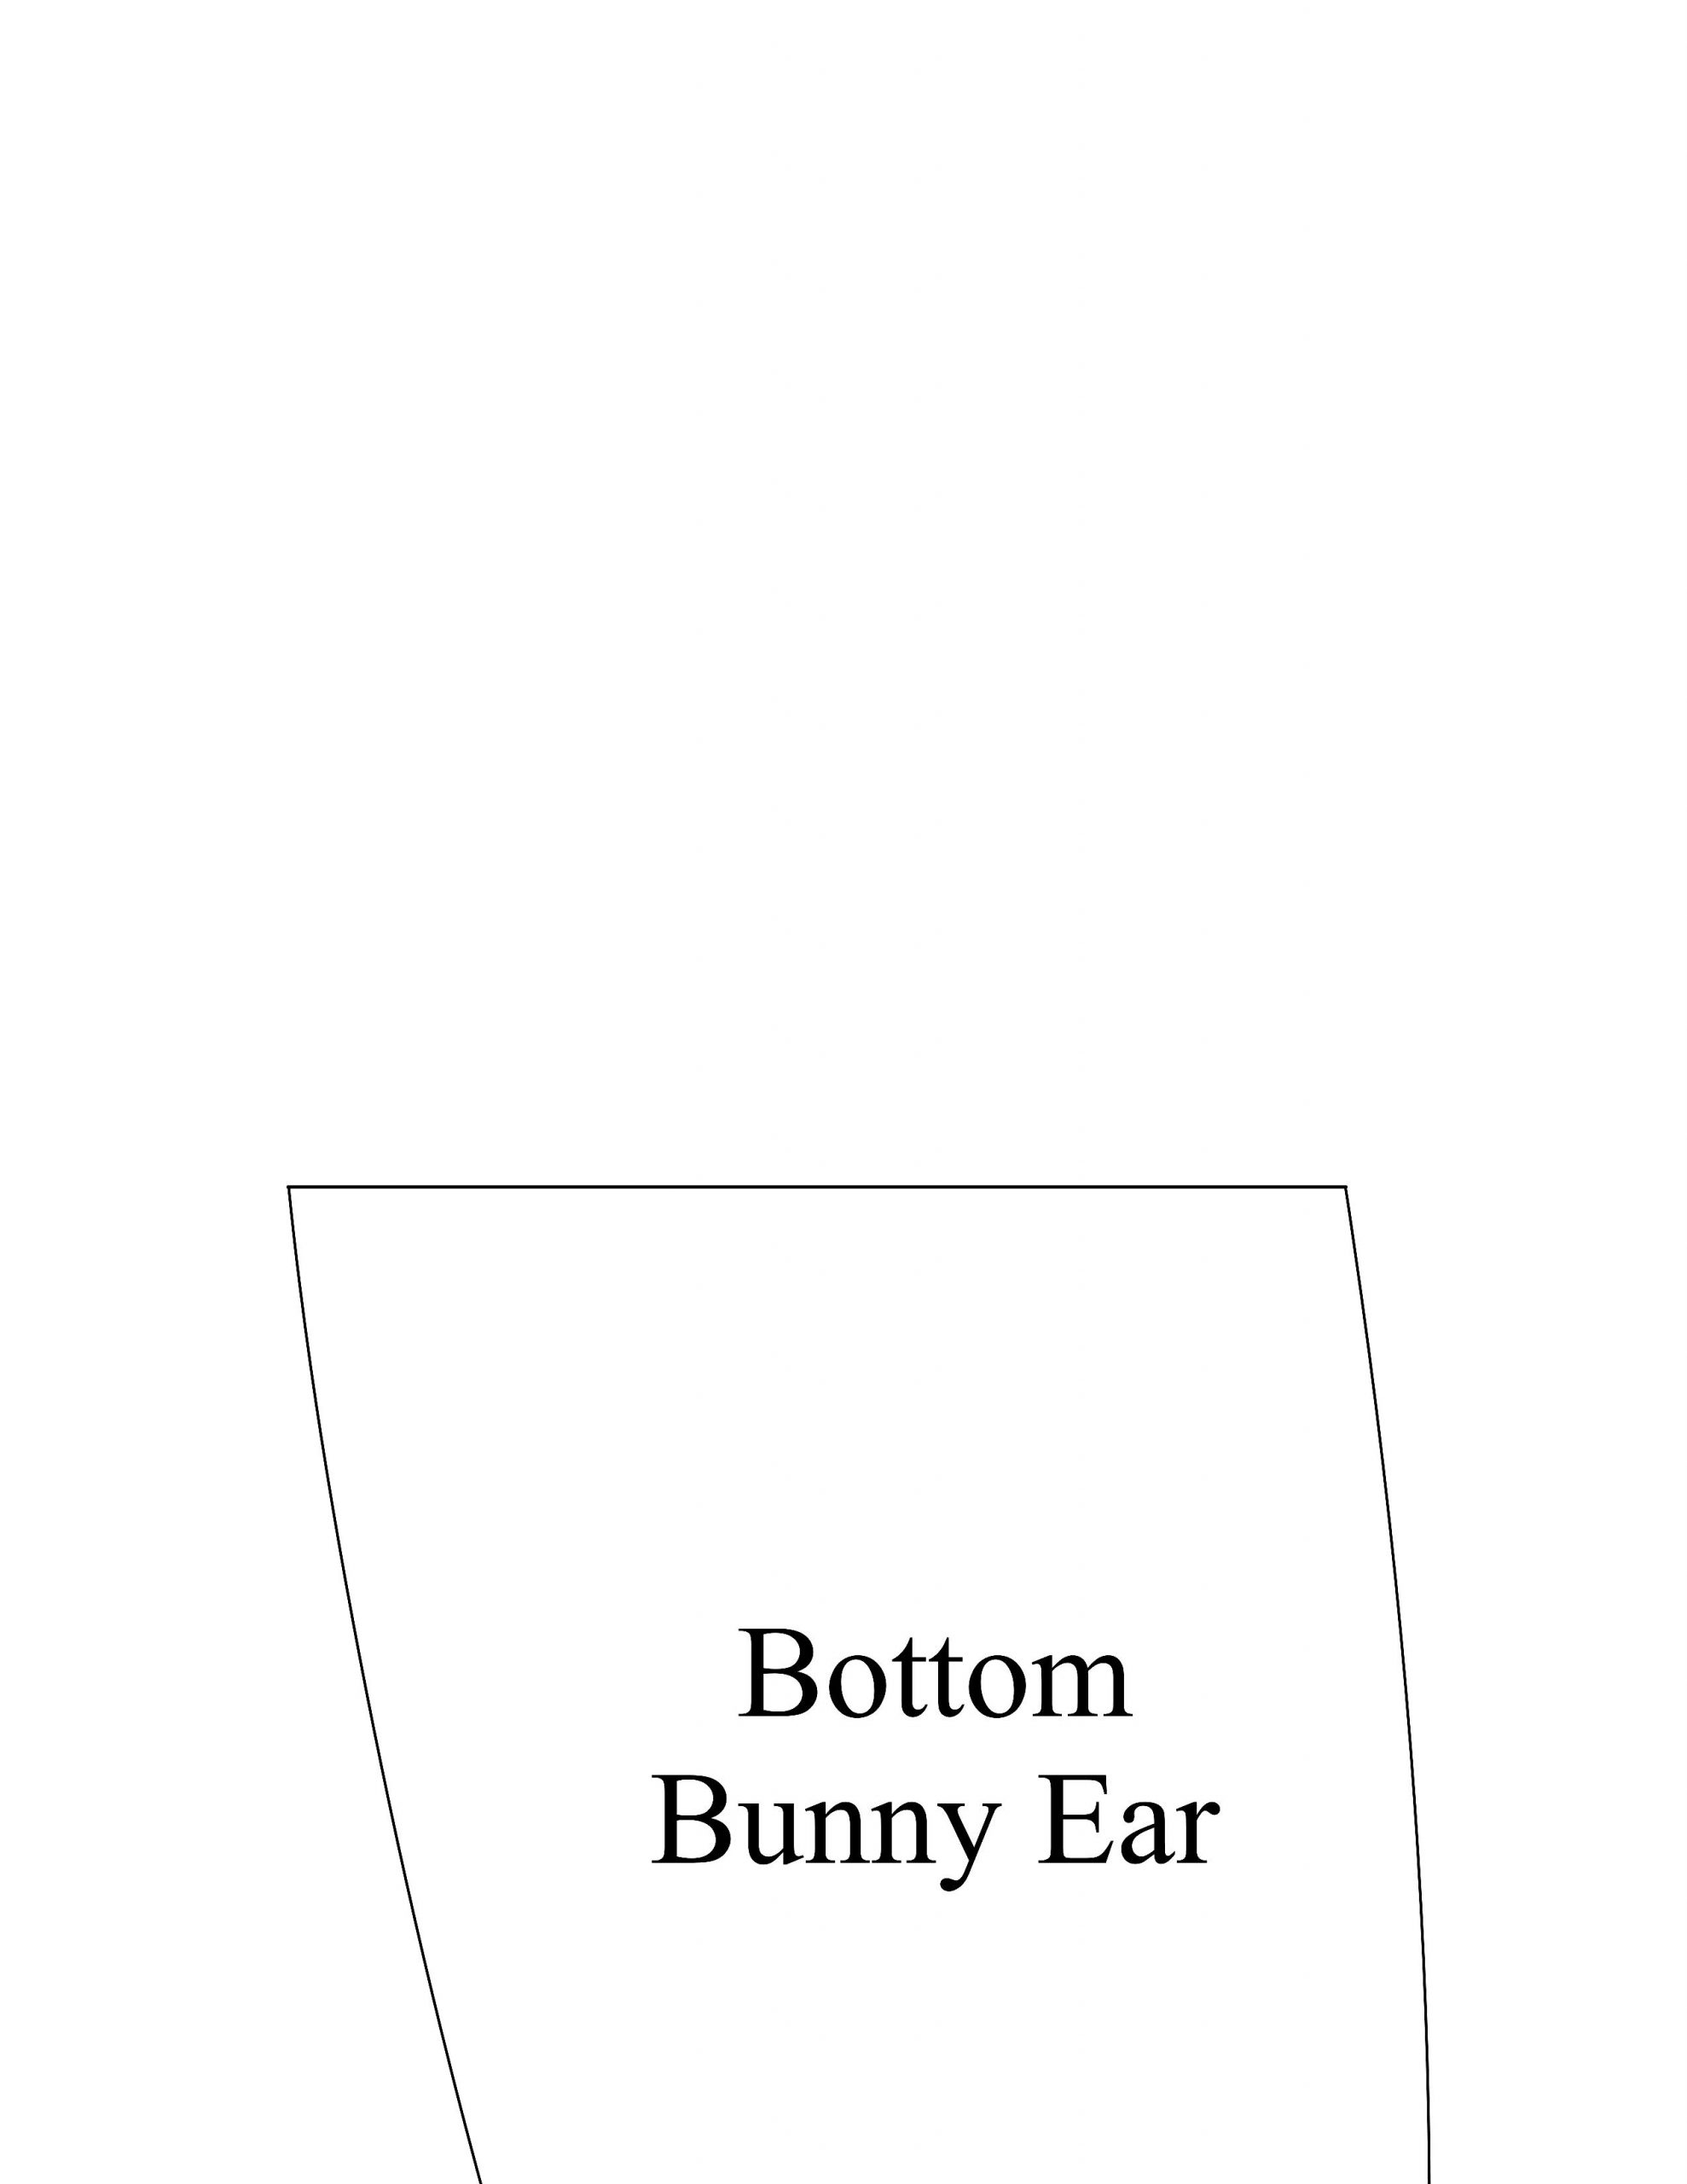
First, download and print the above ear pattern. Then, cut out and tape the top and bottom ear pattern pieces together to form one ear. Then, use a pencil to trace the pattern onto your fabric. You will want to trace four fabric ears – trace two ears on the front side of the fabric and two ears on the reverse side of the fabric. This will give you a front and back for two bunny ears. Cut out the fabric ears using pinking sheers or you can use fray check to keep the cut edges from fraying. I cut my ears out with pinking sheers.
Next, trace the bunny ear pattern onto the Heat and Bond two times. Cut out the Heat and Bond ears. Place the Heat and Bond shaped ear between two fabric bunny ears and use your iron to bond the two fabric ears together. Be sure to follow the ironing directions on the Heat and Bond packaging. If you want to sew the ears together, you can do that instead of using heat and bond.
FINISHING TOUCHES
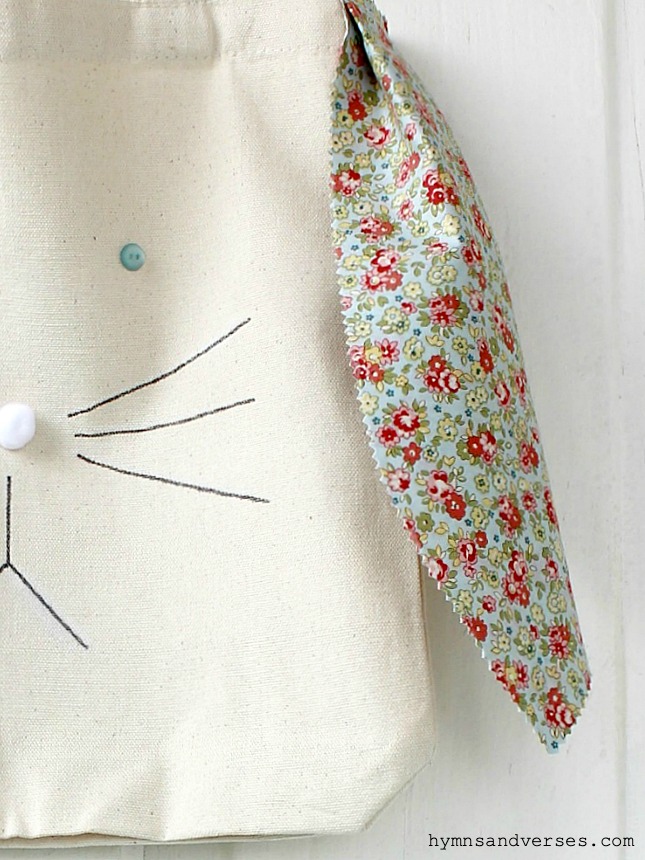
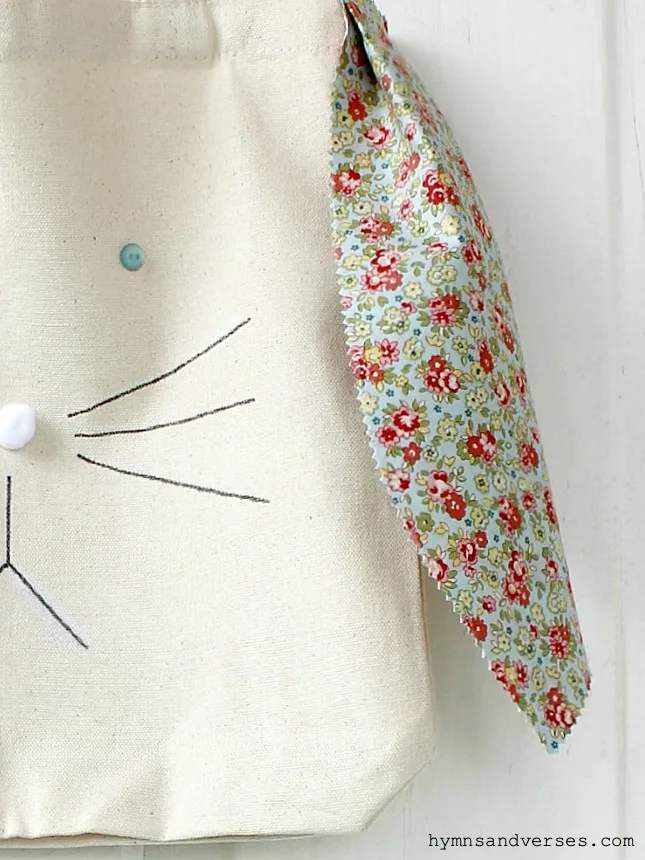
I did use my sewing machine to sew the ears to the tote, but you could hot glue them or hand sew them as well. I used tiny blue buttons and glued them in place with my glue gun. If you like to do hand embroidery, it would be fantastic to embroider the whiskers and bunny mouth. But, to make things easier, I just used a fine tip Sharpie marker to draw the whiskers and mouth directly on the tote bag. I used a piece of white chalk to sketch the whisker and mouth onto the tote bag and then went over those chalk lines with the marker. Finally, use your glue gun to attach the pom pom nose.
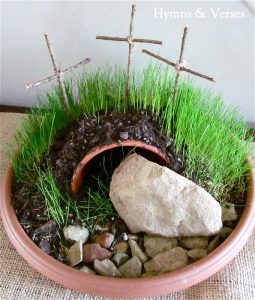
This sweet Easter Bunny Tote is really simple to make. Hippity – Hoppity – Easter’s On It’s Way! And, here are a few more easy Easter projects for you!
What a darling tote!! It would make a great Easter present too.
Lori J Leeper
Friday 13th of March 2020
What a sweet project for Easter!
Eine Stunde Osterhase Tote - Today Pin
Wednesday 20th of March 2019
[…] www.hymnsandverse … […]
Nicola
Thursday 14th of June 2018
How cuuuuuuuuute!!!! While reading I thought it would also be nice to put a big pom pom on the bottom back for a tail...definitely going to make one for my sisters little girl...love all the way from Namibia xxx
Doreen Cagno
Friday 15th of June 2018
What a great idea! Thanks!!! Wow, Namibia!!! Welcome!


Cristina
Sunday 15th of March 2020
What a darling tote!! It would make a great Easter present too.
Lori J Leeper
Friday 13th of March 2020
What a sweet project for Easter!
Eine Stunde Osterhase Tote - Today Pin
Wednesday 20th of March 2019
[…] www.hymnsandverse … […]
Nicola
Thursday 14th of June 2018
How cuuuuuuuuute!!!! While reading I thought it would also be nice to put a big pom pom on the bottom back for a tail...definitely going to make one for my sisters little girl...love all the way from Namibia xxx
Doreen Cagno
Friday 15th of June 2018
What a great idea! Thanks!!! Wow, Namibia!!! Welcome!
Top 10 DIY's of 2015 - Hymns and Verses
Monday 28th of December 2015
[…] ONE HOUR BUNNY TOTE […]